This post is a followup to my very first post, in which I described how to fix a mistake I made on my initial test knit of the Portree Poncho. In the first post, I focused on the I-cord cast on and bind off used in this pattern. Now, in this follow-up, I’d like to spend a little time talking about blocking the panels of the Portree Poncho.
The very first thing to do, once both panels are completed, is to block each panel VERY CAREFULLY. The cabling on these panels requires heavy blocking, and you want to make sure they match the measurements exactly! Here is how I did it:
I wash my garments by hand in the tub with a little bit of gentle liquid soap and luke-warm water (enough so that you feel that it’s warm, but not anywhere close to being hot!). Once I’ve got it good and soaked, I take the garment out and GENTLY squeeze the water out. DO NOT WRING OUT! If the garment seems to have any soap on it, I drain the tub, fill it again with the same temp water, and wash one more time. Again, squeeze out very gently.
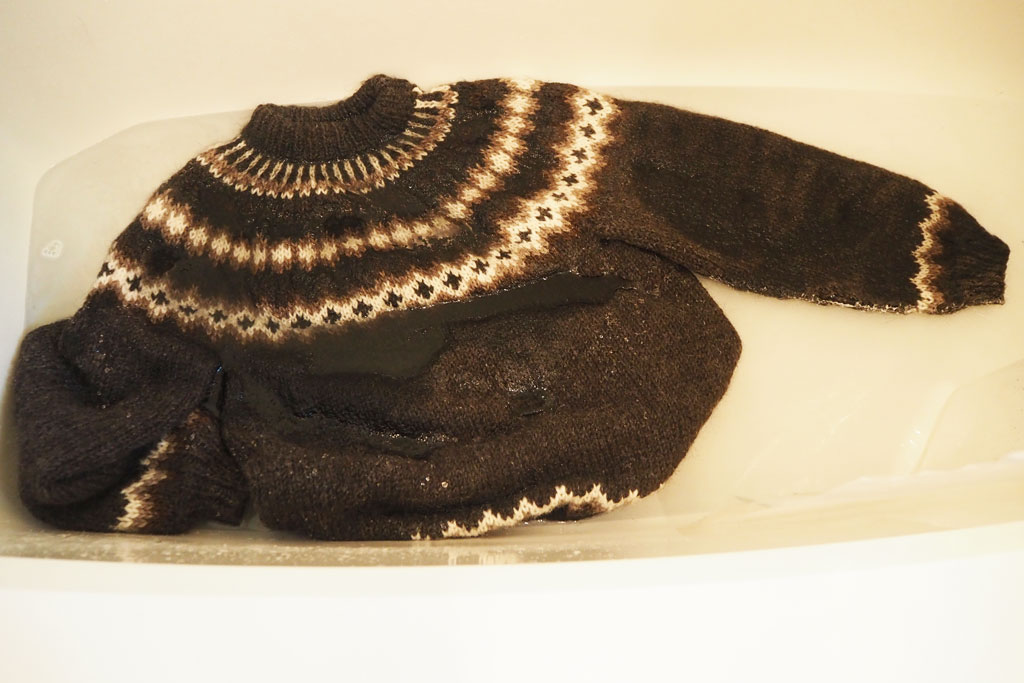
Next is the controversial part. I spin my garments partly dry on the spin cycle of my washer. Yes, even 100% wool. No, I’ve never had a problem. I do have a top-loading washer, and I would recommend ONLY doing this with a top-loader, as it does not jostle the fibers around and cause them to felt like a front-loader might do. DO NOT put the garment in for a full wash cycle, only on spin! Another option is to roll the garment in a fluffy towel and gently squeeze the water out.
Once the garment is damp but not dripping wet, I spread a fluffy towel or two out flat on the bed. Lay the panel out flat on top of the towel. (You can also use foam blocking mats if you prefer.)
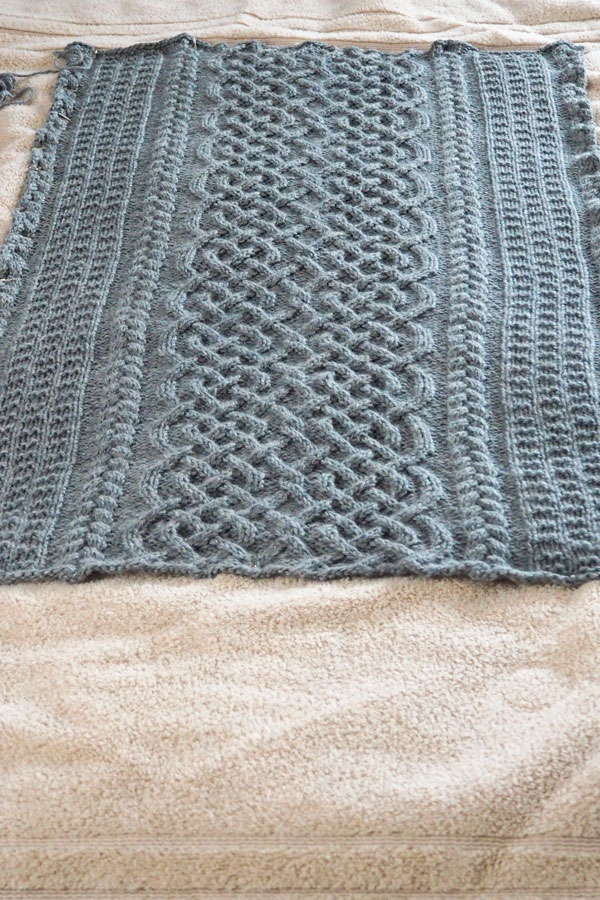
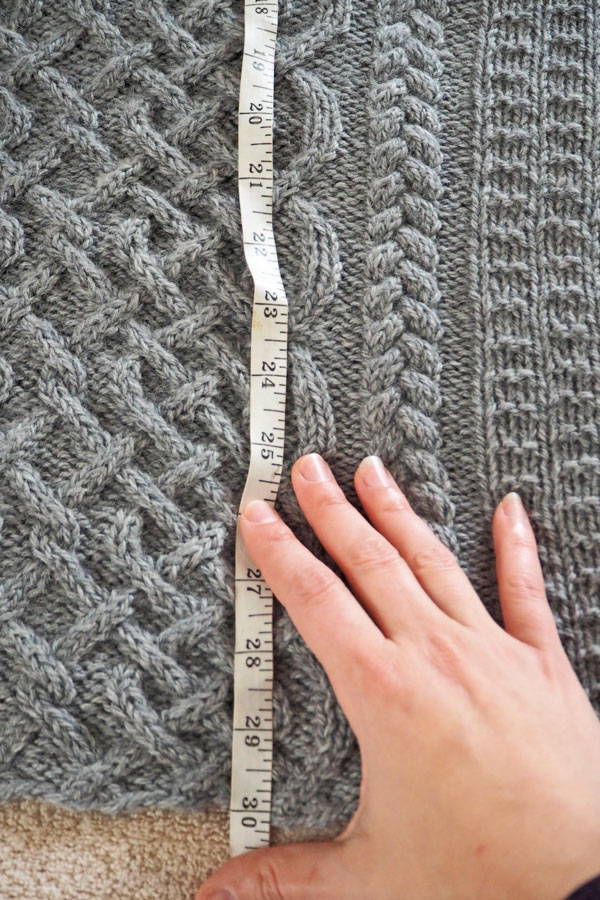
Use a measuring tape to stretch the panel to the correct measurements, both for length and width.
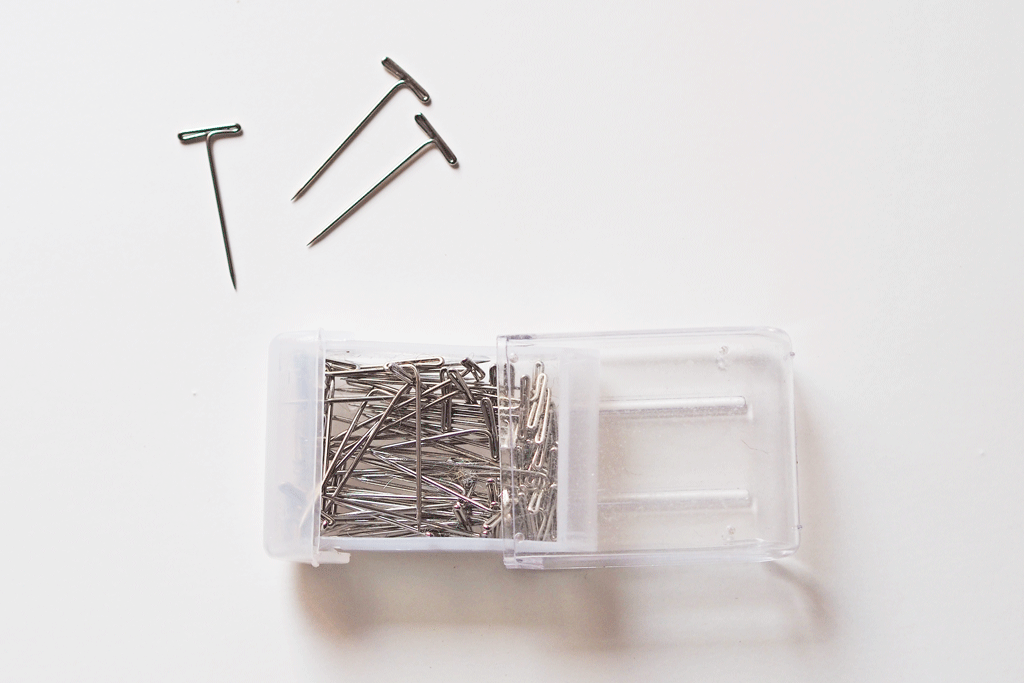
Now you will pin the panel to the exact measurements. I use stainless steel T-pins for blocking, such as this:
Take regular measurements along the length and width of the panel and pin as you go. Be sure to pin through the panel and into the towel or blocking mat.
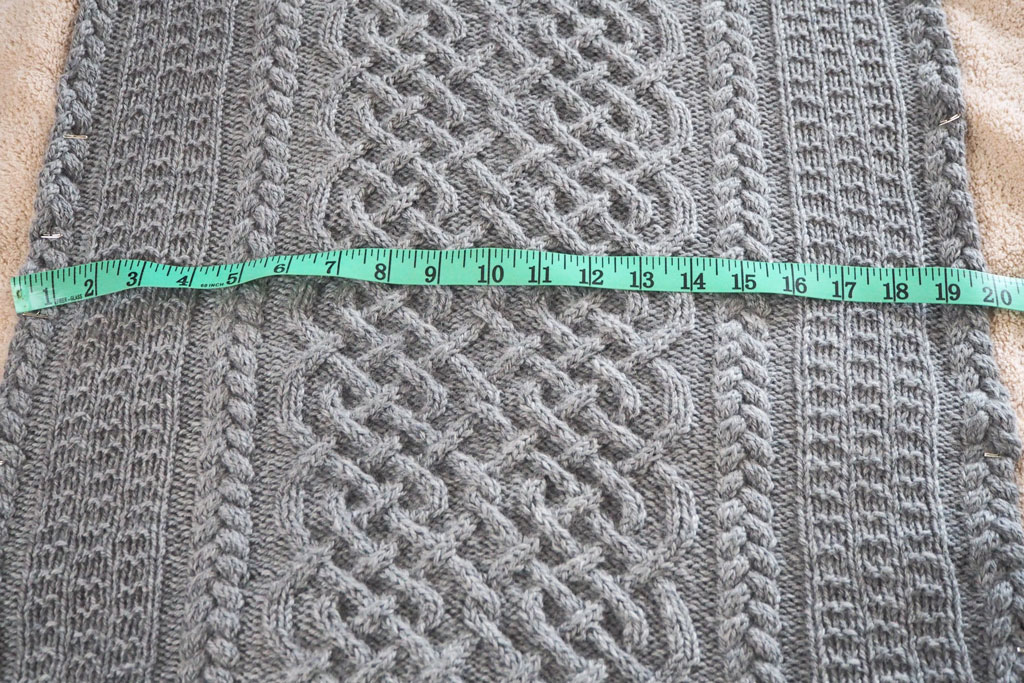
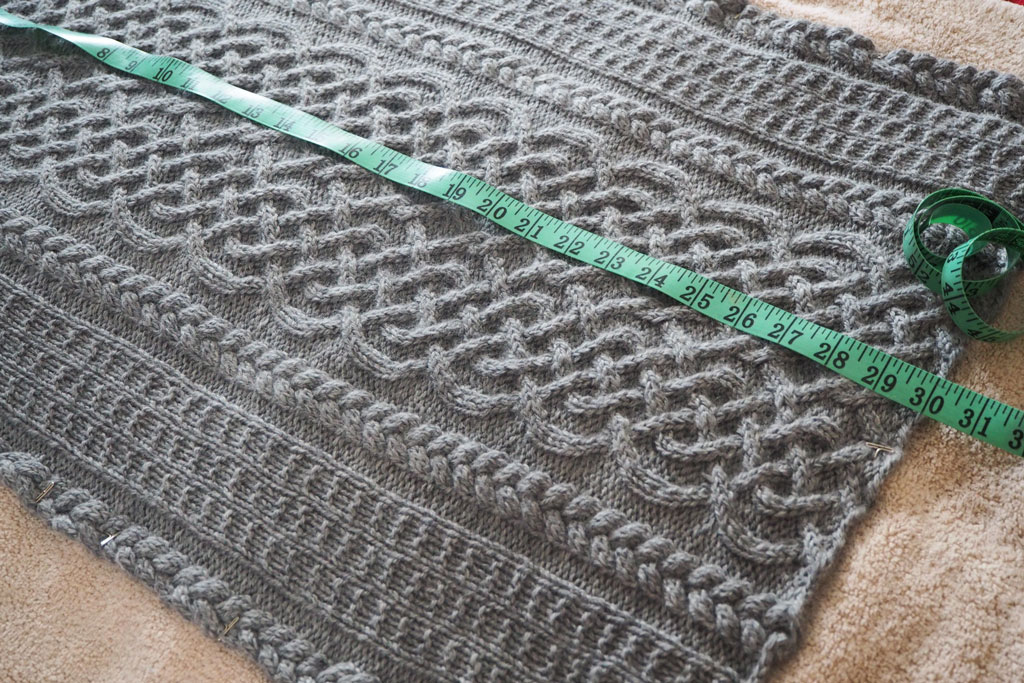
Once you are satisfied, do one more quick check of the measurements, and leave the panel to dry. I turn the ceiling fan on high to speed up the process.
Great! Now you have two blocked panels ready to be stitched together!
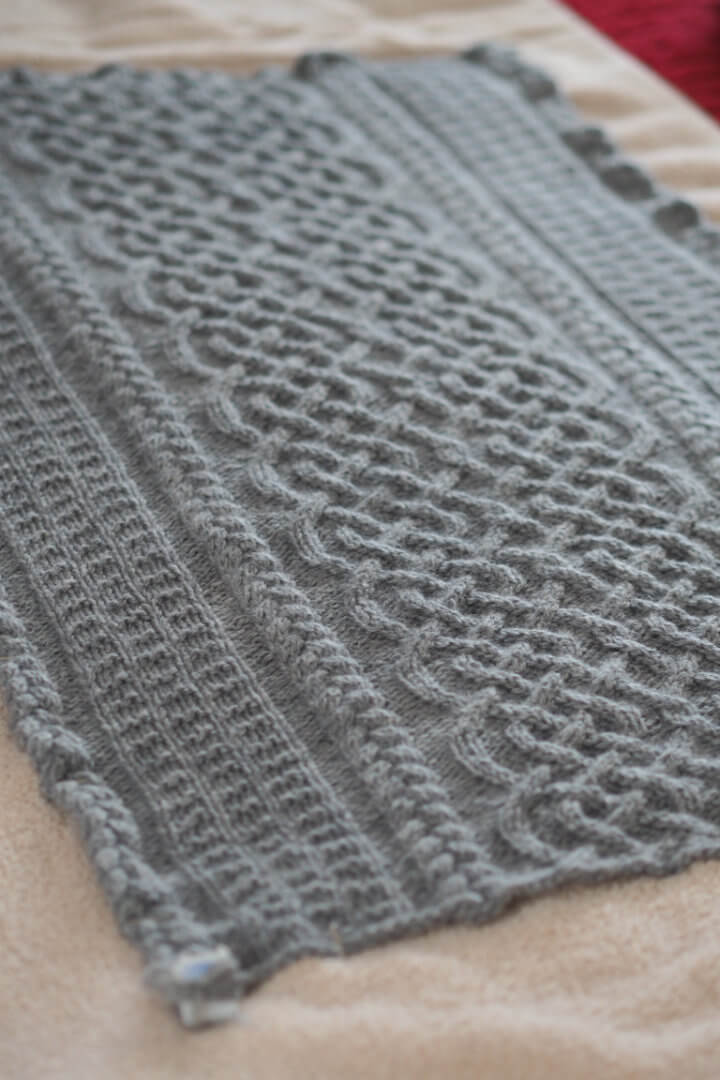
Stay tuned for our final installment on seaming the panels together!
Leave a Reply