This will be the third and final installment of a series of posts about the Portree Poncho. The first post gives information on the I-cord cast on and bind off used in this pattern. The second post explains my washing and blocking techniques for the two panels of the poncho. Now, I’d like to spend a little time talking about the finishing work for the Portree. (For this post, I have photographed my sample in Knit Picks Wool of the Andes Worsted yarn, in the beautiful Pampas Heather colorway.)
Everybody hates finishing work. Well, ok, I’m sure there are some oddballs out there who are just thrilled with seaming and blocking, but I hate finishing work! In fact, I try to knit almost everything in the round and as seamlessly as possible so that I have very little to do after the garment is knit up. Nevertheless, good finishing work is so important and can make a piece look clean and professional as opposed to…well…not so professional. And after all that time spent knitting, nobody wants their garment to look sloppy because of a slapdash seam! Am I right?
Ok. So the Portree Poncho is one of my few garments which require quite a bit of seaming, and because of the braided edging, the seaming is even more finicky than usual. I’ll go through it step by step.
The very first thing you will need to do is to break out the measuring tape and straight pins. The two panels of the poncho are sewn together, long end to short end, and you will need to measure and mark the long end so that you will know where to pin the short end. My sample used here is the Adult Medium size, so I will follow the measurements for that size. Please refer to the pattern for the measurements of the other two sizes!
Ok, so I know that the short end of my first panel is 20″ in length, so I will measure 20″ along the long end of my second panel.
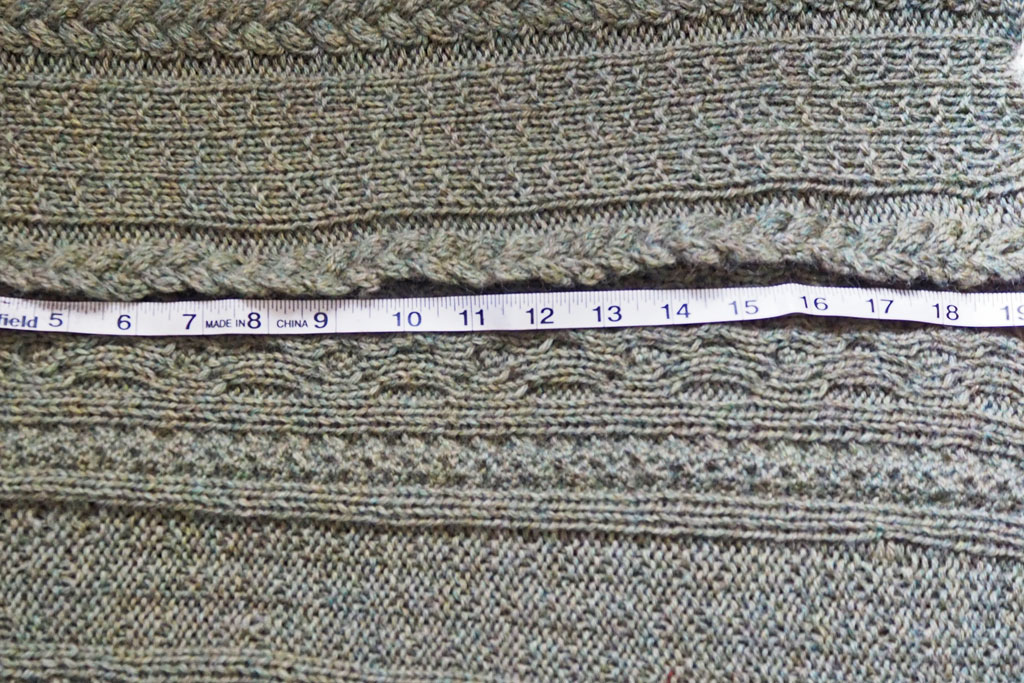
Once I’ve measured accurately, I will mark the length with a straight pin, like this:
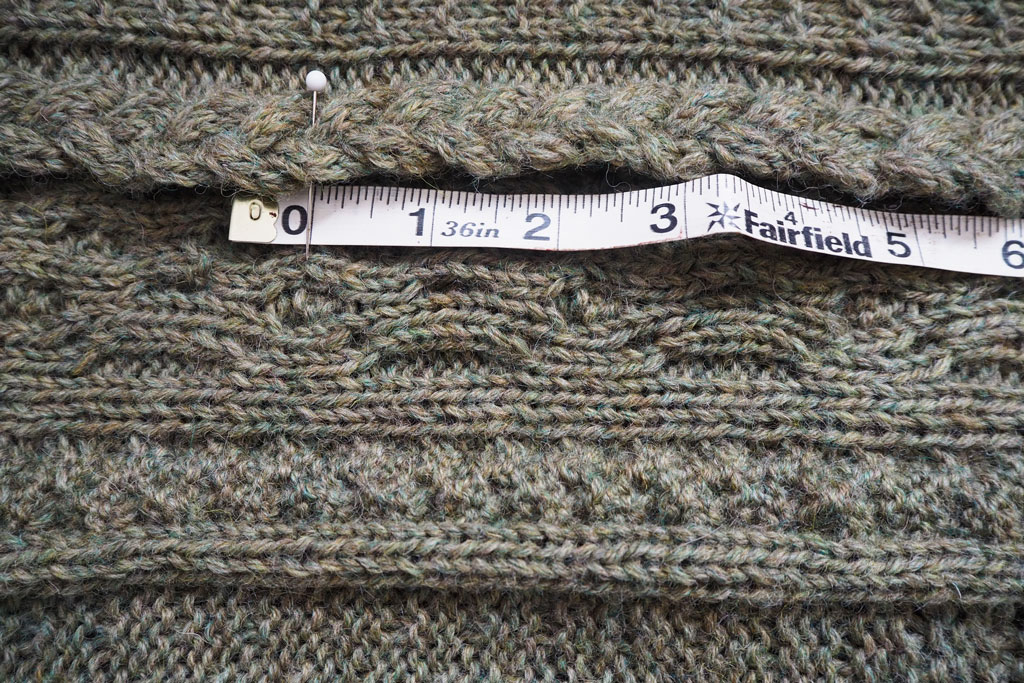
Now it is time to pin the short end of Panel 1 to the long end of Panel 2, ending at this marker. Begin at one end and pin carefully along the edge.
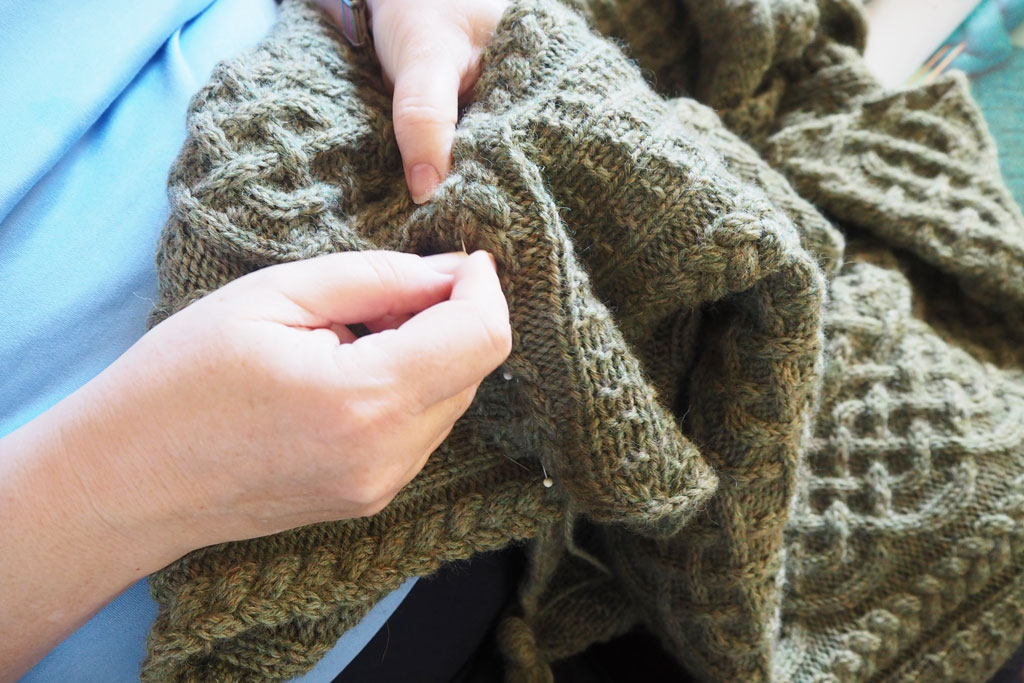
You can pin with either right sides or wrong sides facing, but please note that you will be stitching with wrong sides facing you.
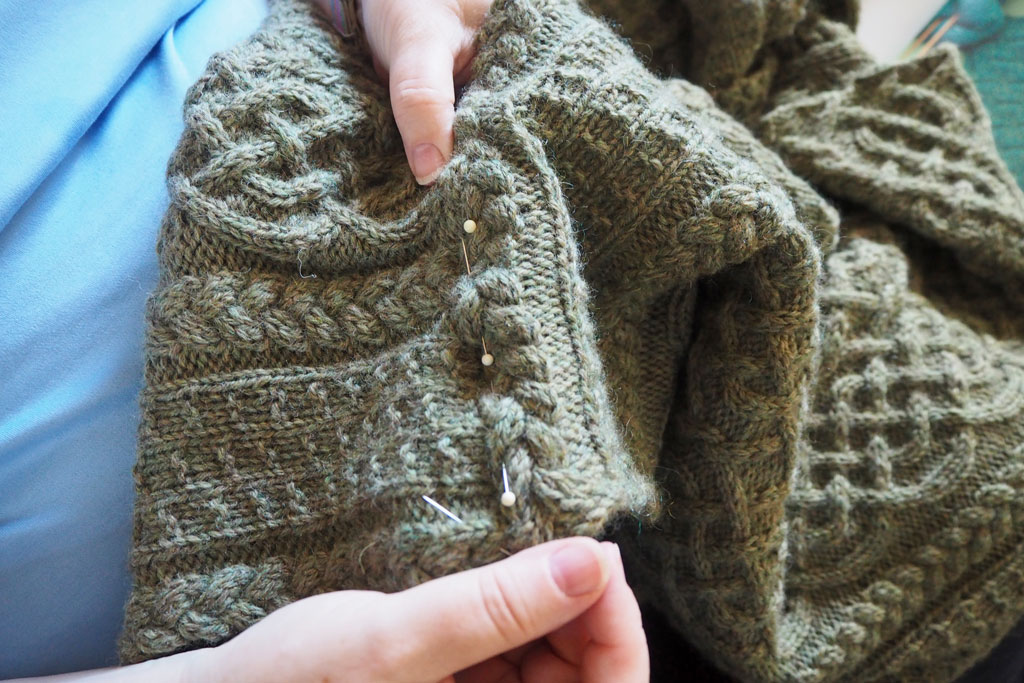
Please note that at the beginning of the braided cable there will be an extra “flap” of knitting, from the three extra stitches of the I-cord cast on:
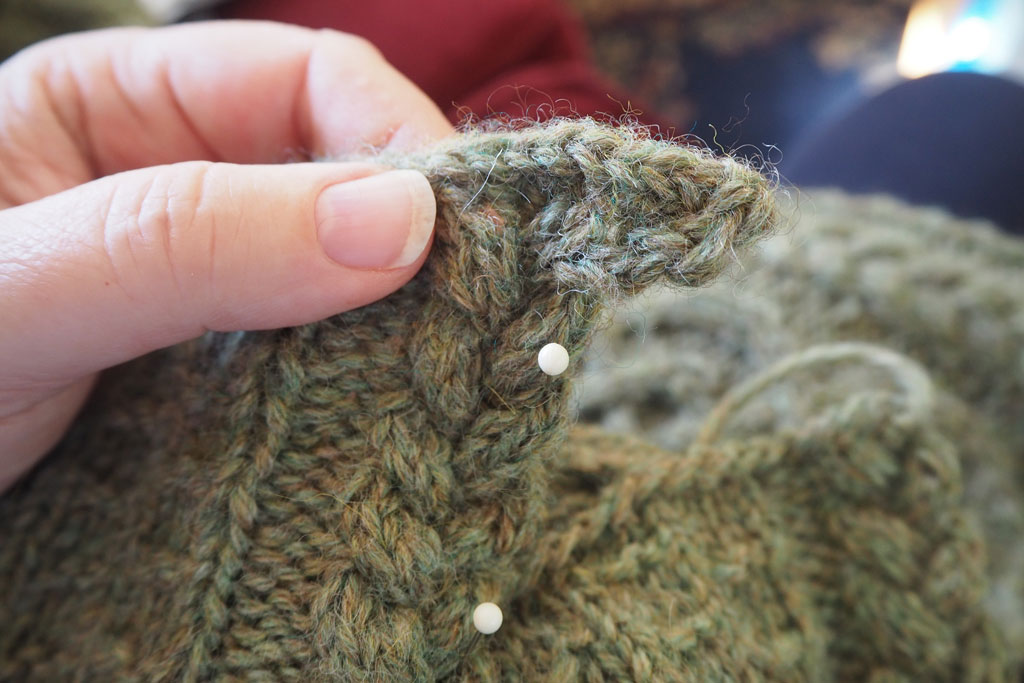
You will want to fold this flap under to the wrong side, pin it, and stitch through the two folded layers together so that it will not be noticeable.
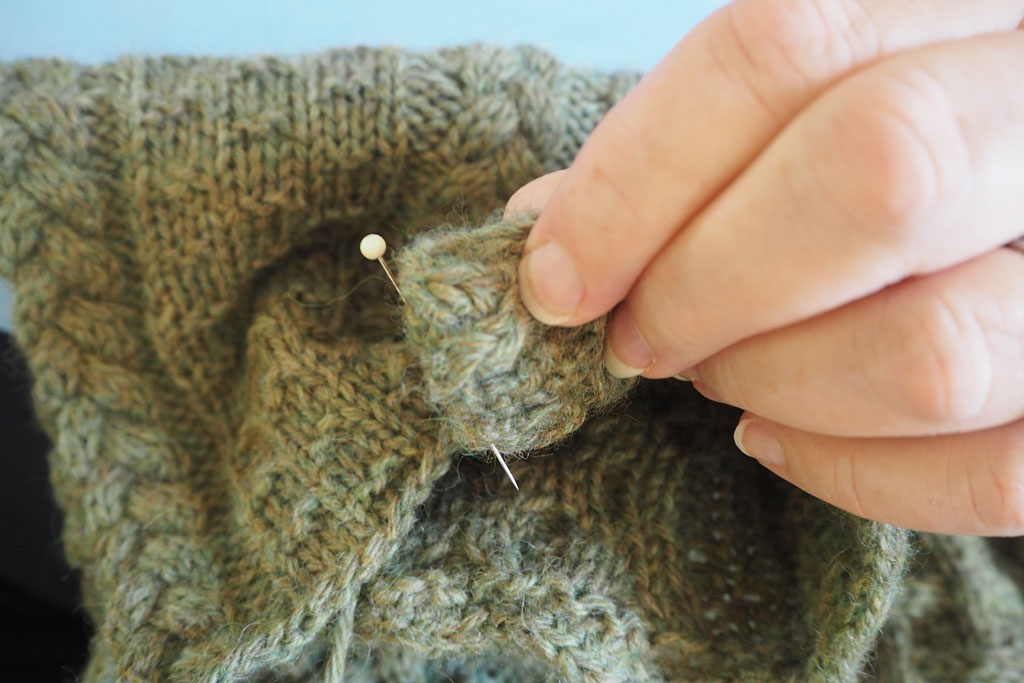
OK!! Now you should have one short end pinned to one long end. It’s time to start seaming! Thread a length of yarn and begin at the outer pinned edge, with the wrong sides of the fabric facing. Attach the yarn with a small knot and leave a short tail for weaving in.
You will want to catch the innermost edge stitch of the braided cable, otherwise your seaming will eat into the braided cable. Not a good look, believe me!
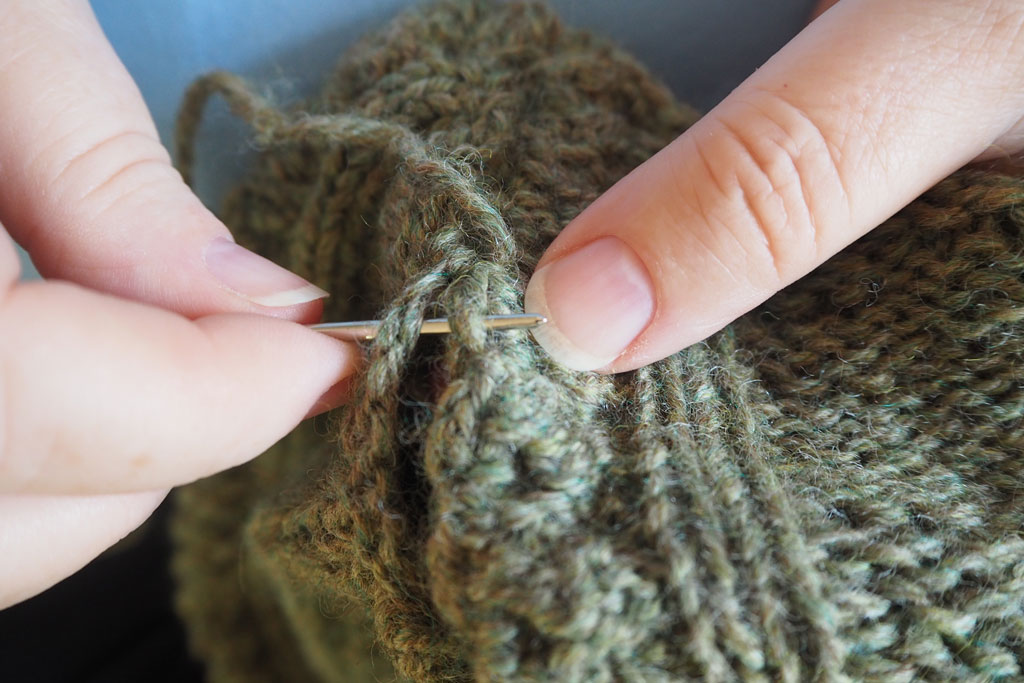
Pull needle through and pull yarn taught, but not so much as to bunch the seam up.
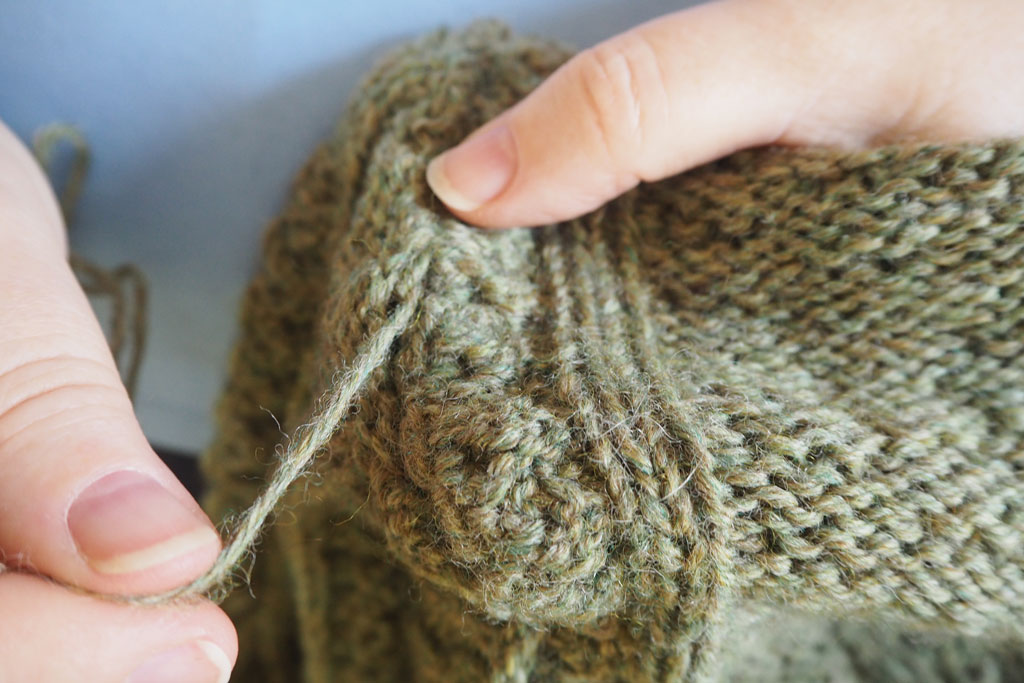
Continue working back and forth through the edges of both panels, always being sure to catch that innermost stitch of the braided cable!
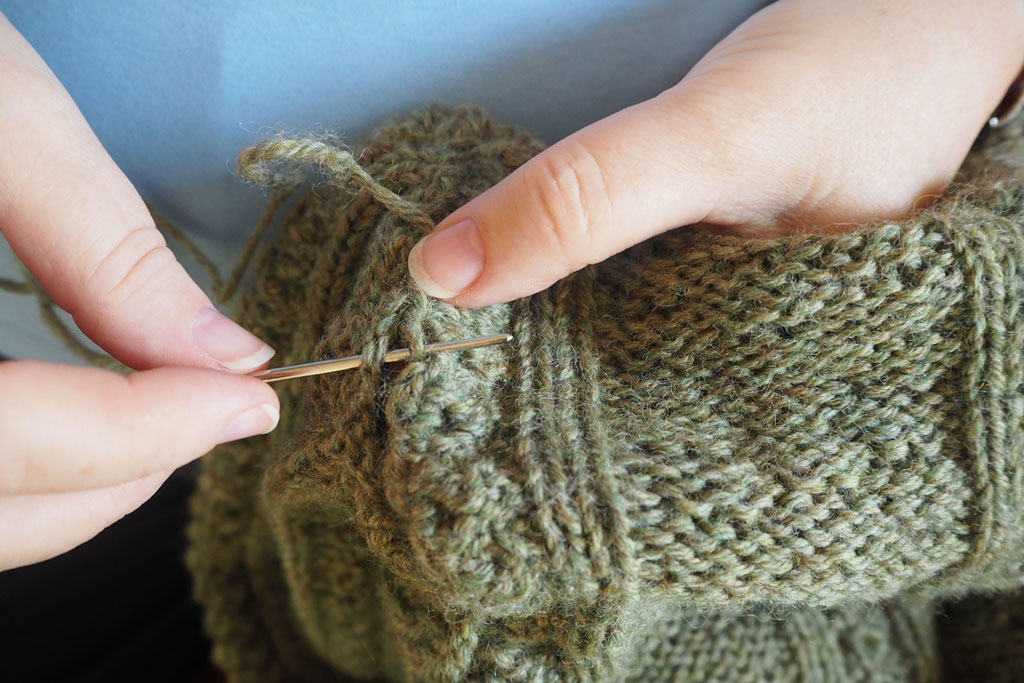
After you have worked a few inches of seam, turn the work over to make sure your stitching looks just the way you want it, and that the edge of the braided cable hasn’t been eaten into by the seam:
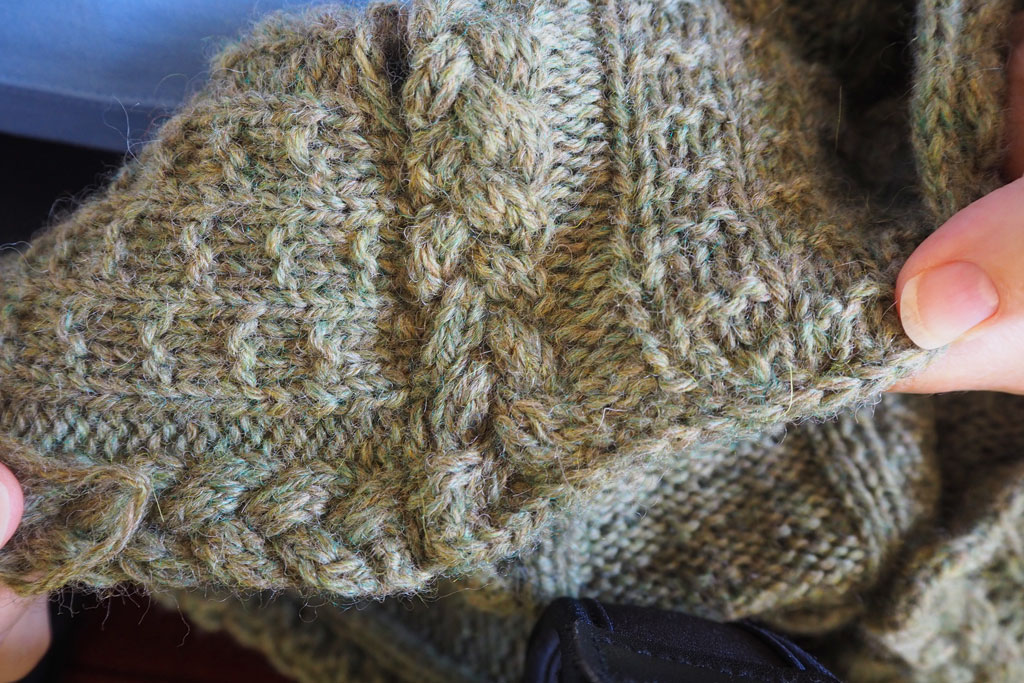
If you are happy with the results, keep stitching until you get to the end of the seam! Be especially careful to end your seam neatly, with no visible knots or bumps, as this end will become the neckline of the poncho and will be visible.
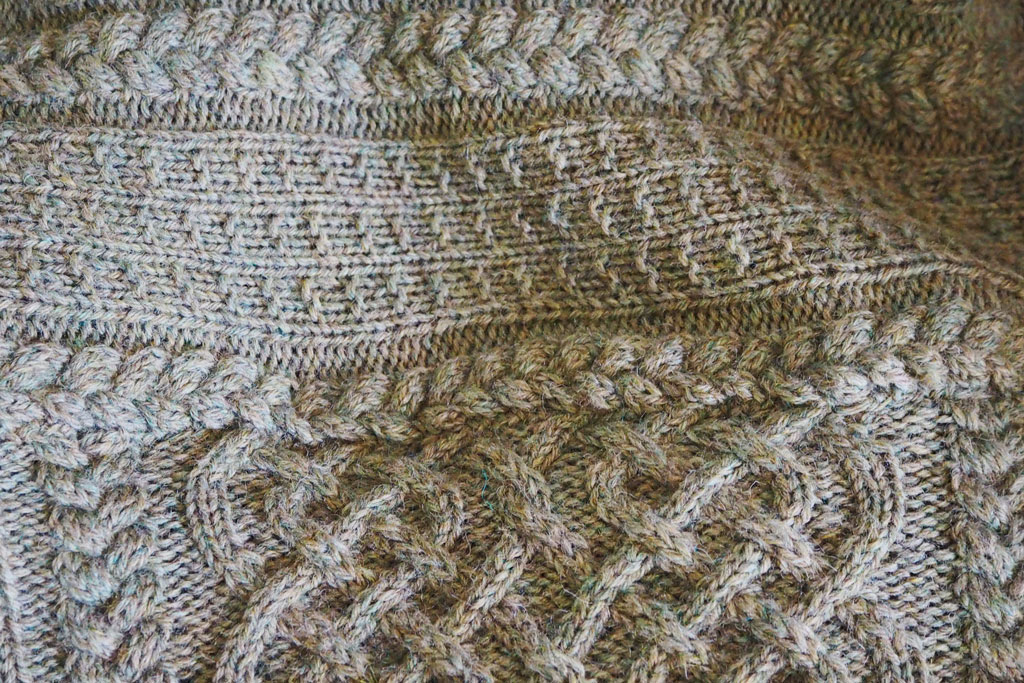
Voilà! When you have finished, you should have a nice, neat, invisible seam between the two panels. Here is how it should look from the right side:
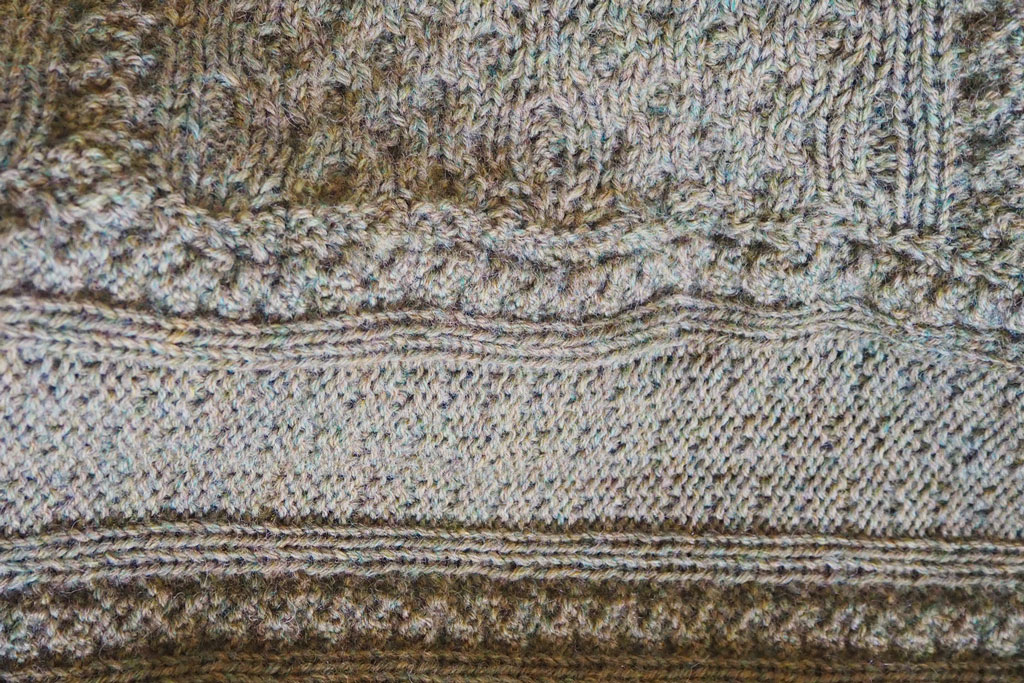
Here is the wrong side:
Now, you will repeat all the above steps on the second side. Measure and mark the long side of Panel 1 (the panel whose short side you stitched first) and pin the short side of Panel 2 to it. Pinning in this way should leave a small, diamond-shaped hole in the center of the two panels (folded in half, it will be triangular, like this):
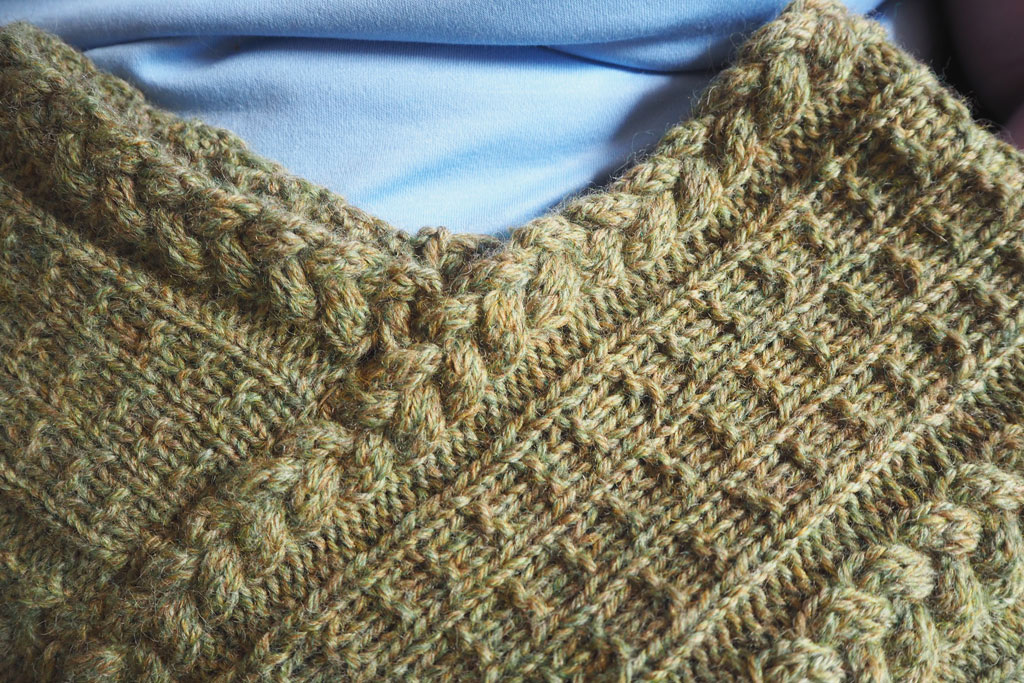
This is the neck hole through which you will fit your head when wearing the poncho. If your pinning does not leave a hole like this, unpin and try again!
Carefully stitch your second seam, and weave in all loose ends when finished. Your Portree Poncho is complete and ready to wear!
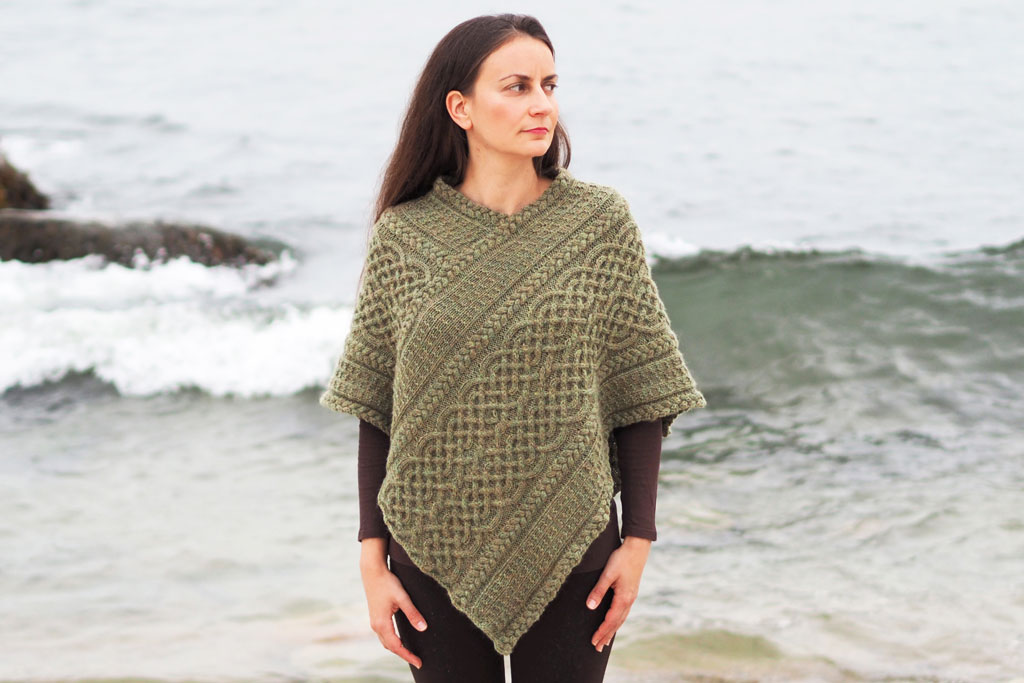
I hope you’ve found this tutorial helpful. Please let me know if further clarification is needed!
Just finished my poncho. Absolutely LOVE it. Very well Written pattern. Thx for Sharing this design. I plan on calling it “My corona”