Two weeks ago I released my newest design, the Glenfinnan Cardigan, and I posted some of the trials and tribulations involved in creating this design. So now, I plan to write a few posts with helpful information about constructing this sweater. This first post will focus on a central element of the design: the belt band.
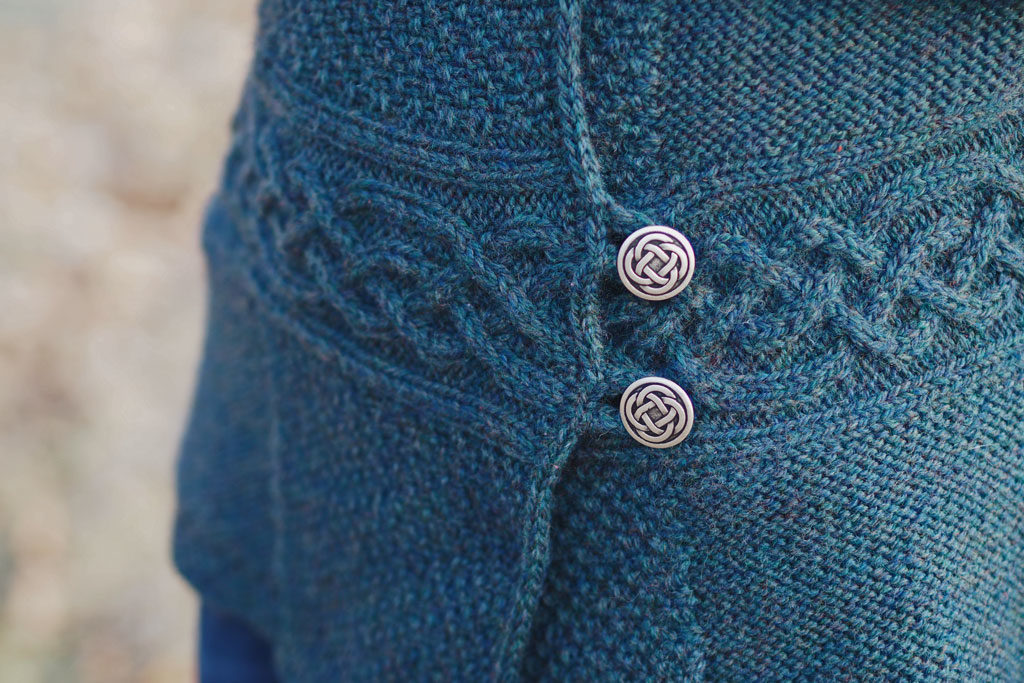
I want to begin by stating that the colorway I chose for my sample sweater is NOTORIOUSLY tricky to photograph. The camera picks up the color very differently in different lights, and it was nearly impossible to adjust the photos back to the correct coloration. I love this color very much (and I chose it because I knew I wanted to keep the sweater for myself), but man has it been a pain as far as photography goes! Lesson learned. Anyway, I apologize if it looks as if I’m photographing several different garments. It’s all the same sweater, I swear!
Ok. So knitting the actual belt band is very straightforward. Beginning with a provisional cast on, you simply work the chart or written instructions flat until the band measures the appropriate length for the size sweater you’ve chosen. Please note that the belt band may seem incredibly short, but you will need to factor in an extra 6″ around the sweater’s waist (which is the width of the shawl collar band). If you still feel that the waist will be too small for you (and do remember it’s quite stretchy), you can add some extra length to the band, pick up more stitches for the upper and lower body, and do less increasing on the body so that you still get to the right amount of stitches at the chest and hip. Play around with it and see what works!
Ok, so once you’ve knitted the belt band to the proper length, you’ll place all your stitches on a holder and MARK YOUR CHART so that you know which row was your last! This is important because you’ll be picking up where you left off once you work the shawl collar band.
Now it is time to block the belt band. This is important for two reasons:
- It will be much more difficult to really block the band well when it is in the finished garment.
- You want to make sure it is the proper length and width before picking up stitches for the upper and lower body.
I block by giving the band a bath in a basin of lukewarm water and GENTLY squeezing out excess water, then spinning the band on the gentle spin cycle on my top-loading washing machine. ONLY spin dry in a top loader, never in a front loader machine! An alternative is to pat dry between two towels.
Then I block the band by pinning it to a towel (or foam mats) and carefully measuring the width every few inches to make sure it is evenly pinned.
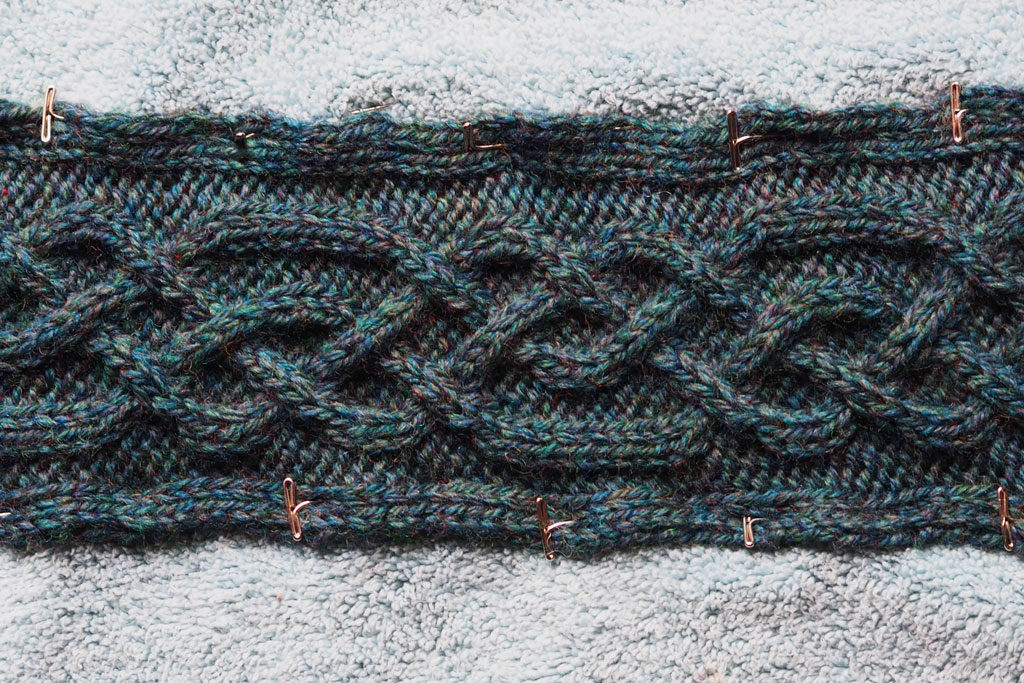
After several hours I unpin, turn it over, and let the back side dry as well.
Once the band is good and dry, it is time to place pin markers. Hold it so that the provisional cast on (with the crocheted stitch holder rather than the plain holder) is near your right hand. Measure in from the provisional cast on as written and mark with a straight pin. Do the same on the other side, measuring in from the stitch holder and marking with a straight pin. These pins mark the sides of the sweater, where you will place a marker and work increases.
Now, with the provisional cast on still nearest your right hand, pick up stitches along the top edge. You will do so by inserting the needle into both parts of the outermost stitch along the band’s edge.
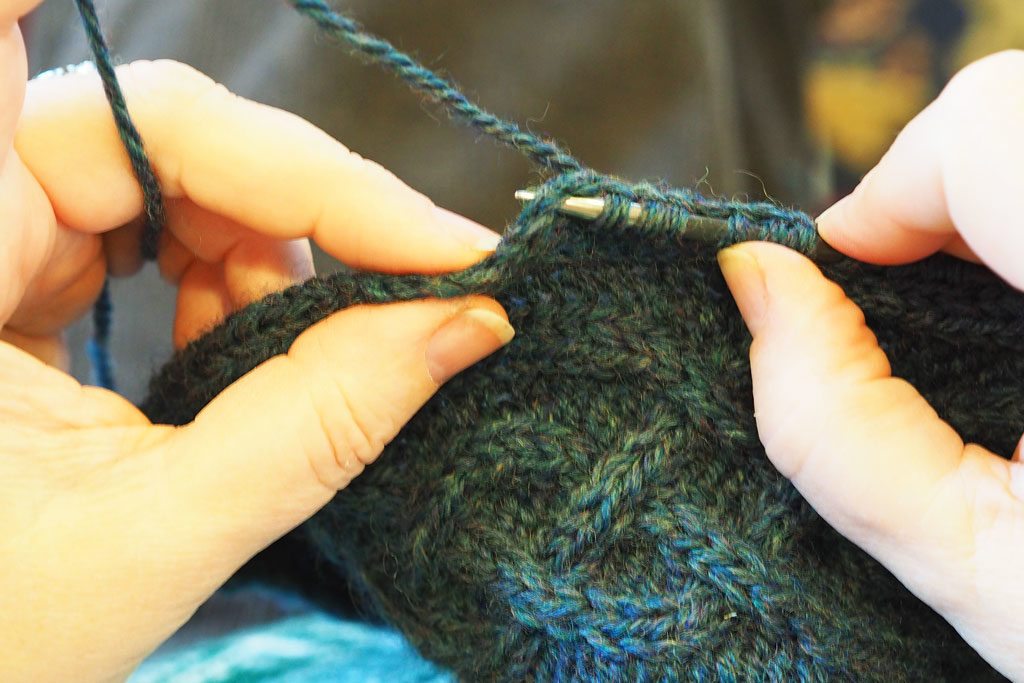
Pull the yarn through this edge stitch and move on to the next stitch. You will need to skip some of the edge stitches in order to pick up the right amount of stitches on your needle (usually three out of every four edge stitches gets you the right amount, but you’ll probably have to finagle it a bit).
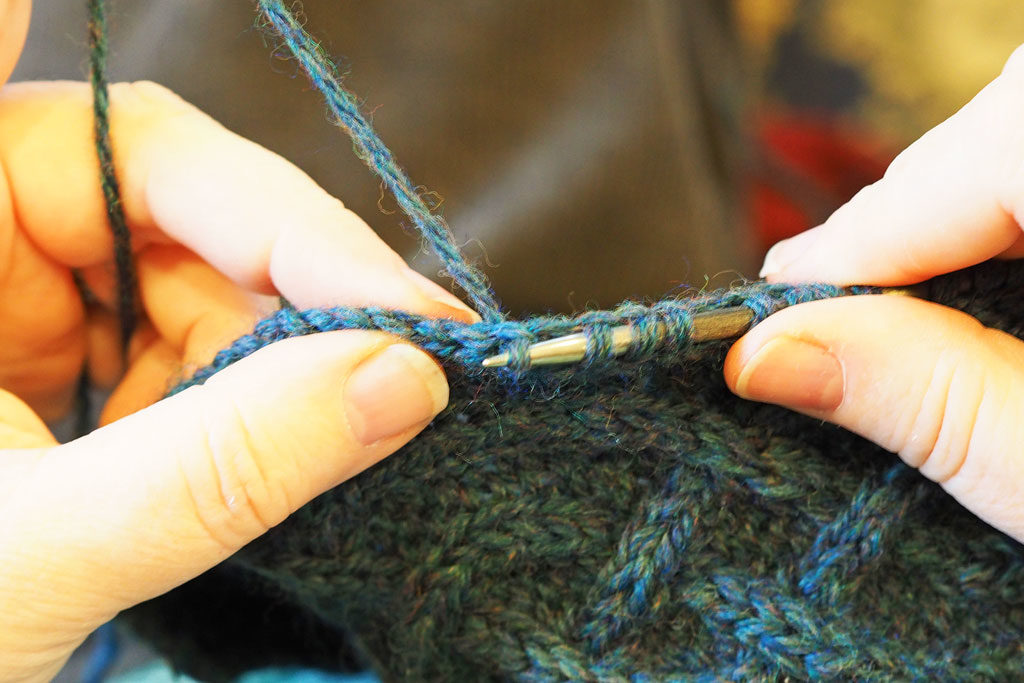
Begin at the edge closest to the provisional cast on and work toward the first pin. When you reach the pin, place a marker on your needle, work to the second pin, place another marker, and work to the end. You can remove the pins as you go.
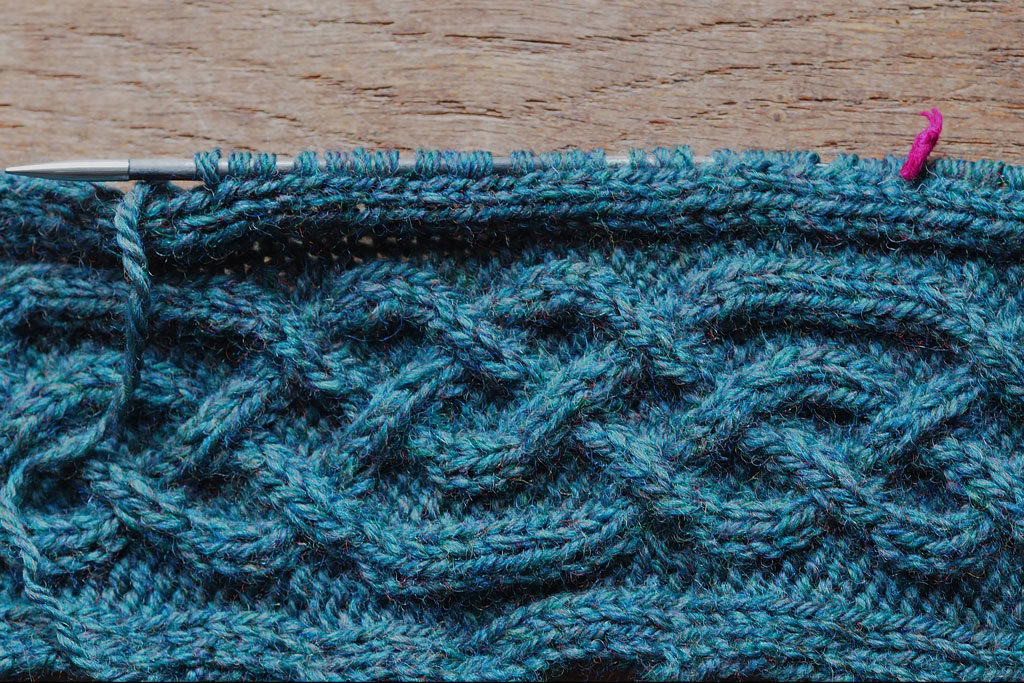
To be sure that you are picking up through the correct stitch, take a look at your work. It should appear as if the belt band has two knit stitches at its edge just before the pick-up row, as pictured above.
Now you can work down to create the lower body of the sweater and cast off at the bottom hem edge!
You will repeat the exact process above to pick up stitches for the upper body – the only difference will be that the provisional cast on is near your left hand.
Once you have completed the lower and upper portions, your sweater body will look something like this:
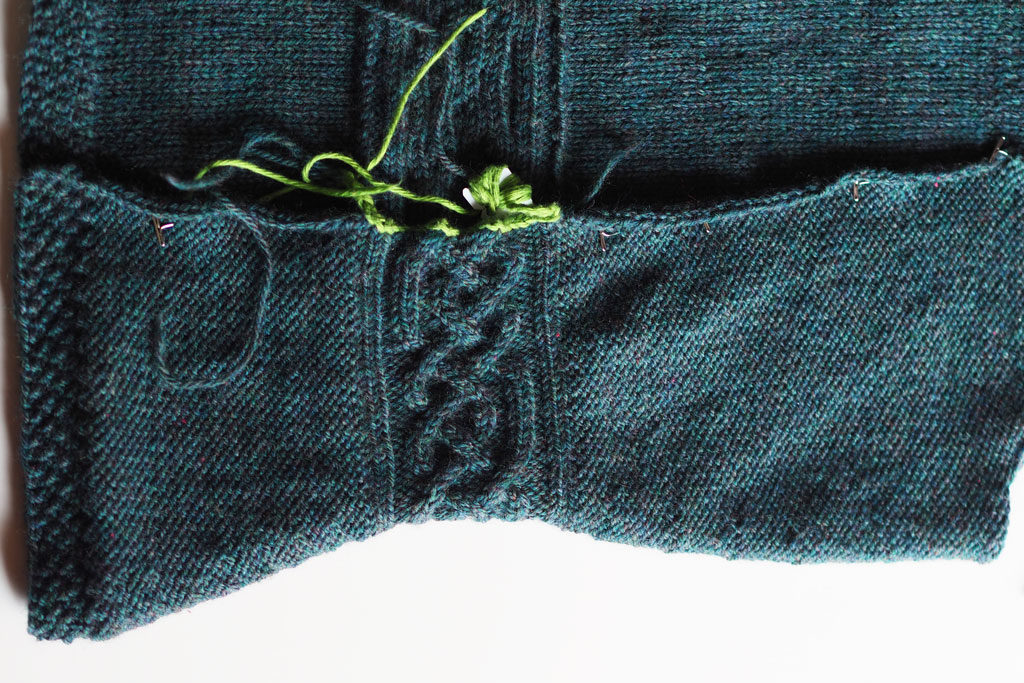
Next you will set the body aside for a bit and work both sleeves flat. Then it will be time to pick up stitches and work the shawl collar band! Stay tuned for a new post detailing that process!
Leave a Reply