In my last post, I walked through the steps of creating the Glenfinnan belt band and picking up body stitches on either side of the band.
Now, I want to spend a little time on one of the unique features of the Glenfinnan, which is the wide double moss stitch shawl collar. The reason it is unique is that the belt band runs right through the collar band. It sounds quite complicated, but it’s actually not, once you have everything set up correctly!
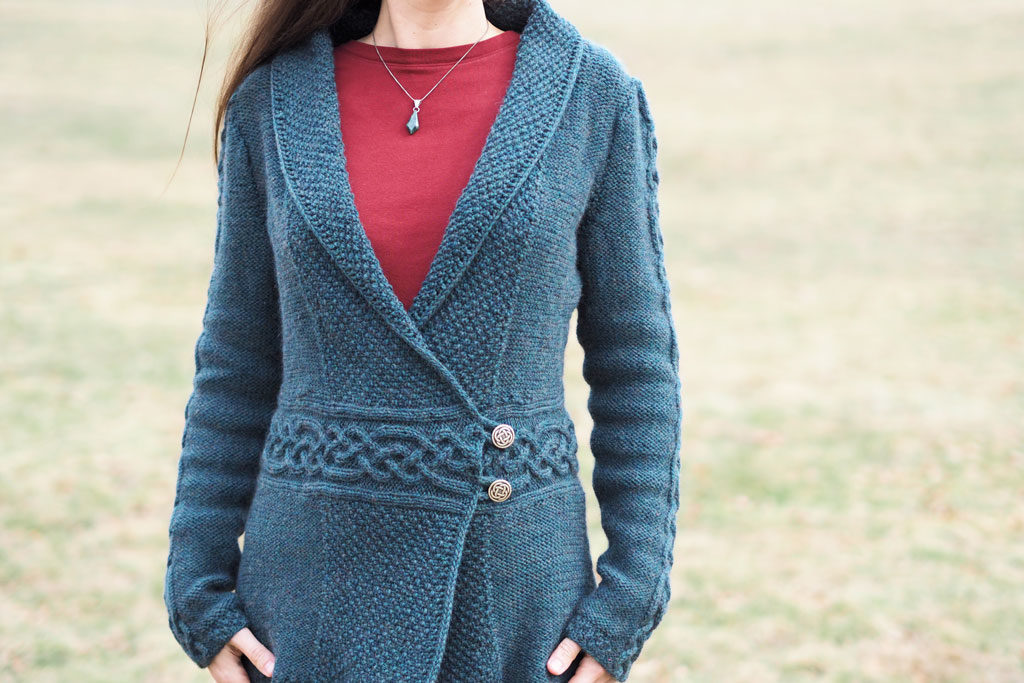
Once the body is knitted (and the sleeves are complete), it is time to pick up stitches for the shawl collar. You will need a long circular needle to fit all these stitches comfortably – I recommend a 60″ circular needle, but you probably could get away with a 40″ as well, if you don’t mind your stitches being bunched on there. With the right side of the garment facing you, begin at the bottom (hem) edge of the cardigan’s right front. You will pick up your first stitch right on the very edge, so the bottom edge of the sweater will not have a jag between the regular body and the shawl collar.
Picking up stitches along a side edge is a technique requiring a little practice. First, it’s not always easy to estimate how often to pick up a stitch, and when to skip one of the edge stitches, so that you will have the correct amount of stitches on your needle and evenly spaced along the edge. You don’t want to pick up every stitch for three quarters of the edge, and then have to skip every other stitch in the last few inches in order to get to the correct total of stitches. Picking up unevenly like this will cause parts of the sweater to pucker and will stretch out other parts. So, it’s important to find a rhythm in picking up and skipping stitches throughout. Often times picking up three stitches and skipping the fourth will work, but this is definitely not always the case. I’ve ripped out and redone pick-up rows many, many times to get them just right!
When picking up a stitch along an edge, I put the needle through both loops of the stitch, like this:
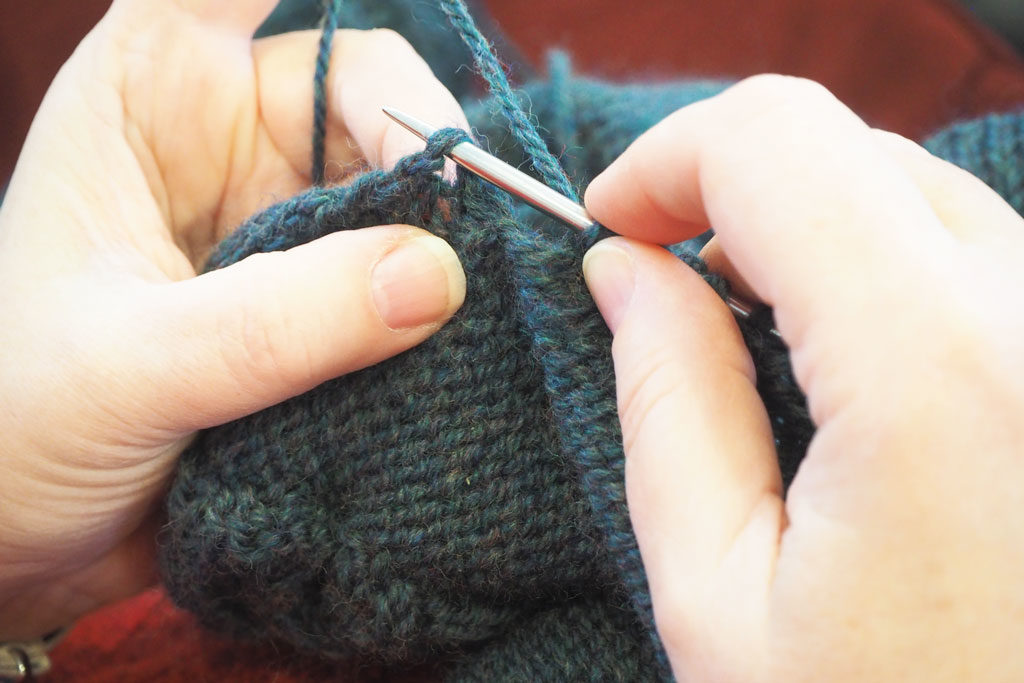
Next you will pull the yarn through both loops and pull it snug enough so as not to leave a large gap. This is particularly important when picking up over a shoulder seam.
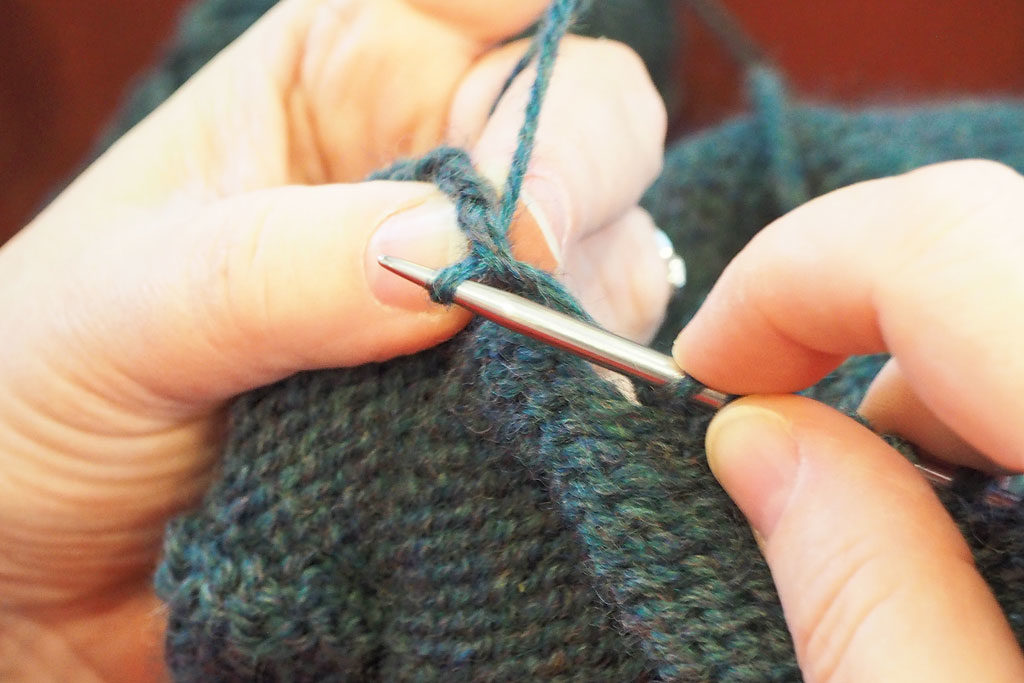
As you pick up along the edge, your work should look something like this:
Once you’ve worked along the lower body, you will eventually reach your first half of the belt band. This first half should be the end of the band, with a plain stitch holder. If you were clever and followed the directions well, you will have marked off which row of the belt band chart was your last knitted on this belt band. Perfect! Now you know just where to start up again! Take the stitches off the holder and place them on the left-hand needle (or a separate needle, if this is easier for you). Now the first and last stitches of the belt band have been eaten up when you picked up the upper and lower body of the cardigan, except here, where you are starting up fresh and not picking up along the side of the band. So, you’ll want to work that first and last stitch of the band in reverse stockinette (purl on right side, knit on wrong side) so that it recedes modestly into the background and pretends not to exist. All other stitches of the belt band will be worked just as before, picking up right where you left off.
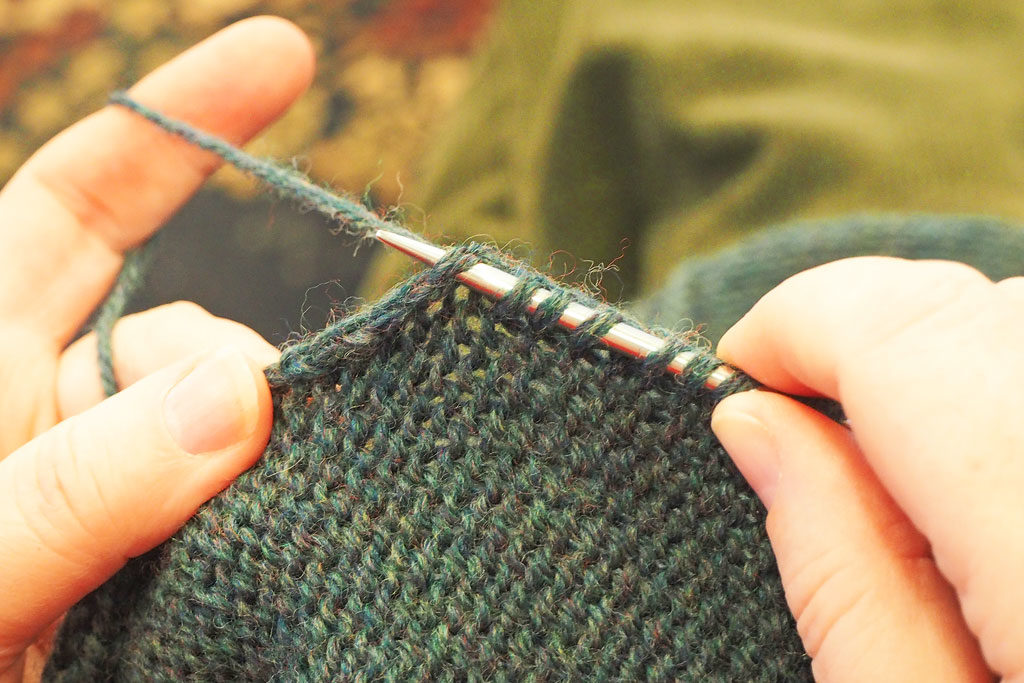
Once you get past the first side of the belt band, you’ll pick up as marked up the right side of the upper body, over the shoulder, around the back neck (these stitches will be on a holder), and down the left side of the upper body until FINALLY you are at the other side of the belt band. This side is the beginning of the band, which you started with a provisional cast on. You’ll need to unzip that crocheted holder now so you can work the stitches. You will want to place all the stitches onto the left hand needle or a second needle, just as before. Be very careful as you unzip, because some of the cable stitches may twist around. I like to unzip only one or two stitches at a time:
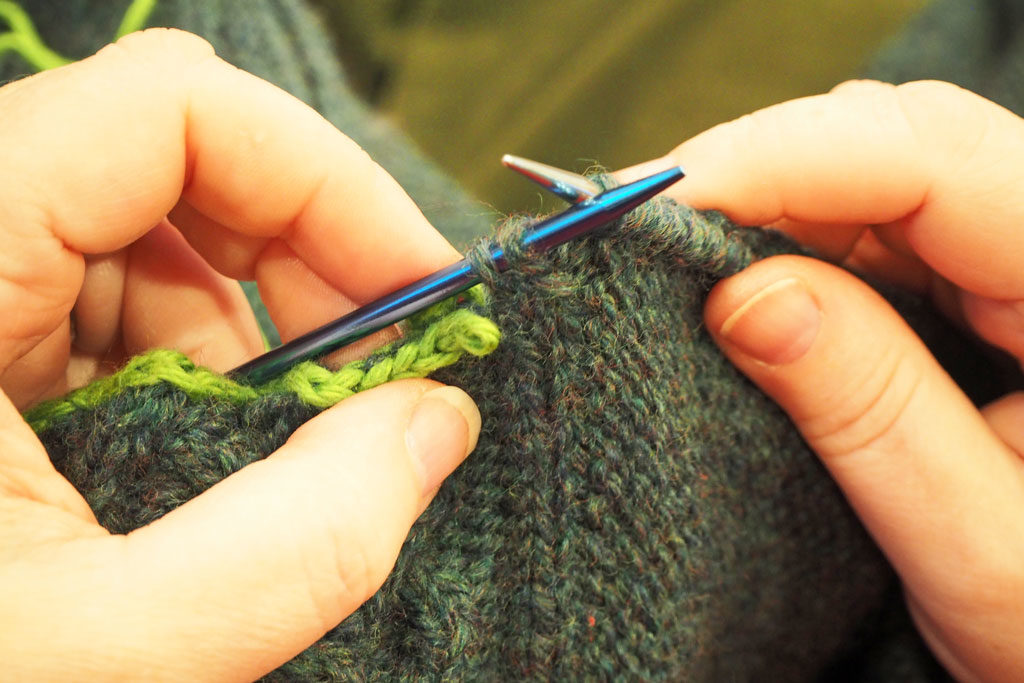
I pull the cotton holder thread very carefully and quickly get that stitch right onto the needle so it doesn’t run away from me!
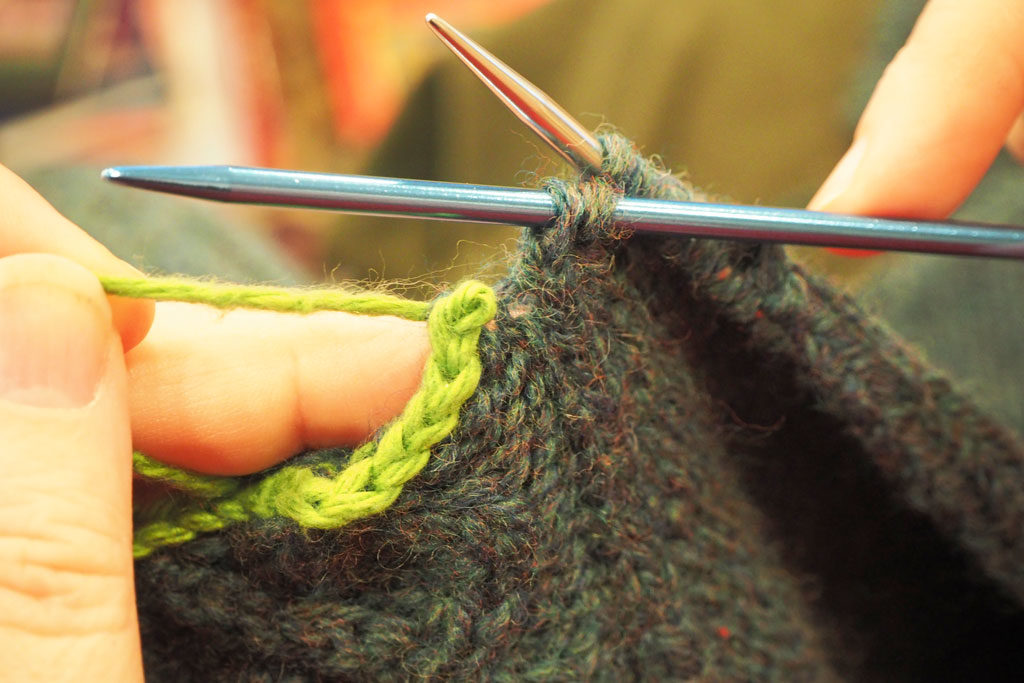
The belt band begins on the same chart row, no matter which sweater size, so it is easy to know where to begin when starting up again on this side of the band. Just keep in mind that you are now knitting in the opposite direction that you were when you made the belt band in the first place (remember, this was the beginning of the band and you worked up toward the end, and now you are working down from the beginning!) so your stitches will appear to be off by one half stitch. That’s ok, it can’t be avoided. This part of the shawl collar band will be underneath the other part when buttoned, so you won’t even see this little bit of oddness!
Once you’ve knitted across the second half of the belt band, it will look like this:
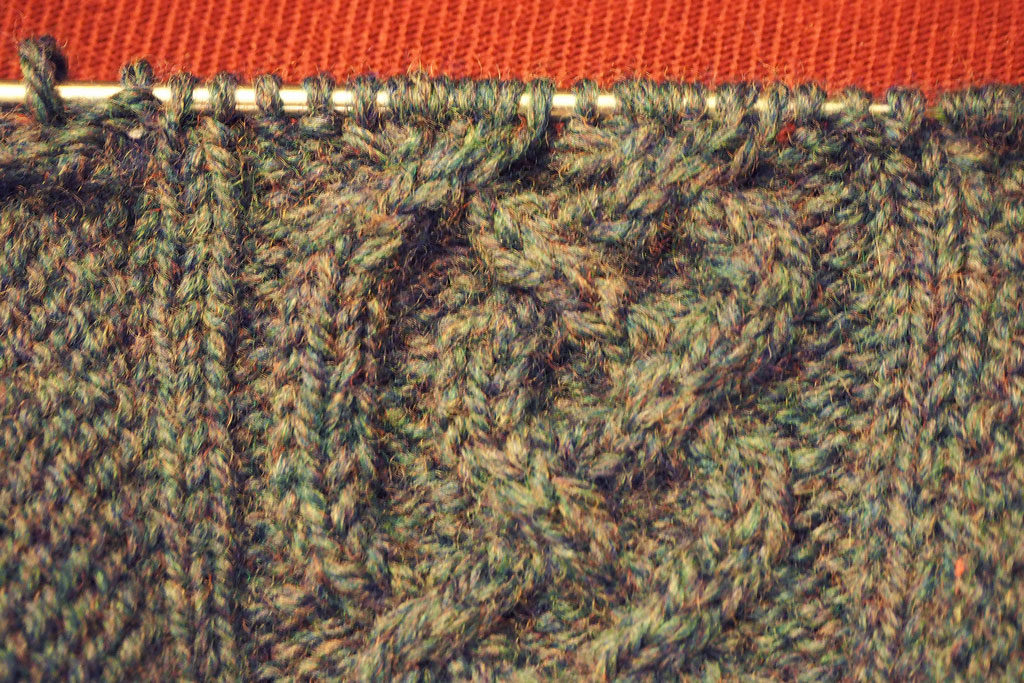
You are almost there! Just pick up the stitches along the lower left body, and you’ve got your complete first row of the shawl collar band!
Working the double moss stitch sections of the band will be a piece of cake. Just make sure you keep careful record of where you are on each half of your belt band, so you’ll know which chart row is correct for each half. Working the shawl collar band takes a good deal of time AND yarn, but it really brings the whole cardigan together!
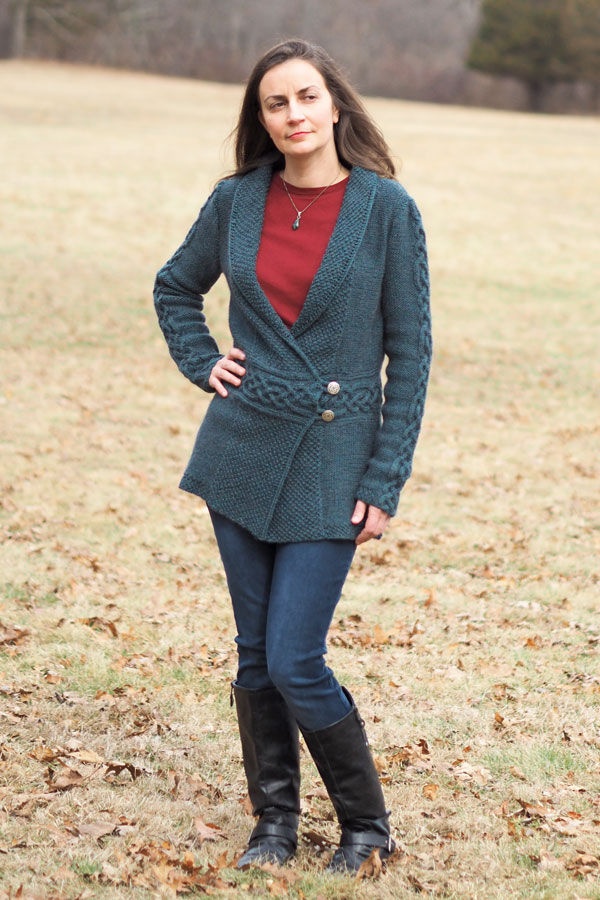
In my next post on the Glenfinnan, I will spend some time going over the I-Cord bind-off along the shawl collar band edge, as well as the I-Cord button toggles. We are almost there!
Leave a Reply