I have officially fallen in love with the I-Cord bind off. It is so clean, so simple, so versatile, it adds almost no bulk to a garment, and once you get the hang of it, it’s really easy to create. The only drawback is that it’s a bit more time consuming than a standard bind off, but so worth the trouble!
I decided to use an I-Cord bind off on the shawl collar of my Glenfinnan cardigan. Most of the collar band is knit in a double moss stitch, which doesn’t really require any special handling, but I didn’t like the idea of leaving raw edges at the ends of the belt band! I felt they deserved something a bit tidier, particularly since they would have I-Cord toggles sewn onto them. So MORE I-Cord seemed the perfect solution! I-Cord everywhere!!
I-Cord bind off takes a little getting used to, so in this post I thought I’d go through the whole process step by step. Follow along! The instructions here can be used for any garment requiring an I-Cord bind off.
Ok, so when we left off in the last post, we were working the shawl collar band with the belt band running through it. Once you reach the band’s full width, you should be ready to begin binding off with the right side of the shawl collar band facing you. The first thing to do is to cast on three extra stitches (the I-Cord stitches). You can do this by making three backward loops, but I find this method very tight and hard to manage. So I use the cable cast-on method instead.
First, put your needle through the first stitch as if to knit (we have a wonky way of knitting, so don’t be thrown off – just do it the way you know how!).
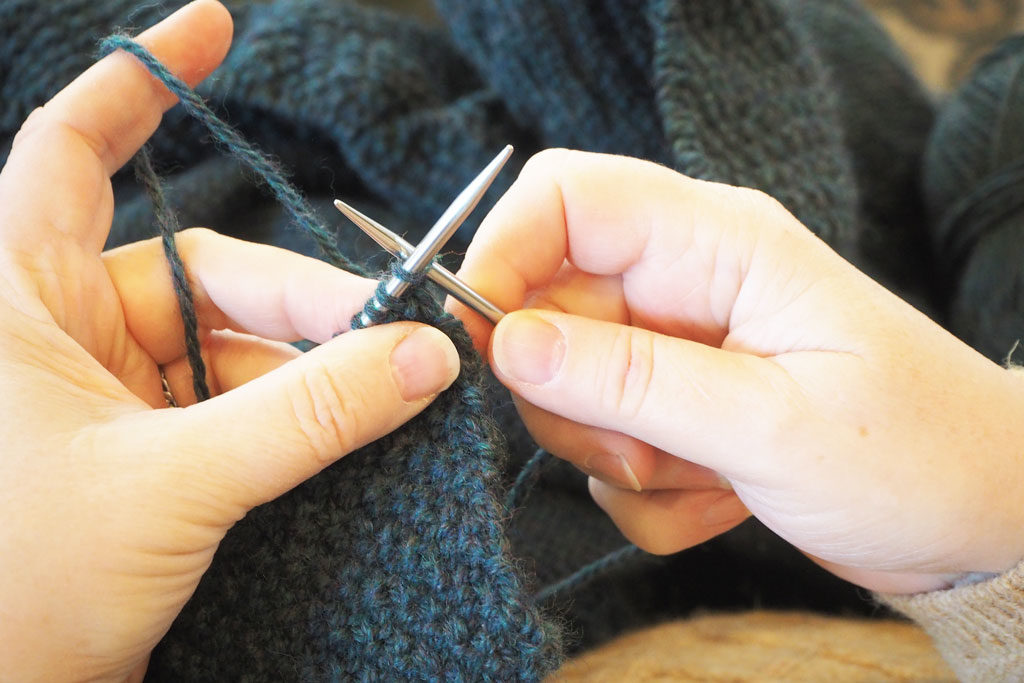
Wrap the yarn and pull through, just as you would to knit a stitch, but do not slide the knitted stitch off your needle. Instead pull it out long, making it very loose.
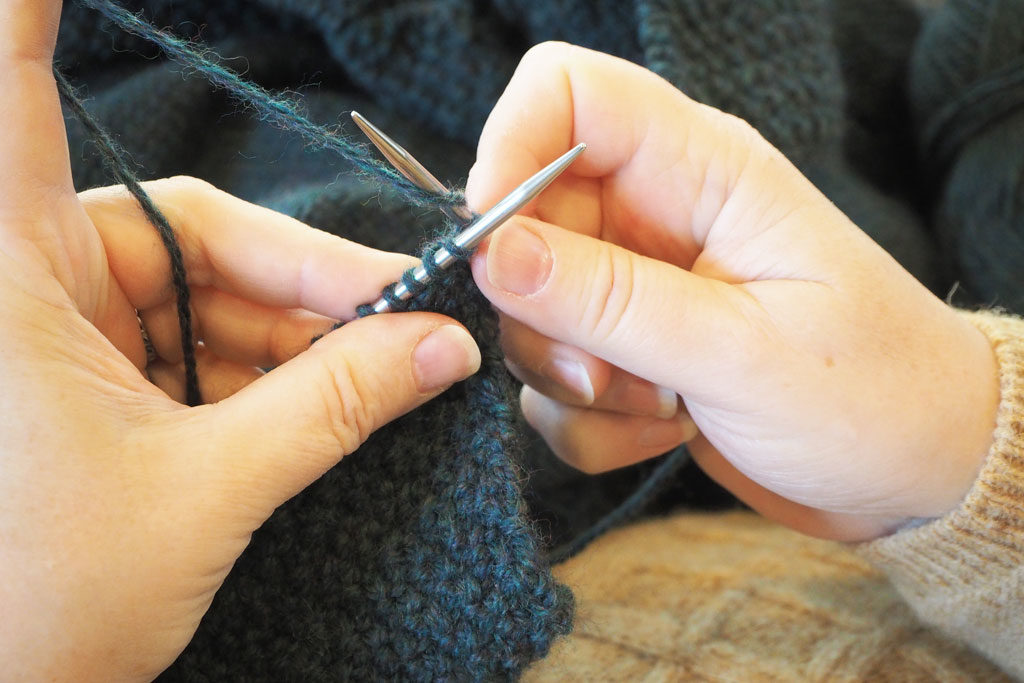
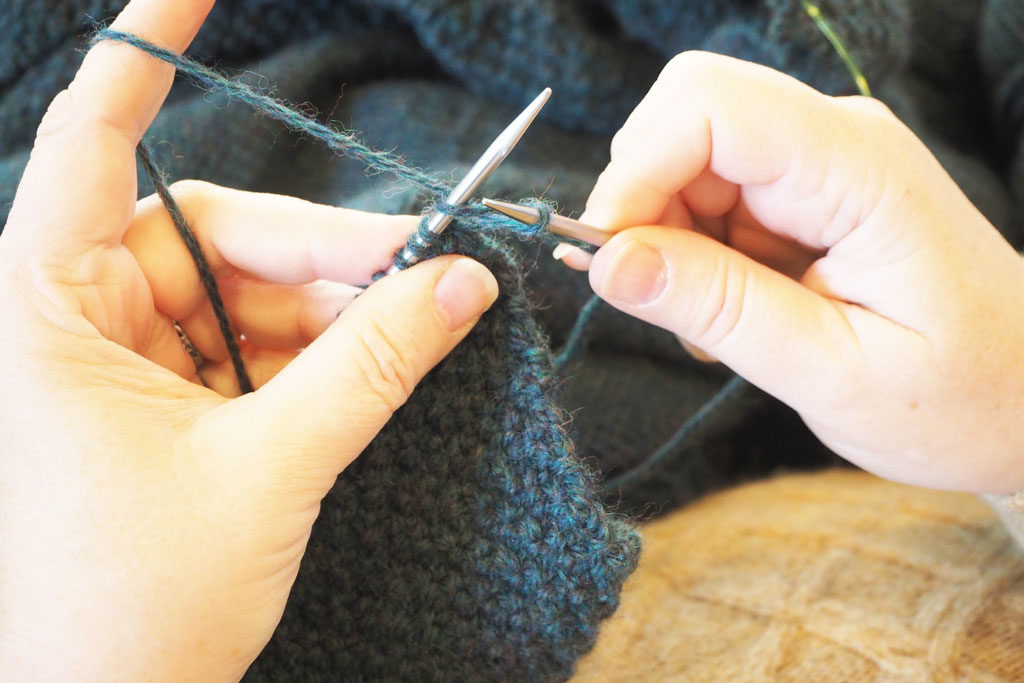
Now pull the loose stitch up and place it back onto the left-hand needle, making a half turn as you do so. Tighten it up a bit if necessary, but don’t pull super tight.
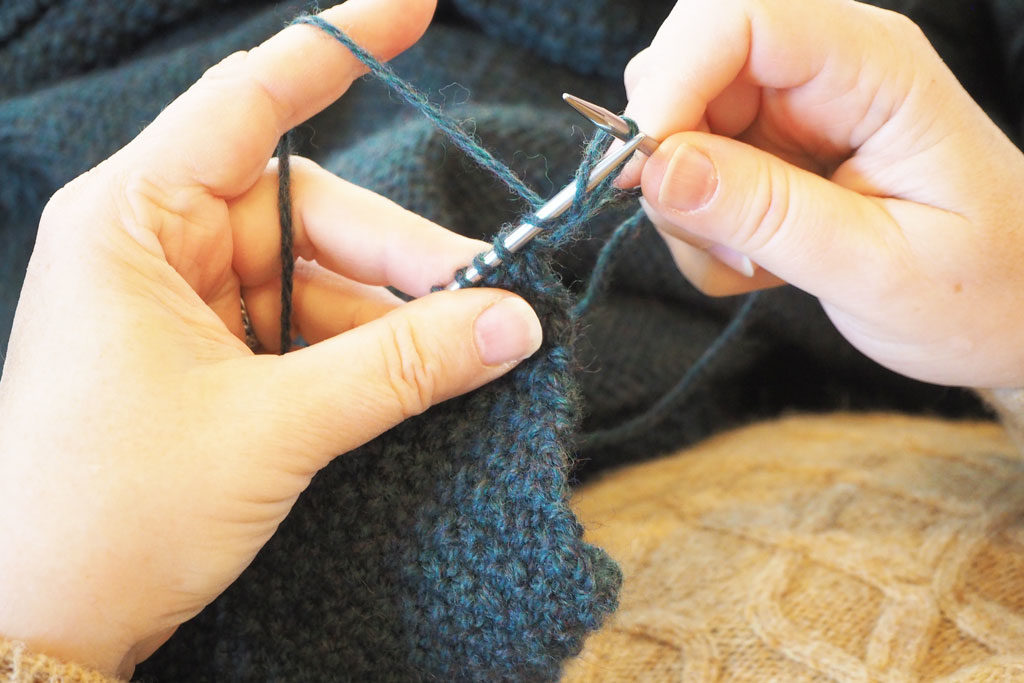
Great! You’ve just made a new stitch and placed it back on your needle. Now you’re going to repeat the whole process by making another new stitch into the one you’ve just made. Put your needle through this brand new stitch knitwise, wrap, and pull through just like before.
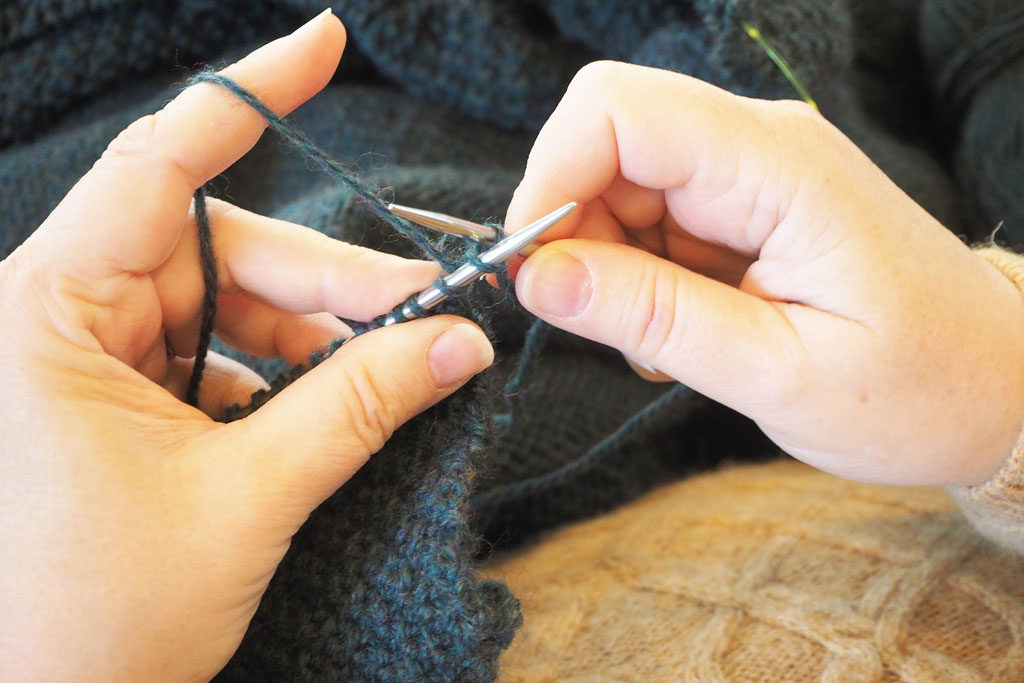
Pull the stitch up into a loose loop and place back onto the left-hand needle, making a half turn.
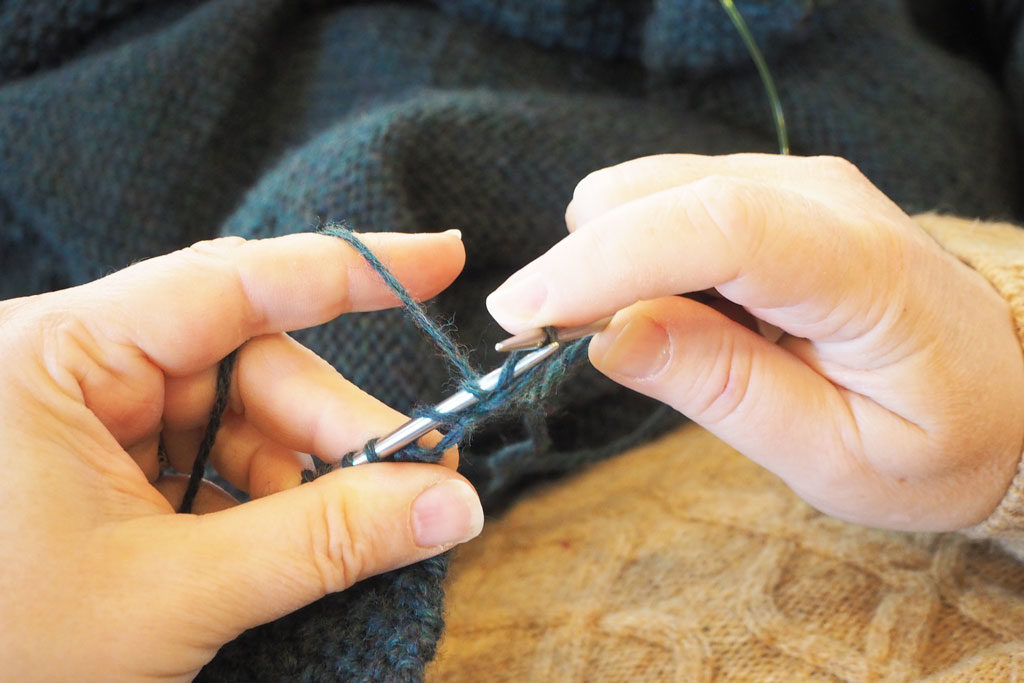
Two new stitches made! Now just repeat this process once more, and you’ve got your three cable cast-on stitches!
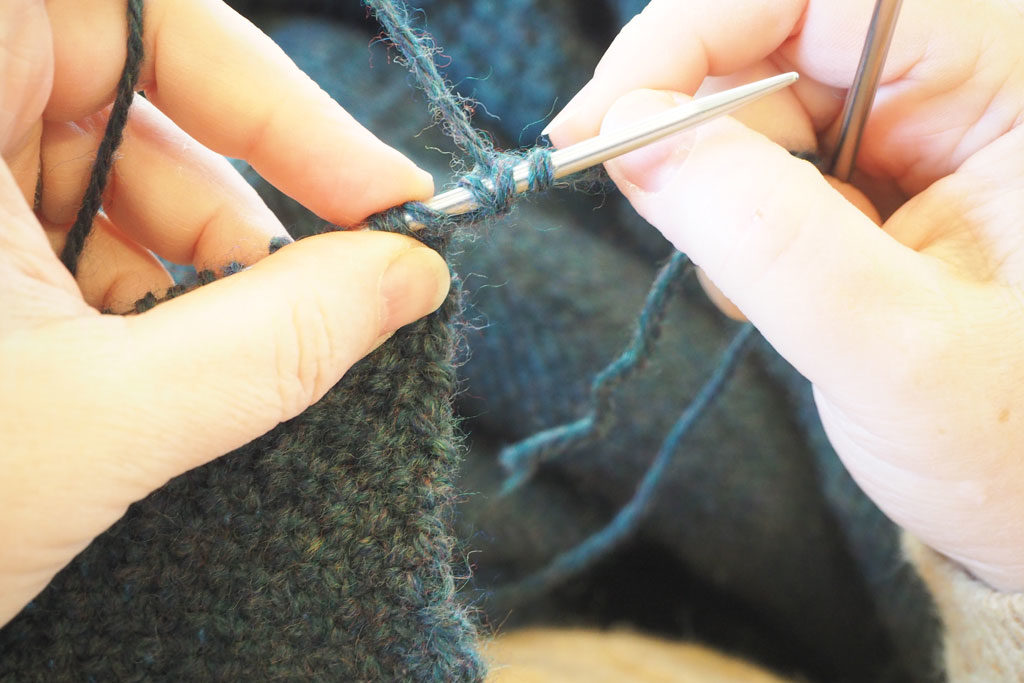
Cable cast on is extremely useful when you need to create new stitches to the right side of your knitting. It is much sturdier and stretchier than making backward loops. So remember these steps for the future! Ok, now it’s time to begin the actual bind off. Knit the first two cast-on stitches on your left hand needle, as you typically would.
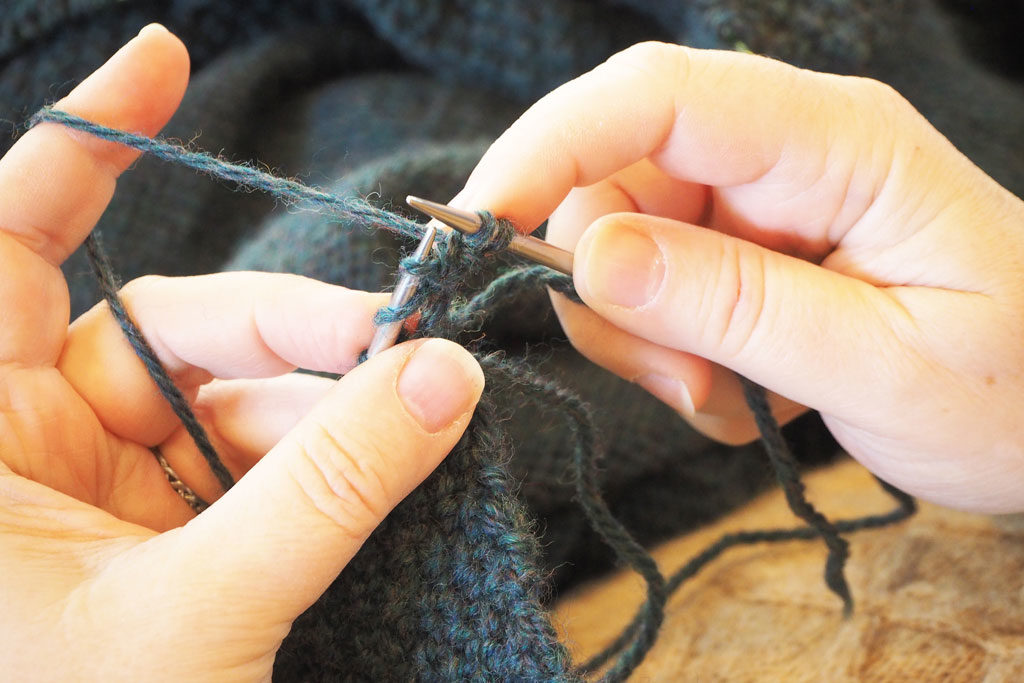
Now you will knit two together – the third cast-on stitch together with the first actual stitch of the shawl collar band. This essentially binds off one stitch of the band.
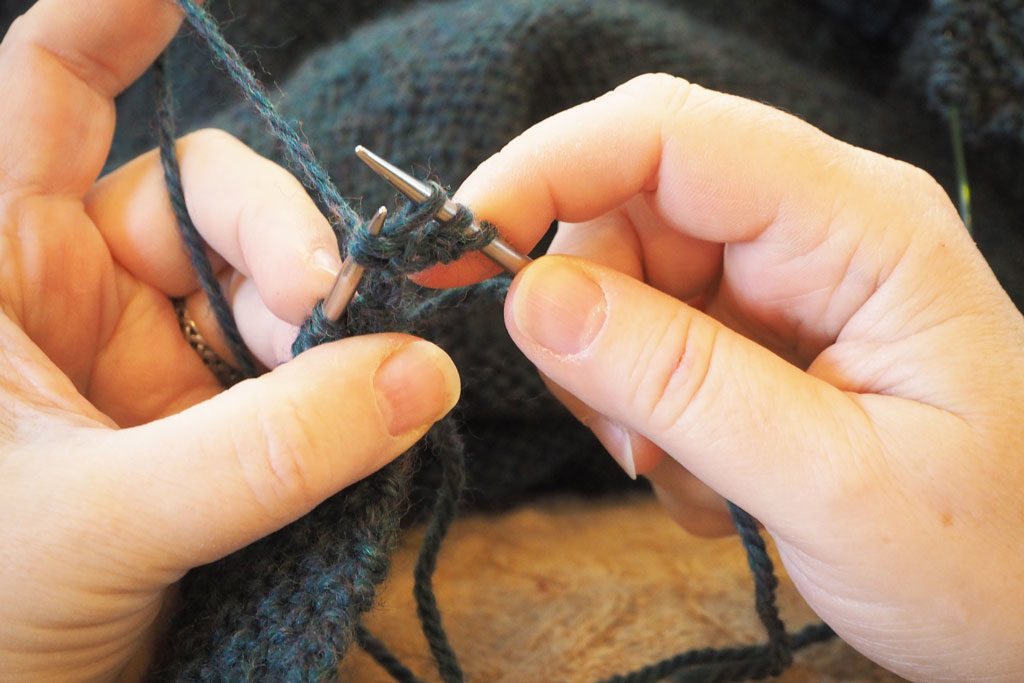
All well and good! Now you have to insert your left hand needle into the three stitches on your right hand needle and slip them back onto the left hand needle.
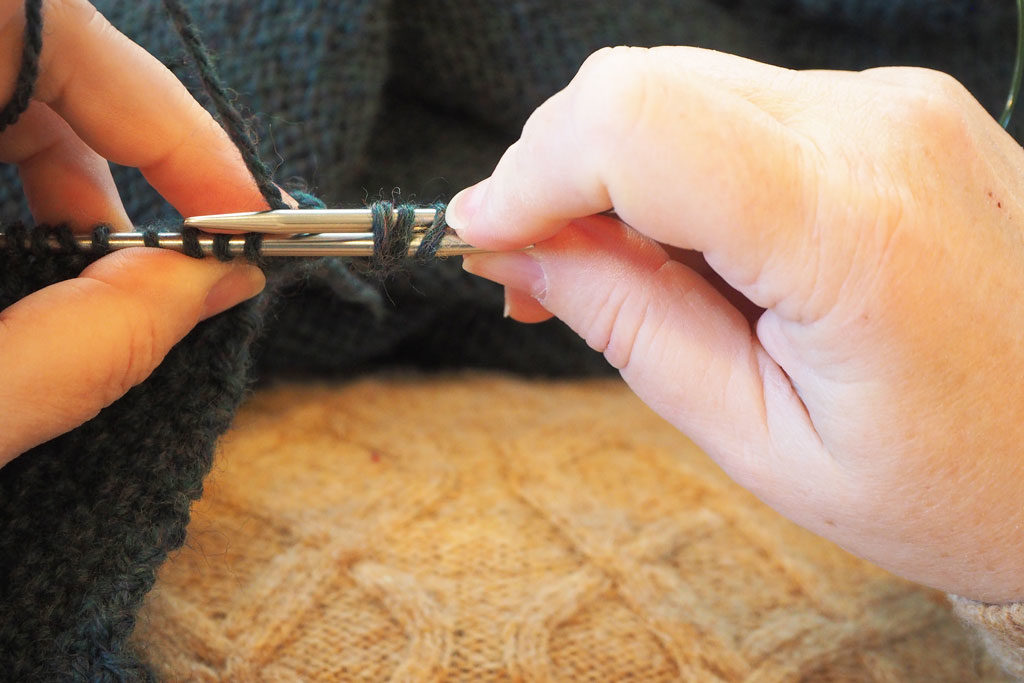
Once they are back on the left hand needle, it should look like this:
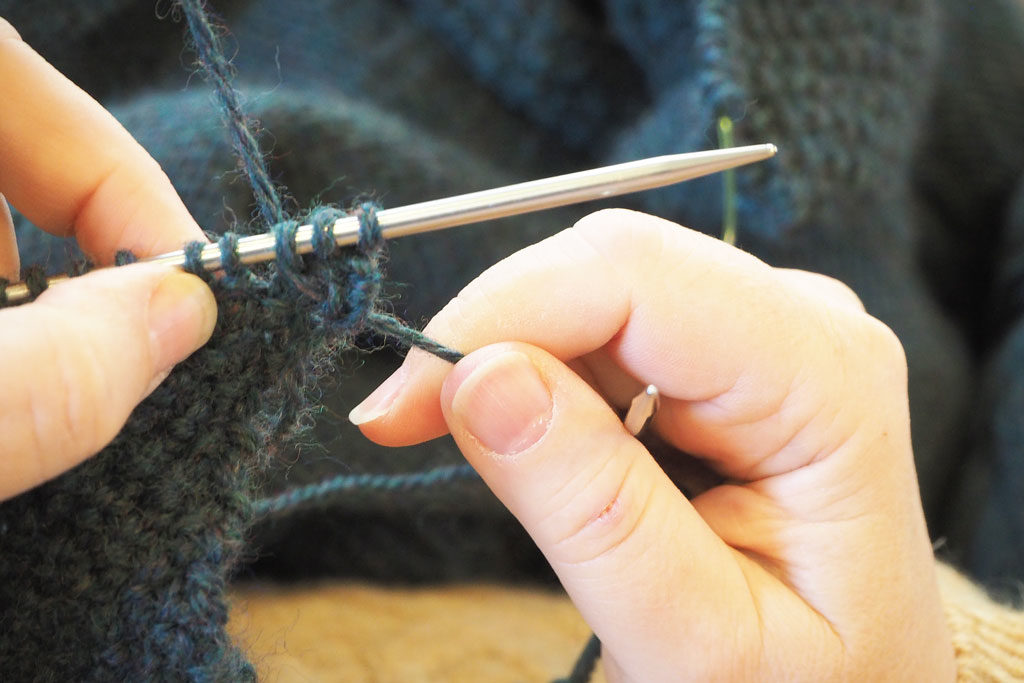
Time to work the I-Cord steps over again. Knit the first two stitches, knit two together, slide three stitches back onto the left hand needle. And again and again ad nauseum. As I said, it takes a little time, but it looks so nice in the end! Once you work the I-Cord bind off over your belt band, it will look like this:
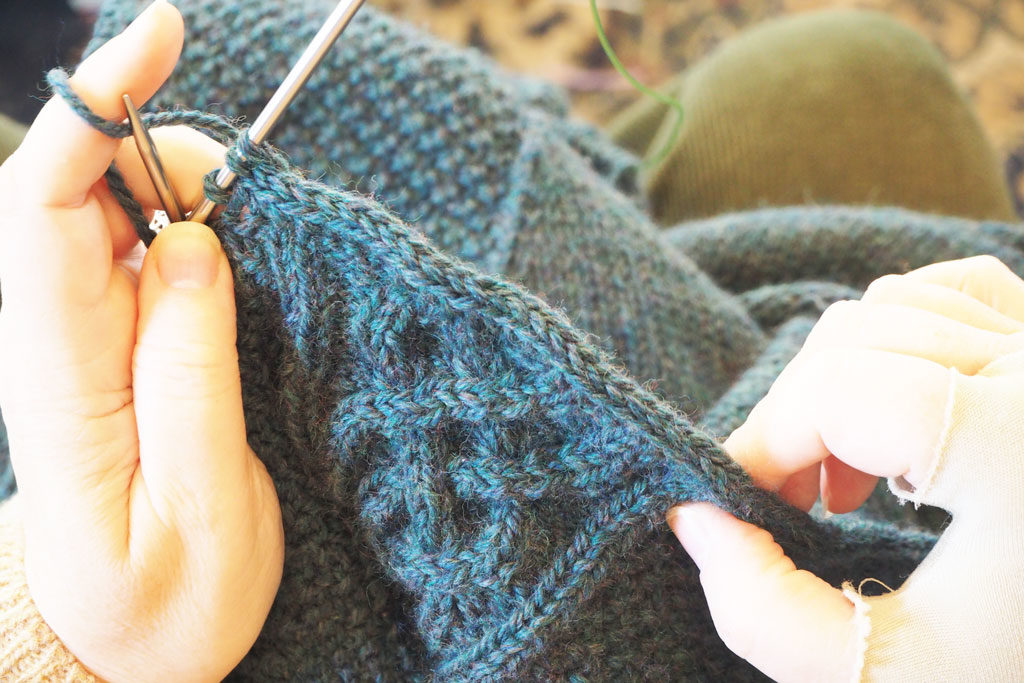
Isn’t that nice? So much better than a raw edge!
Keep going along the entire edge of the shawl collar until you get to the very end and just have your three I-Cord stitches left. You can take care of these by knitting three together at once. Break the yarn and pull through. YOU DID IT!
In the final installment, I’ll go over regular I-Cord (not bind off) for making the button toggles. We’ll sew those babies on and you’ll have yourself a sweater!
I love the I-cord bind off! I also love to attach an I-cord instead of ribbing at the neck of sweaters. Thanks for the tutorial. I am grateful for your mom teaching me how to do the I-cord bind off:-)