This will be the last of a three-part tutorial series for my Hedgehogs Smartphone and Tablet Cover design! In Part One, I explained how to do the provisional cast-on technique required for this design. In Part Two, I showed the three-needle bind off technique to make a nice sturdy seam at the bottom. In this third part, I will explain an optional technique – duplicate stitch – which will make the stranded knitting much less complicated.
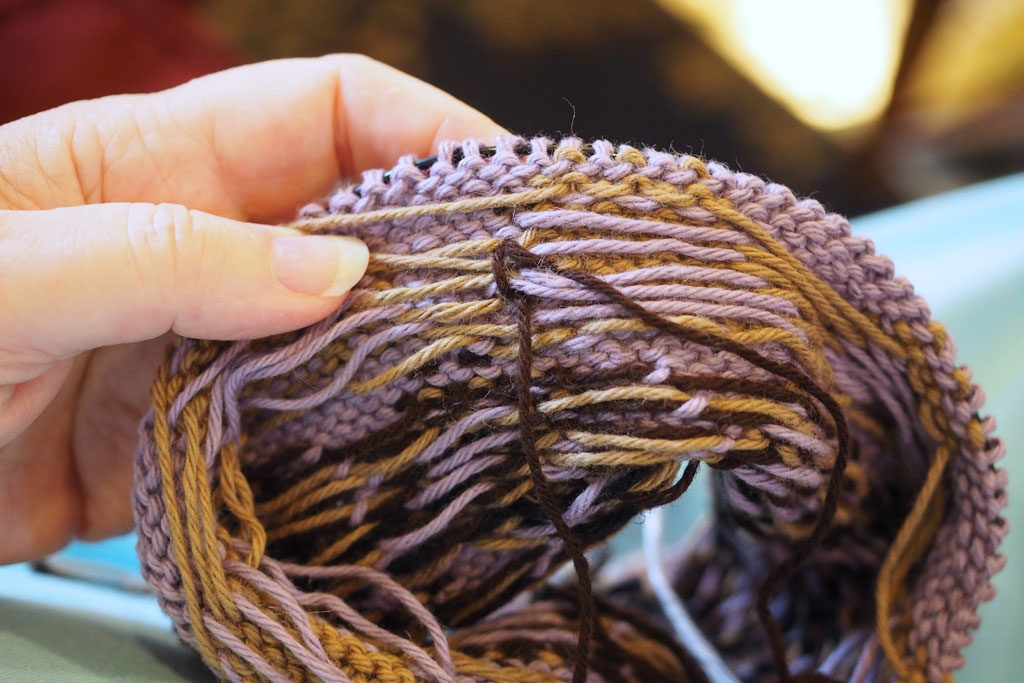
For me, personally, I don’t mind doing stranded knitting with multiple colors at a time. I usually have the main color off my left hand (I knit continental style) and the second color off my right, and then I’ll grab the third etc. with my right hand when needed. I admit, it can get a bit hairy, and I do spend some time untangling yarn every round, but I like complex knitting far more than I like finishing work at the end. That’s my preference. I know plenty of people who prefer not to work with more than two colors in any round of knitting, and for those people, the duplicate stitch will make this pattern much, much simpler.
First you will want to follow the duplicate stitch chart in my pattern when knitting the smartphone or tablet cover. The duplicate stitch chart has only two colors – purple and the light brown. The dark brown and black are added after the fact.
Once everything is knit, you will want to take a look at the full color chart to see what is missing and where you will need to add it with duplicate stitch. First, thread your yarn needle with one of the colors you need to add (dark brown here).
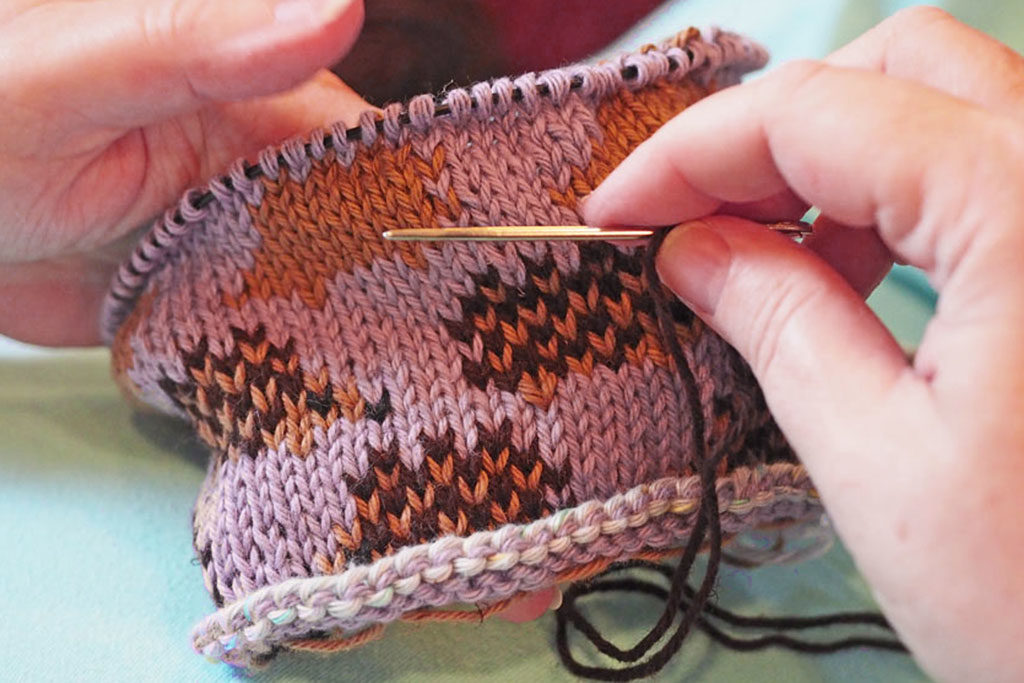
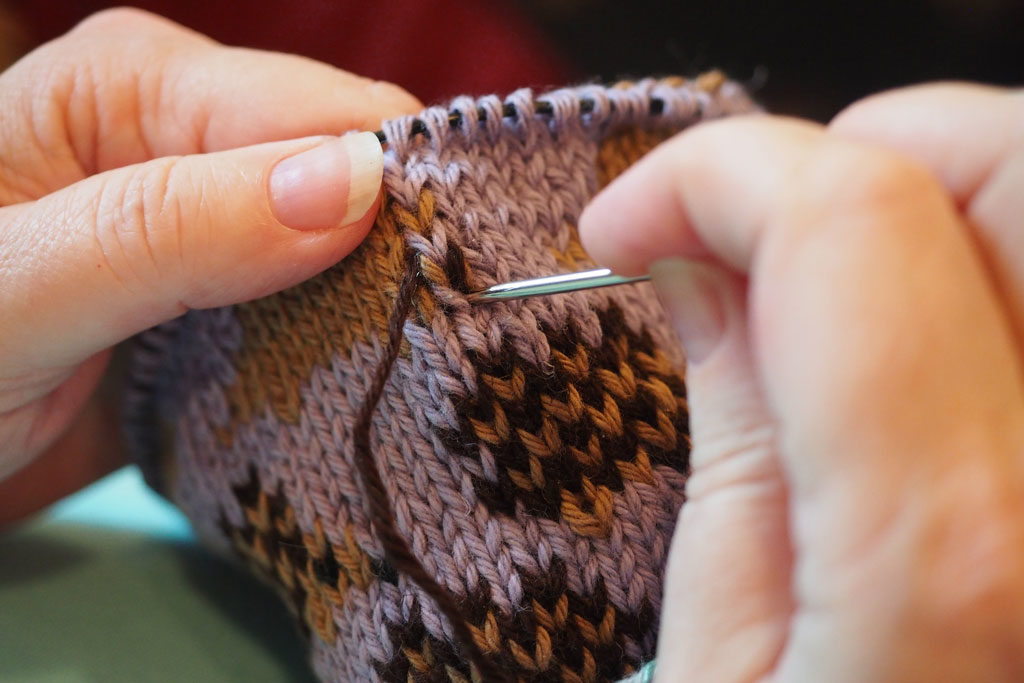
Check the chart to see where you will work your stitch. Starting from the wrong side of the work, pull the yarn through to the right side at the center bottom of the stitch you want to cover. Don’t pull the yarn through all the way! Leave enough of a tail on the wrong side which you can weave in at the end.
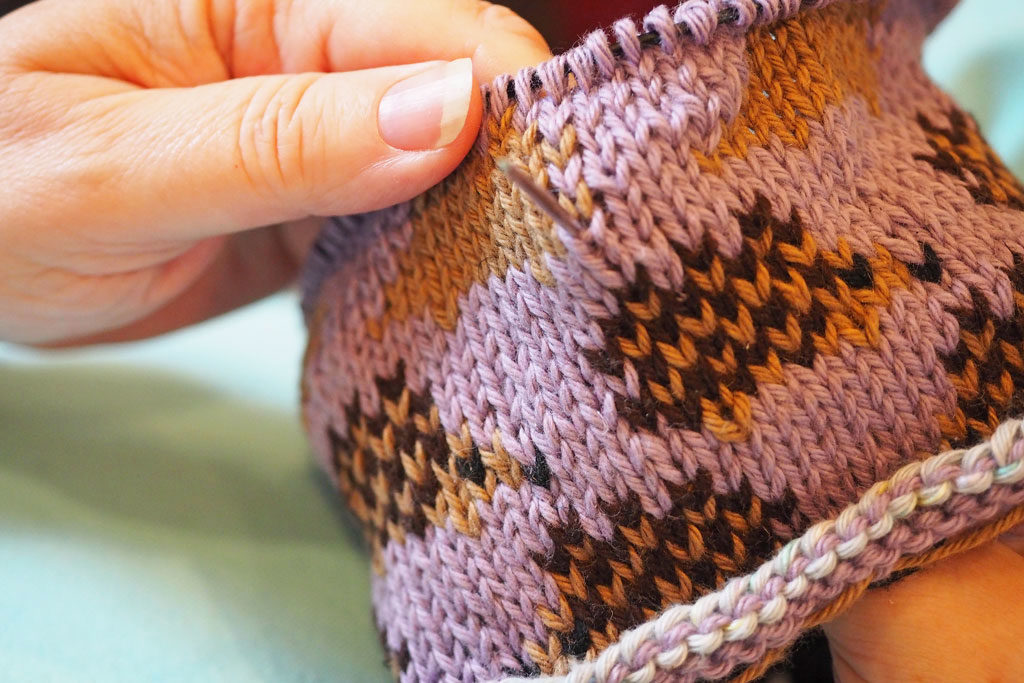
Once you have your yarn pulled through, push your needle in to the right side of the “v” stitch and back out at the left side of the “v” stitch. You can usually do this all at once rather than two separate stitches.
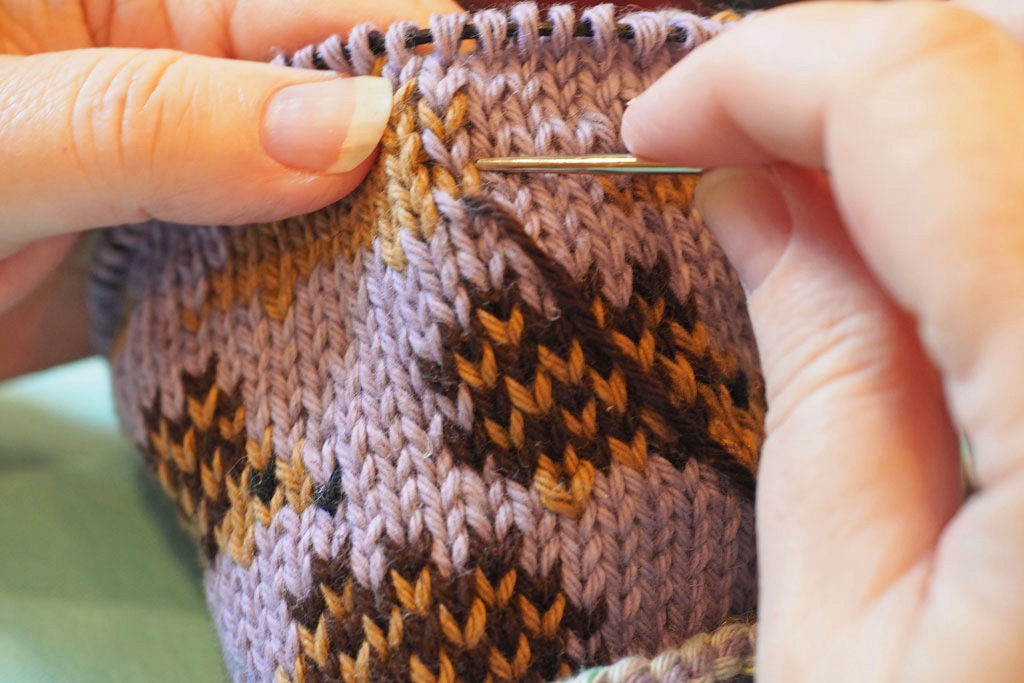
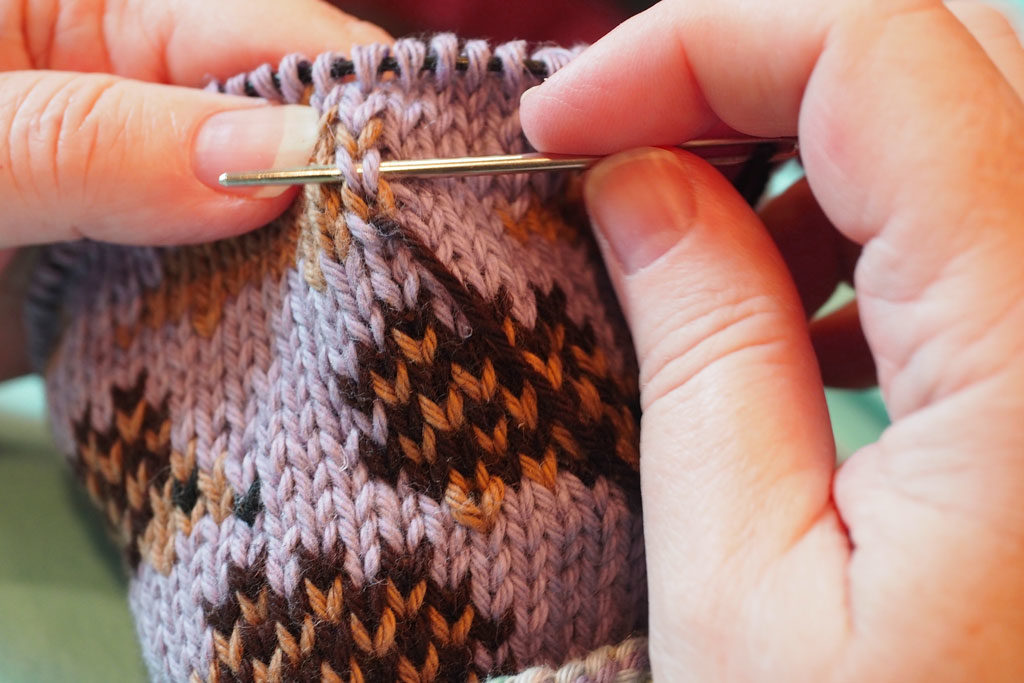
Now you can pull your yarn snug. This will create a half-stitch over the right side of the “v” stitch you want to cover. Now it’s time to complete the “v” by pushing your needle through where you first began the stitch, at the center bottom. Pull the stitch snug.
You now have one complete duplicate stitch! You’ll want to fuss with the stitch just a little bit, adjusting the tension with your yarn needle, so it looks good and covers as much as possible of the stitch below it. Here below is the stitch before it has been fussed over.
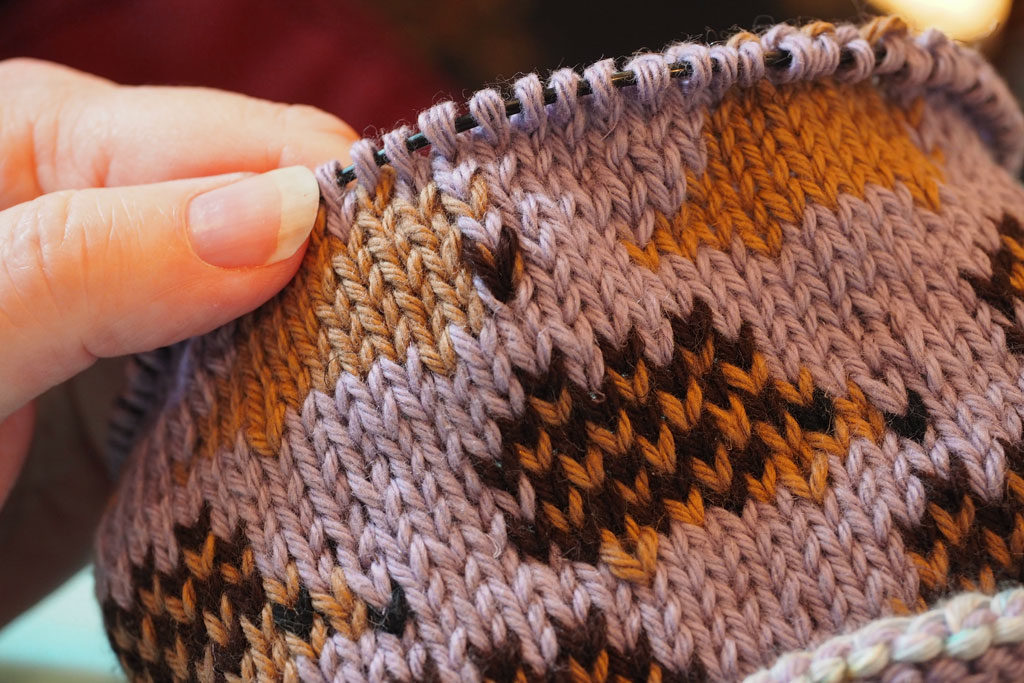
Now you can repeat this process over and over to create new “stitches” to complete your design. Just keep an eye on your chart so you place the duplicate stitches in the correct place.
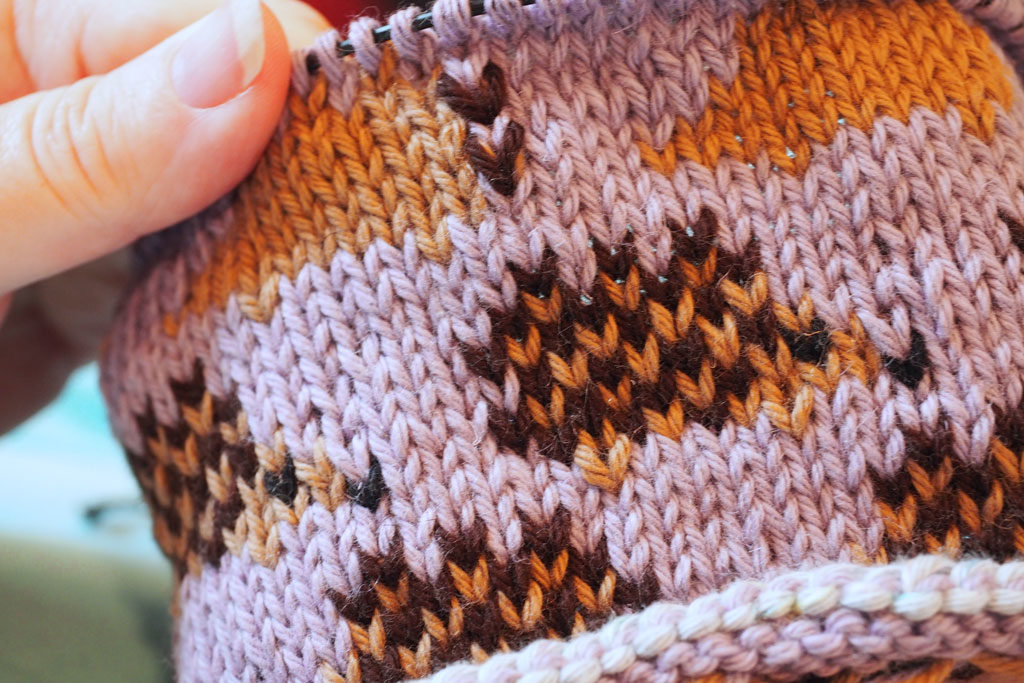
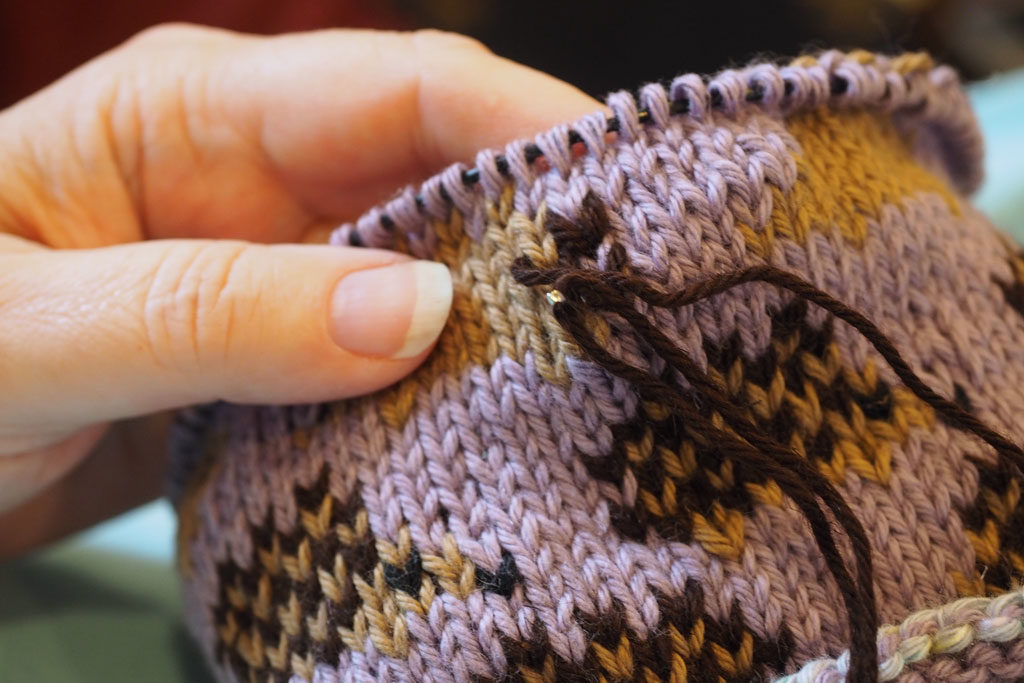
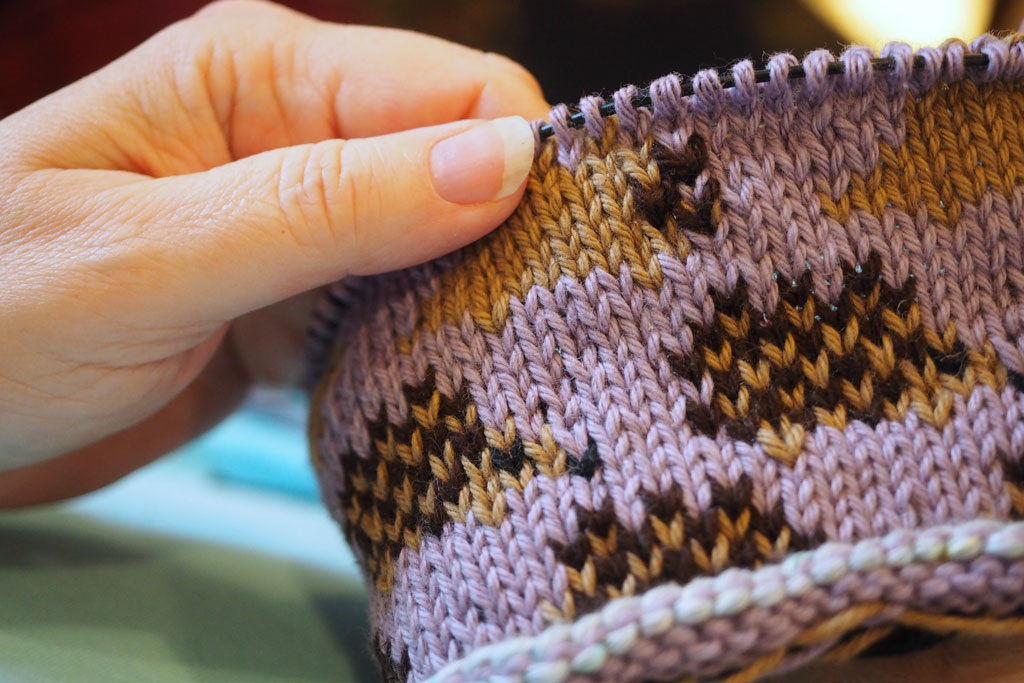
Once you complete all your duplicate stitches, your hedgehogs should look just like they do in my stranded knitting example! While duplicate stitch can be a bit tedious and time consuming, you’ll be able to move more quickly once you get the hang of it. It’s also a very handy technique to have under your belt, even if you do opt for the stranded knitting version. We all have that one stitch which should have been purple and turned out brown, and duplicate stitch can solve those little booboos without having to rip all your knitting back to the mistake!
When you are finished with your stitching, weave in your stray ends on the wrong side of the fabric, just as you would with your knitting.
And now, enjoy your beautiful little device cover!
Leave a Reply