I’m getting a little ahead of myself here, but I am SO EXCITED to have finished all ten designs for my fall collection! I can’t wait to release these new designs (hopefully early in September), but in the meantime, I’d like to share a tutorial that will be helpful for one of these designs. As an added bonus, this tutorial does not give away very much about the design itself, but I will say this: it is a baby blanket worked from the center out.
And so, with that tantalizing tidbit, I would like to demonstrate the circular cast-on method. This method dates back to the legendary Elizabeth Zimmermann’s Knitter’s Almanac, first published in 1974 (which, for the record, predates me). However, Elizabeth Zimmermann is not the inventor of this method; instead the credit should be given to her friend Emily Ocker – and in fact this method is often called Emily Ocker’s Circular Cast On.
This cast-on method is ingenious in that it leaves a tail that can be pulled snug, cinching the cast-on stitches into a tight circle without the usual hole in the middle. So it’s perfect for projects that start in the center, like a blanket or a circular shawl!
So here we go, step by step.
First, pinch the yarn between your thumb and forefinger like this:
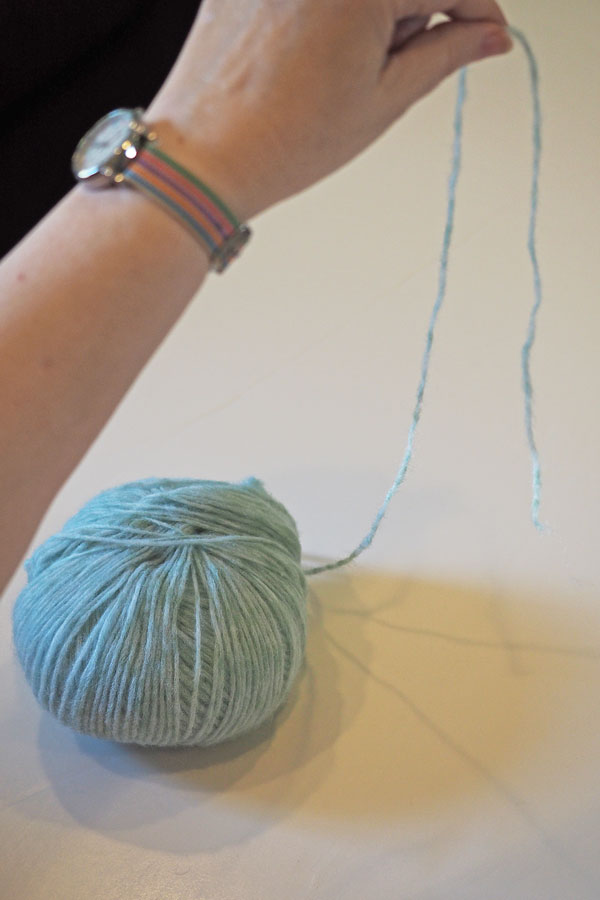
Loop the tail of yarn around to tie a loose knot, but do not pull snug.
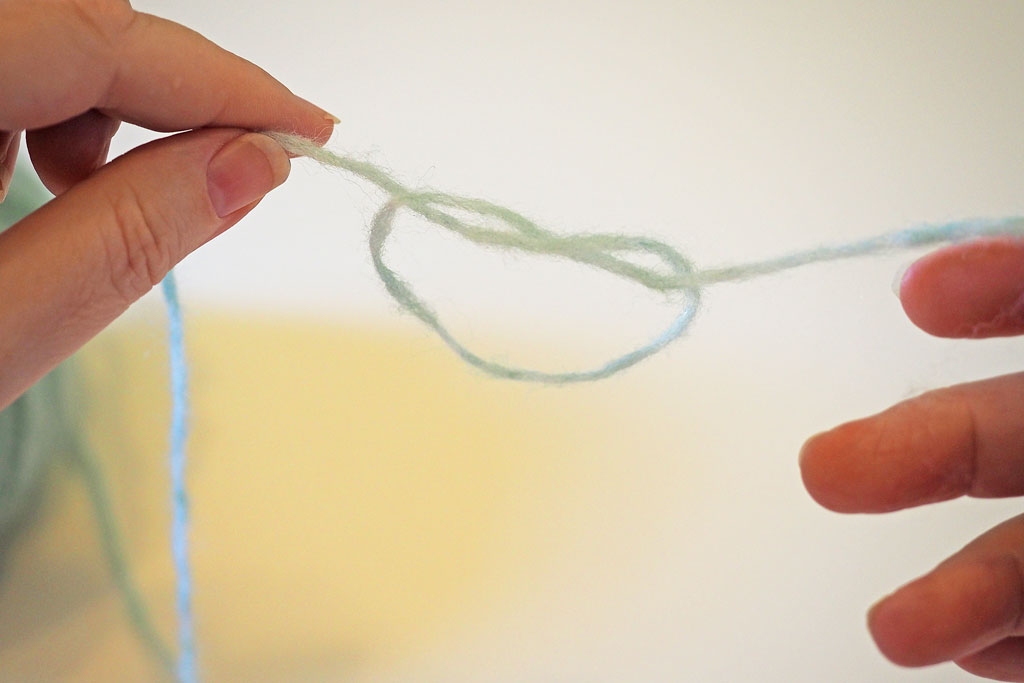
Now loop the yarn connected to the ball over your needle, from back to front.
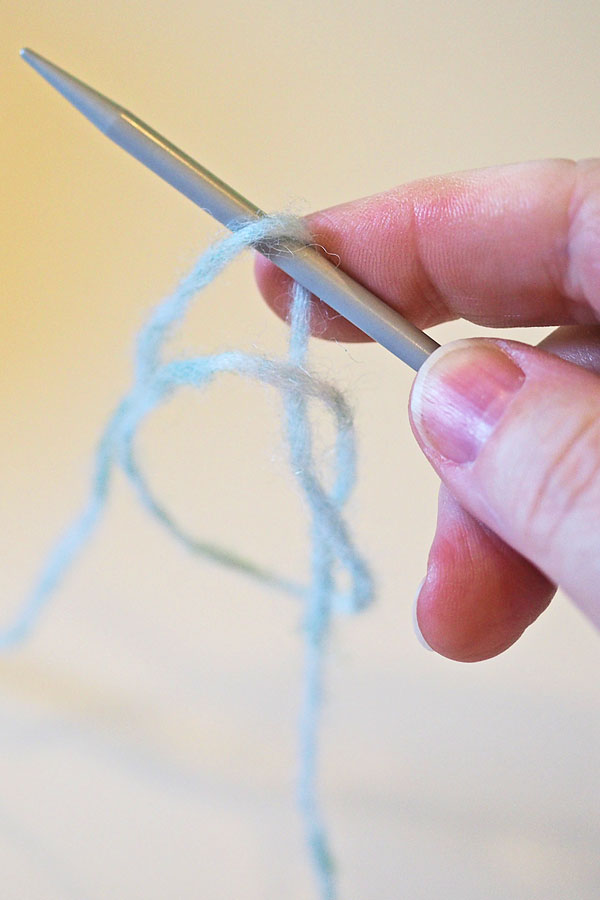
Insert your needle through the circle, from front to back.
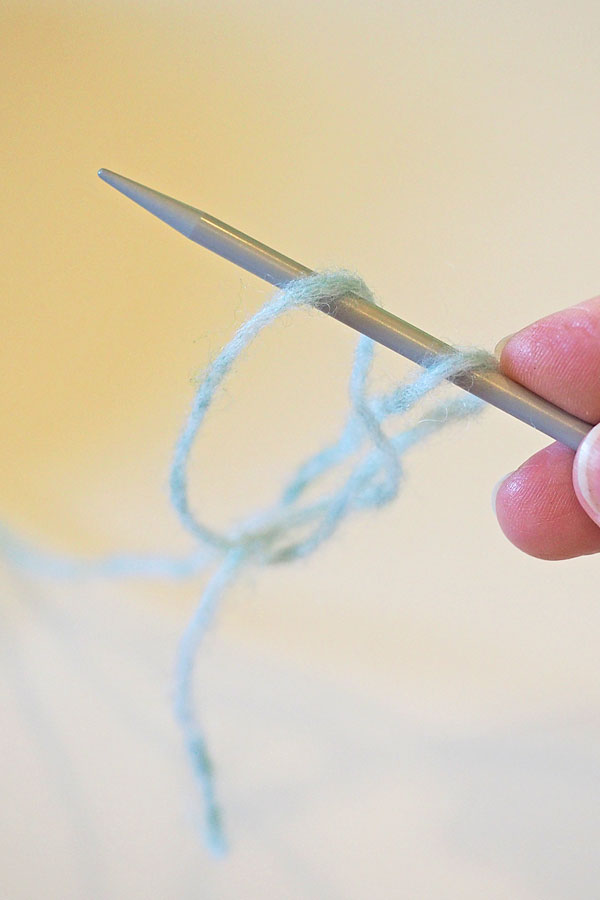
Now yarn over (loop yarn over needle) and pull that loop back through the circle, from back to front.
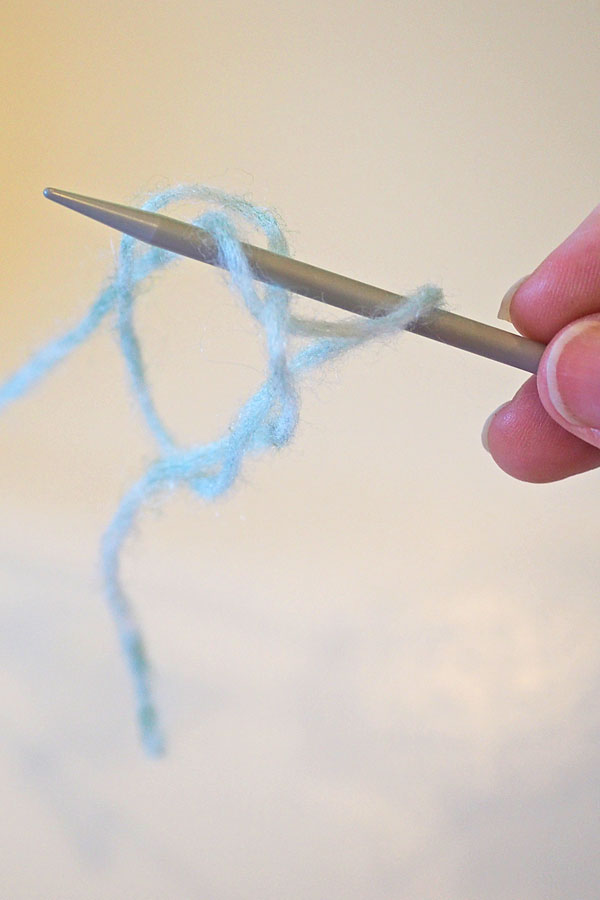
You should now have two cast on stitches on your needle.
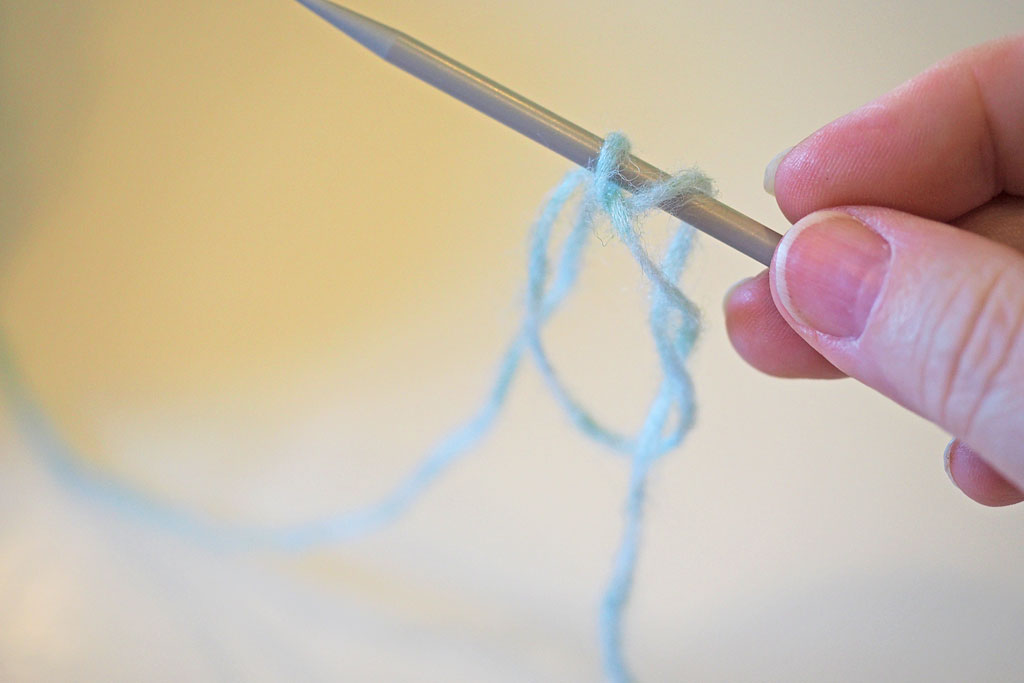
Repeat these steps: loop yarn over needle, insert needle into circle from front to back, loop yarn over and pull through circle from back to front. Each repeat will create two new stitches. Continue until you have the right amount of cast on stitches (in this case there are 8 stitches).
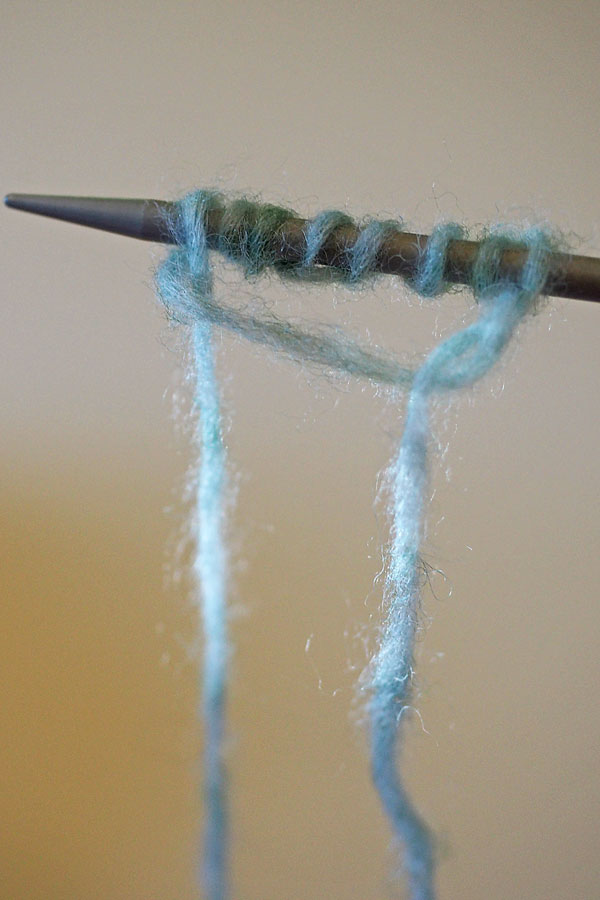
You will see the circle of yarn under the stitches. It is now time to pull this tight so there will be no hole in the center of your knitted item!
Grab on to the shorter tail of yarn, not connected to the ball of yarn.
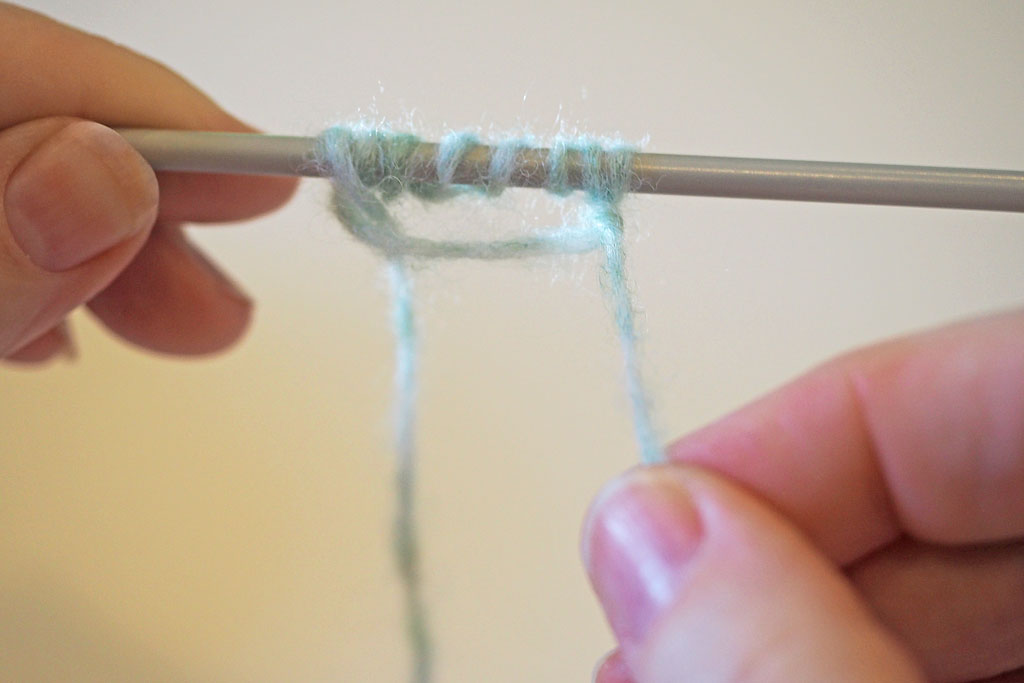
Pull this tail until the circle disappears. With a fuzzy yarn like the one featured here, this step may take a little patience and fiddling to get the circle tight.
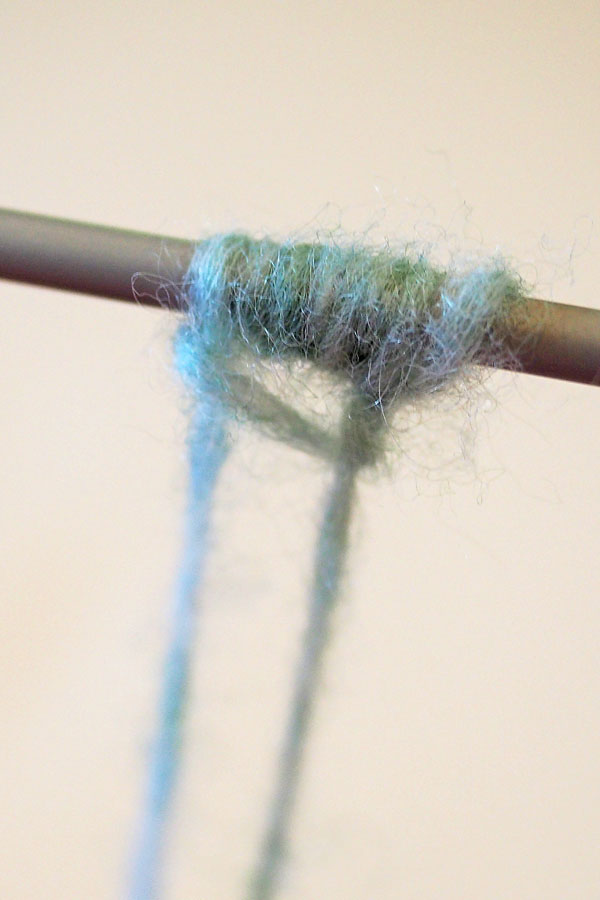
Once you have the circle pulled snug, you can rearrange the stitches onto double pointed needles, or longer circular needles for magic loop. You can now begin working from the center outward. The finished project will have no hole in the center to patch up at the end!
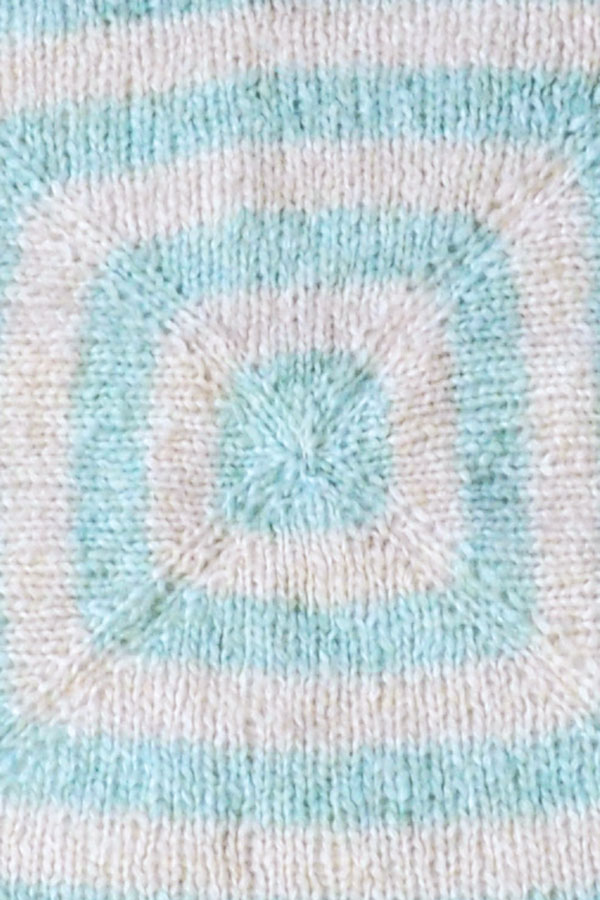
I am excited to reveal the design in just a short time! Stay tuned for many more helpful tutorials after the release of my collection!
I love using that cast on for shawls that start in the middle. Thanks for the pictures.
It is such a simple yet brilliant cast on!