Hello all! It looks like my Visconti Shrug pattern has taken a sudden leap toward release! In order to prepare, I want to provide a blog tutorial on its construction, so that I can include the link to the post in the pattern itself. Everything about this shrug is beginner level, except for some tricky construction elements. Hopefully this tutorial will help knitters through the process!
For my original Visconti design, I used Knit Picks Fable Fur in Oso, a lovely mink brown.
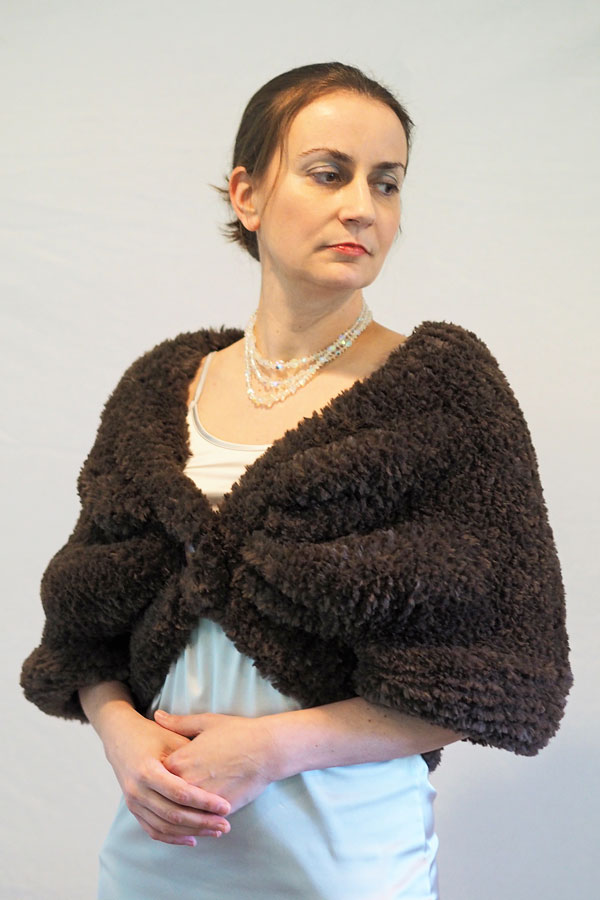
For my second test, I used Fable Fur in Kuma, and it reminds me so much of a chinchilla! For this tutorial, I’ll feature the Kuma sample.
The very first thing to do, before you even cast on, is to decide how you are going to count your rows. The furriness of faux fur makes it impossible to count rows after the fact – you’ll drive yourself mad trying. So, be sure to grab your row counter, or make yourself a little chart, or just make hash marks in the margins of the pattern, like I do!
Second, it’s important that you always work your short rows along the bottom edge of the shrug. This shrug is knit entirely in garter stitch, meaning there is no easy way to tell the right side from the wrong side. So you’ll need to keep careful track of where you work your short rows. They will be worked on the edge opposite the initial 10-stitch tab, which is the very first step in the pattern. Once you begin the full body rows, I’d suggest threading a colorful thread through the bottom edge, where you will work the short rows, for your reference.
Once you cast on, the pattern should be straightforward up to the point where you are ready to join the 10-stitch underarm rows back on to the body, after all the right armhole rows are complete. If you need some assistance with the cable cast-on method, there are many great tutorials out there, including this tutorial. The short rows are very simple; just turn and slip the first stitch.
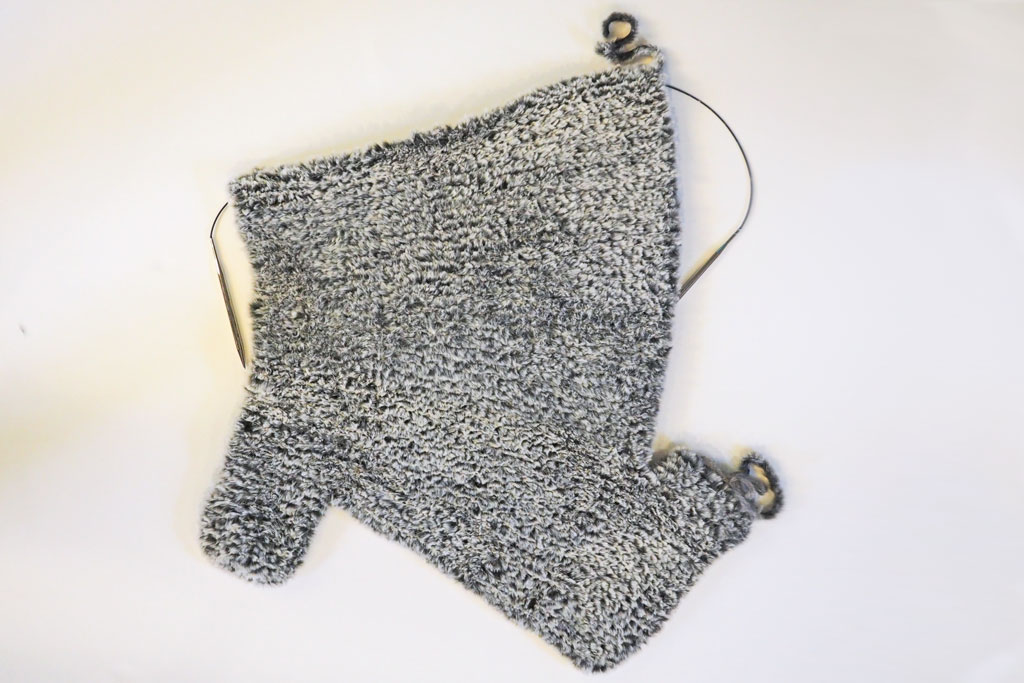
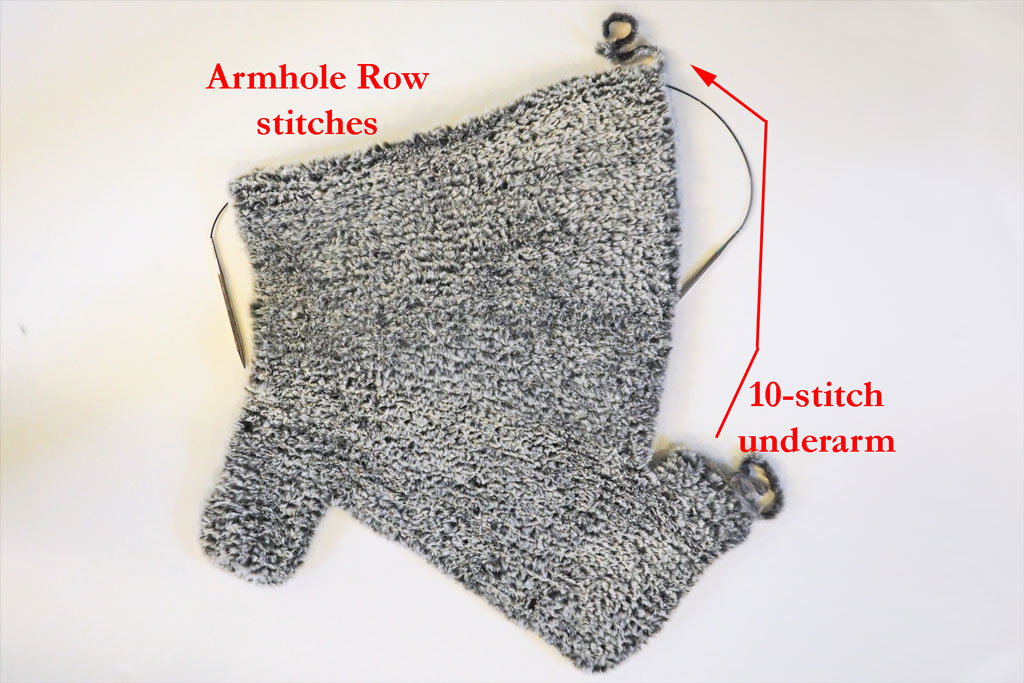
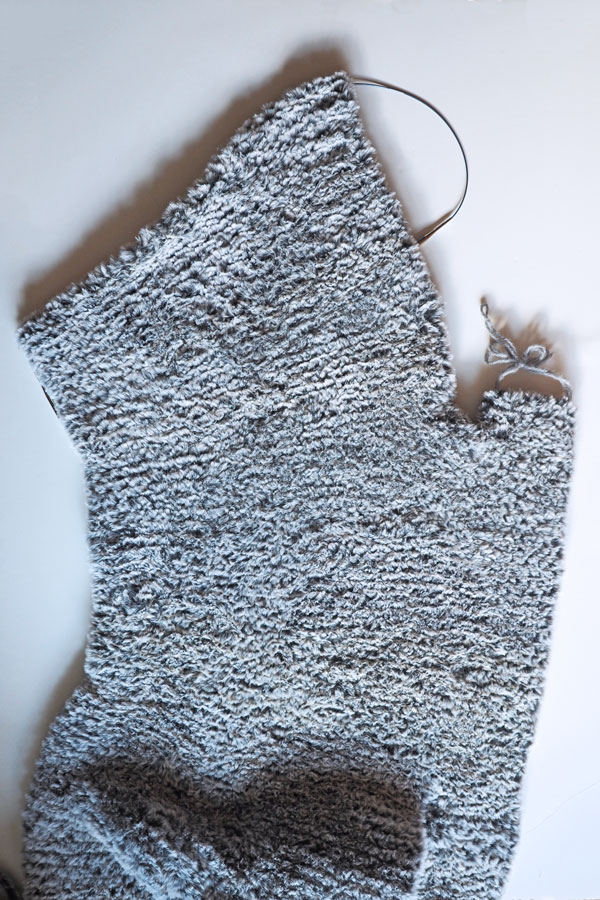
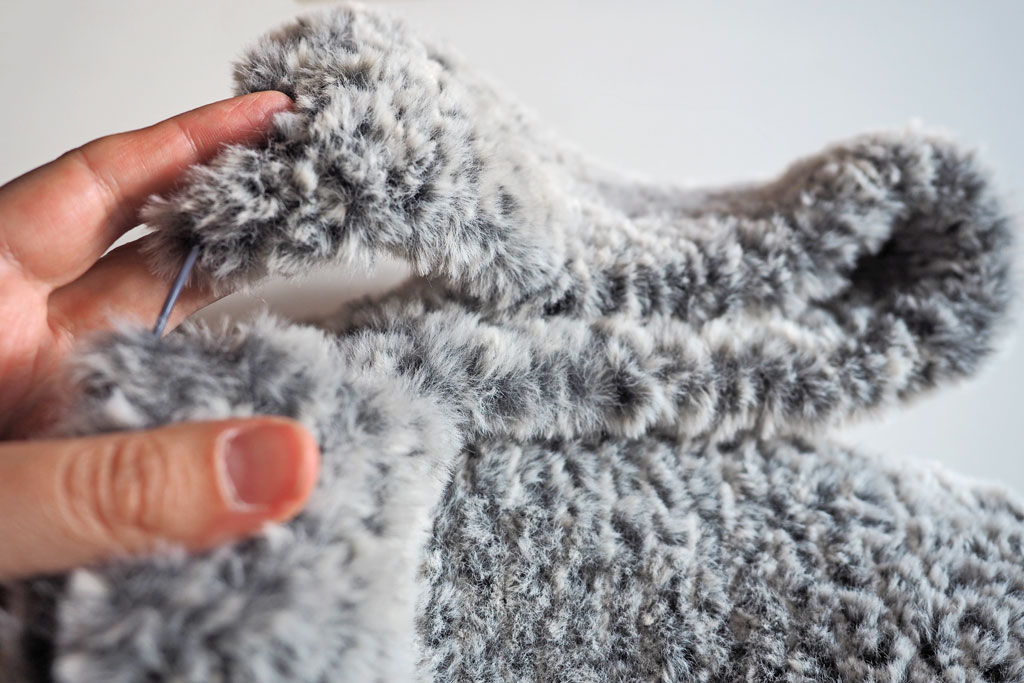
When you’ve completed all the right armhole rows, and you are ready to reattach your 10 stitches, your project should look like this:
Now, it should be simple to place those 10 stitches back on the needle, but for some reason it confuses me every time, and if it confuses me, the designer, well…I’d better show you how to do it right.
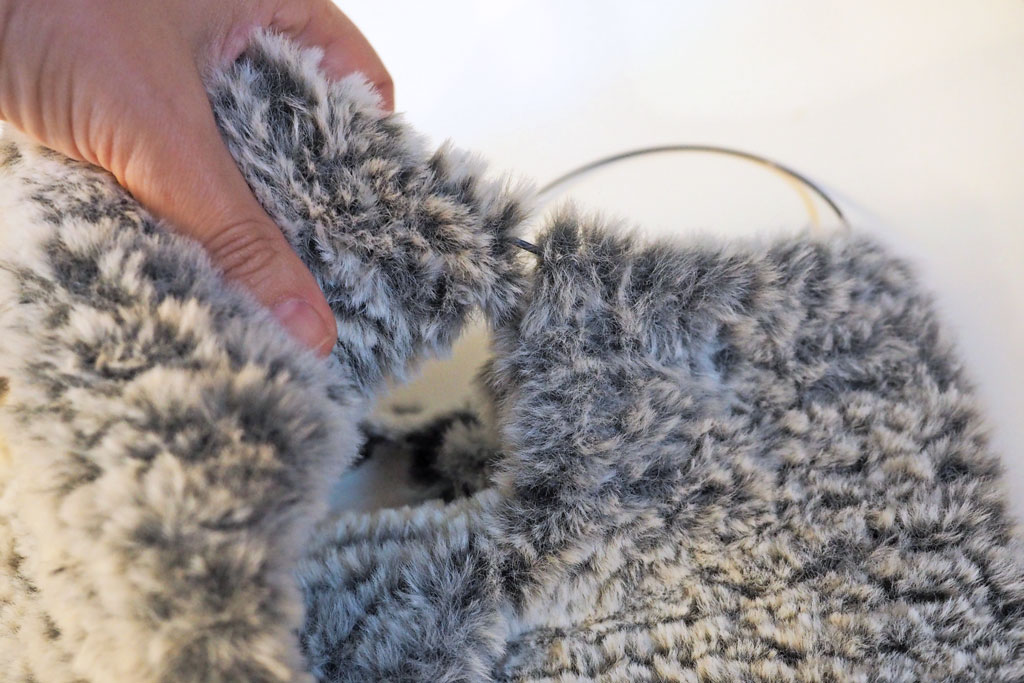
First, fold the armhole in half so it doesn’t get in the way of your needle. It should look like this:
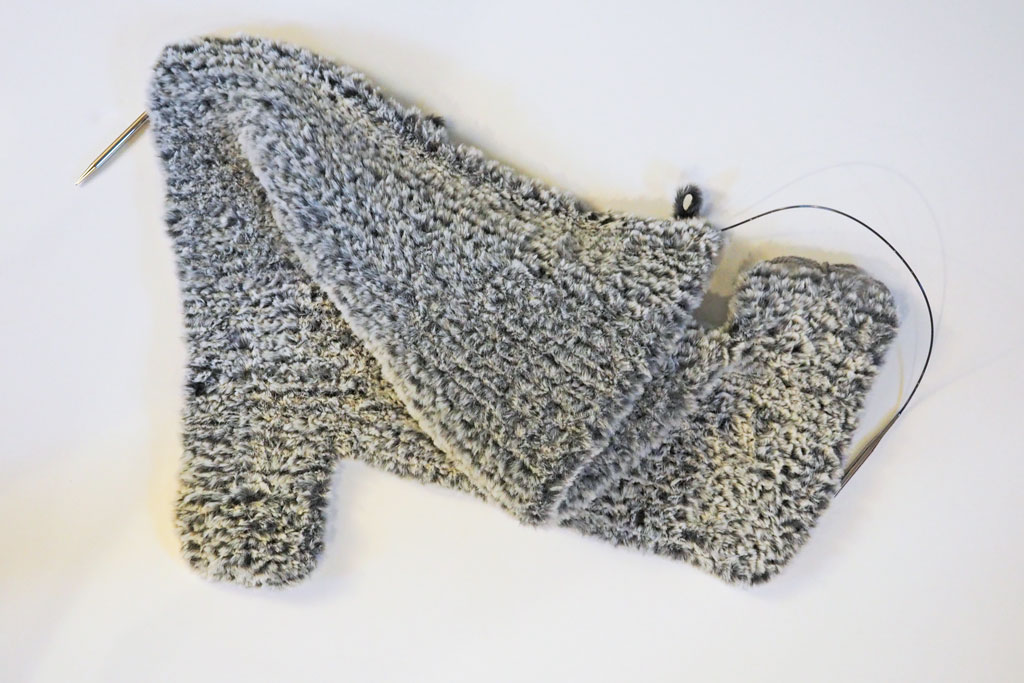
Now, slide those 10 underarm stitches onto the needle in front of the stitches already on the needle.
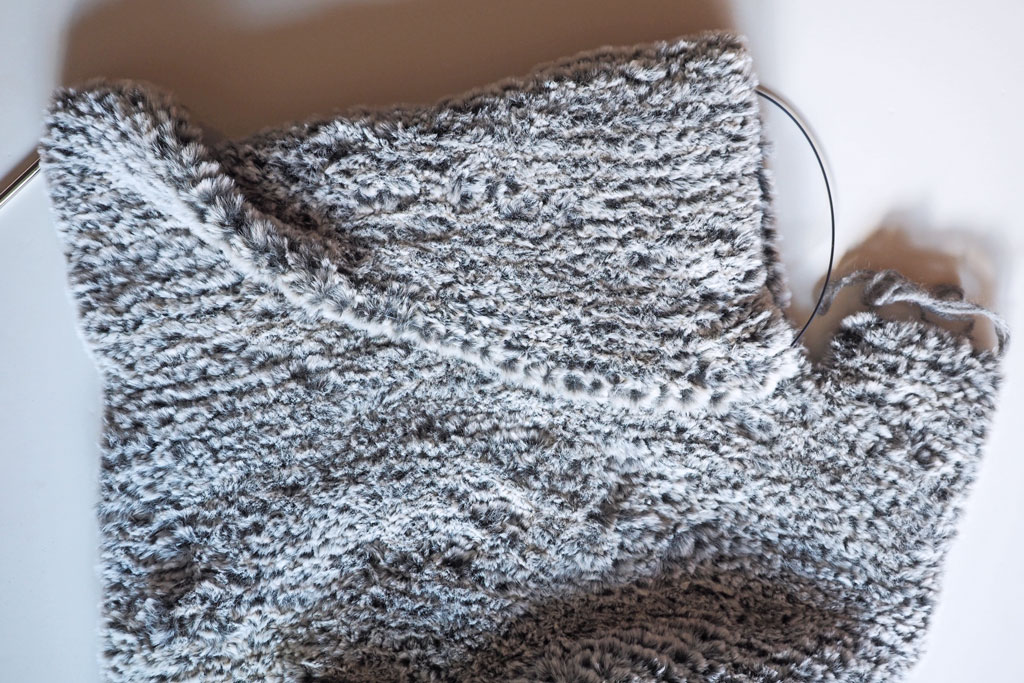
You are now looking at a right side row, with the 10 underarm stitches at the right and the rest of the armhole stitches to the left. You should be able to see the armhole clearly, a complete circle including the 7 rows of the underarm:

Now you will reattach the yarn at the beginning (right hand side) of the row, and work across all the stitches, continuing on with the pattern.
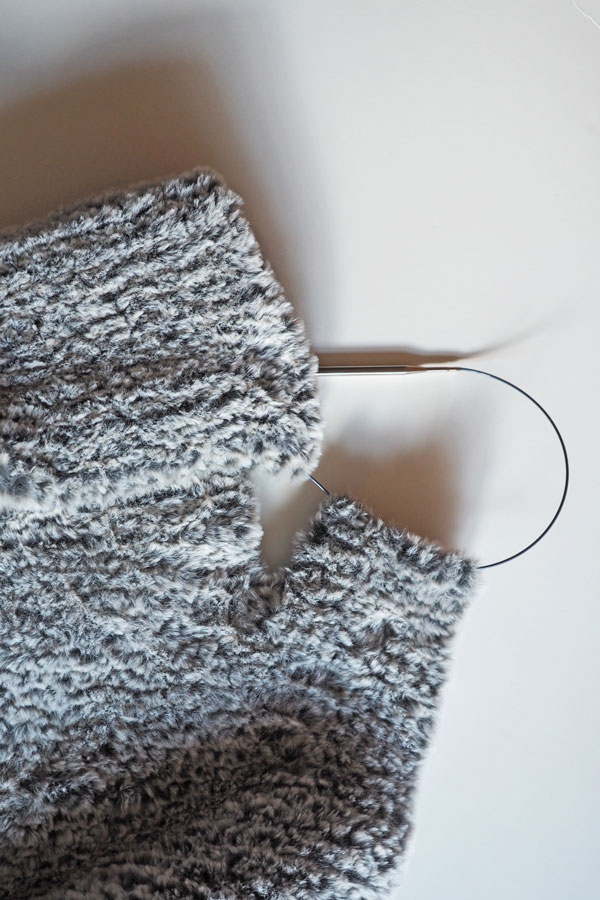
When you complete the left armhole rows, you will repeat the same steps to reattach the second underarm. Your project will be long and unwieldy at this point, but the left armhole will look like this:
Fold the armhole rows in half so you can line up the needle with the underarm stitches.
Place those 10 stitches onto your needle.
Make sure you can see the complete circle of the underarm with no twists.
Now you are ready to work across the entire row, continuing with the pattern.
When you’ve bound off your final stitches, your lovely shrug should finally have a recognizable shape to it! It should look like this:
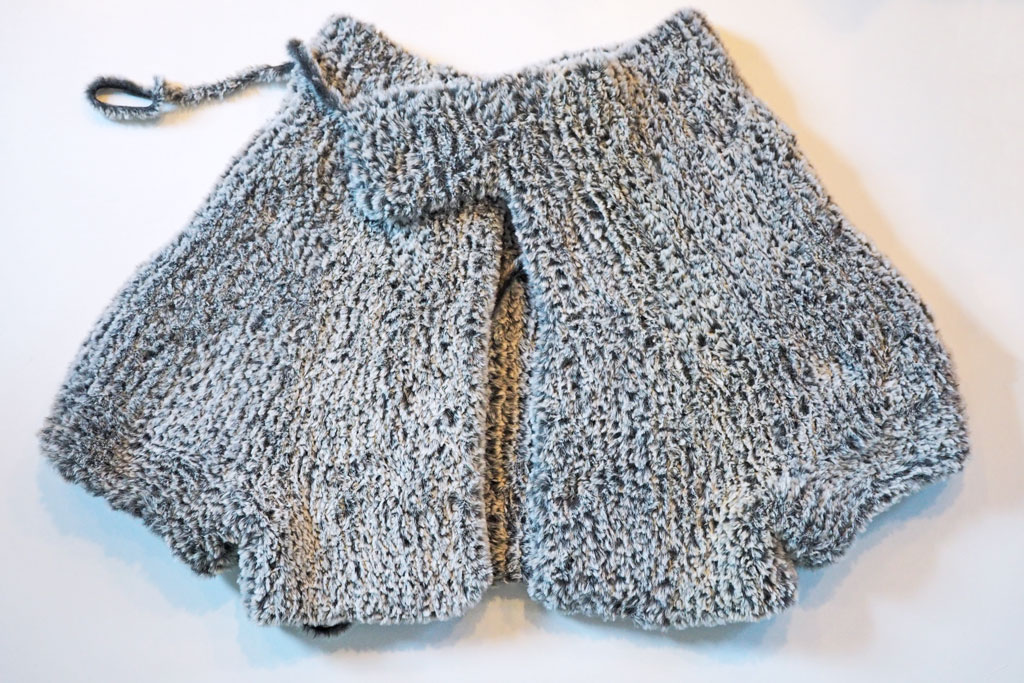
In our next post, we’ll finish off the project!
Please send me the next post. Im not good at blogging. Thank you.
Hello Paula! I’m sorry you are having trouble finding the next post. If you click on this link, it should bring you to the right place: Visconti: Finishing