Hello everyone! I hope the world is a bit warmer and spring-like in your area than it is here. It feels like we have reverted to early March, and it snowed yesterday in Connecticut!
Last post I introduced the Beak Street Tee, my latest pattern included in Knit Picks’ new mod-inspired collection, Vertex. This tee design features a technique often used in colorwork: intarsia. Intarsia can be quite tricky to get just right, but it allows knitters to create interesting motifs and blocks of color which cannot be created with stranded knitting.
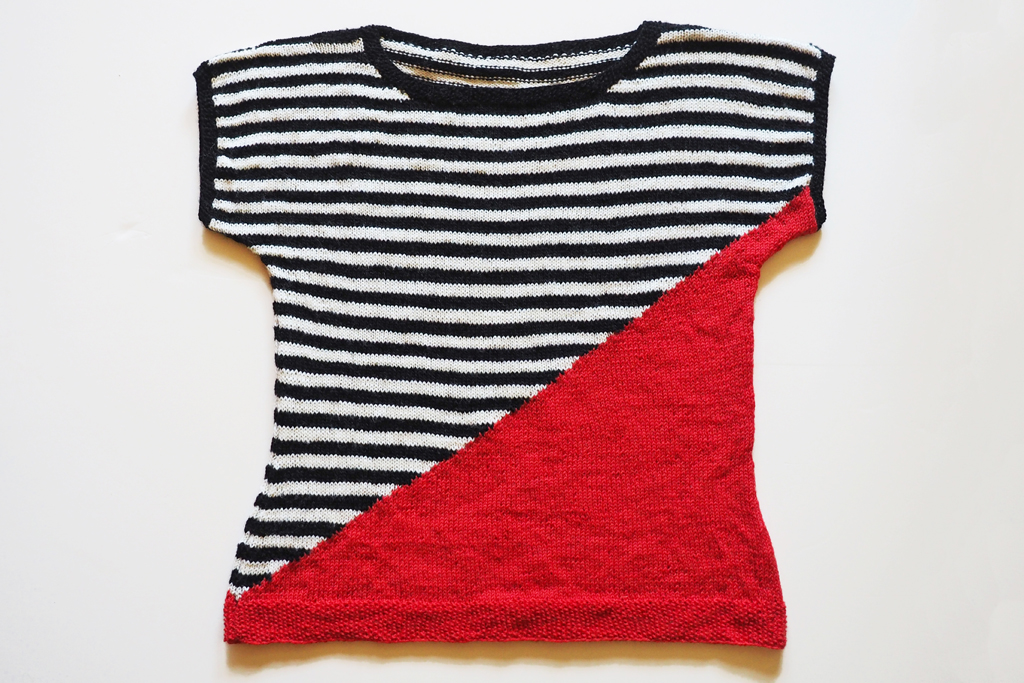
In this quick tutorial, I will use the Beak Street Tee to explain intarsia and show how it is used to make the most of this particular design. I should mention that the photos in this tutorial are specific to continental knitting, or knitting with the working yarn in the left hand. If you knit British/American style (throwing the yarn), you will need to twist your yarns in the opposite direction. I’ll explain in the tutorial.
First things first: intarsia knitting is almost always worked flat rather than in the round. It is possible to work intarsia in the round, but we won’t be doing that here.
In the Beak Street Tee, you can see that each row contains one more stitch of one color, and one less stitch of the second color. This creates a diagonal colorblock:
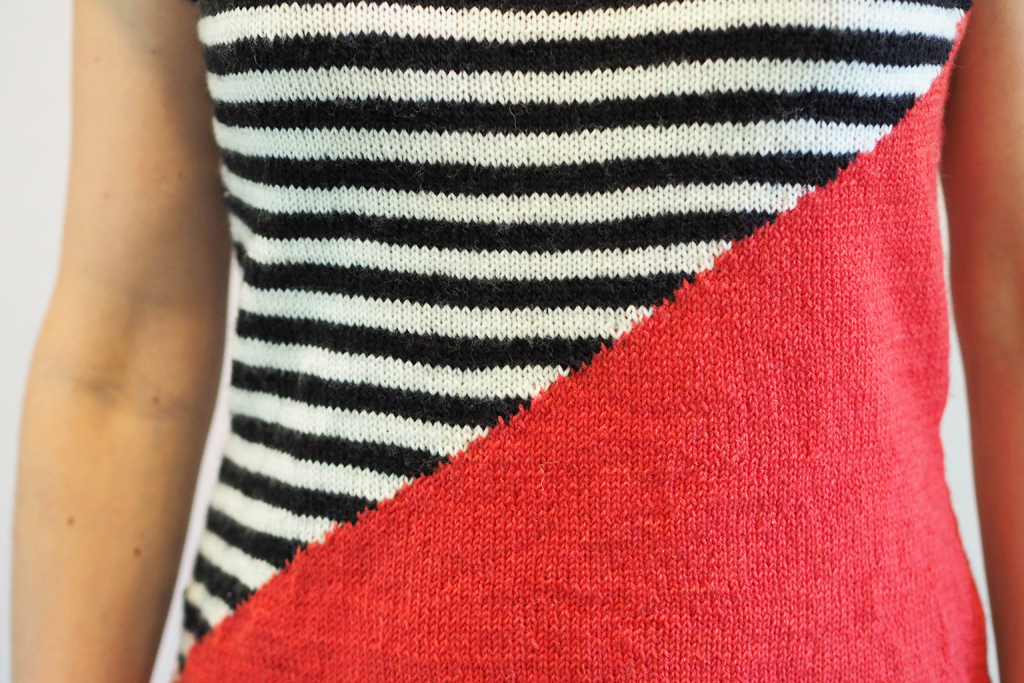
Many intarsia designs require complex charts, multiple bobbins of yarn in each row, etc. Beak Street is a good first-time intarsia design because it has no charts, follows a predictable set of steps, and requires only two colors per row.
Ok, let’s see how it is done. The key with intarsia is to intertwine the two yarns whenever they meet. Otherwise, you will be left with a gap between colors. This intertwining takes place on the wrong side of the garment, so I’ll first show the intarsia technique on a purl row, and next on a knit row.
Purl to the point where you will be switching colors:
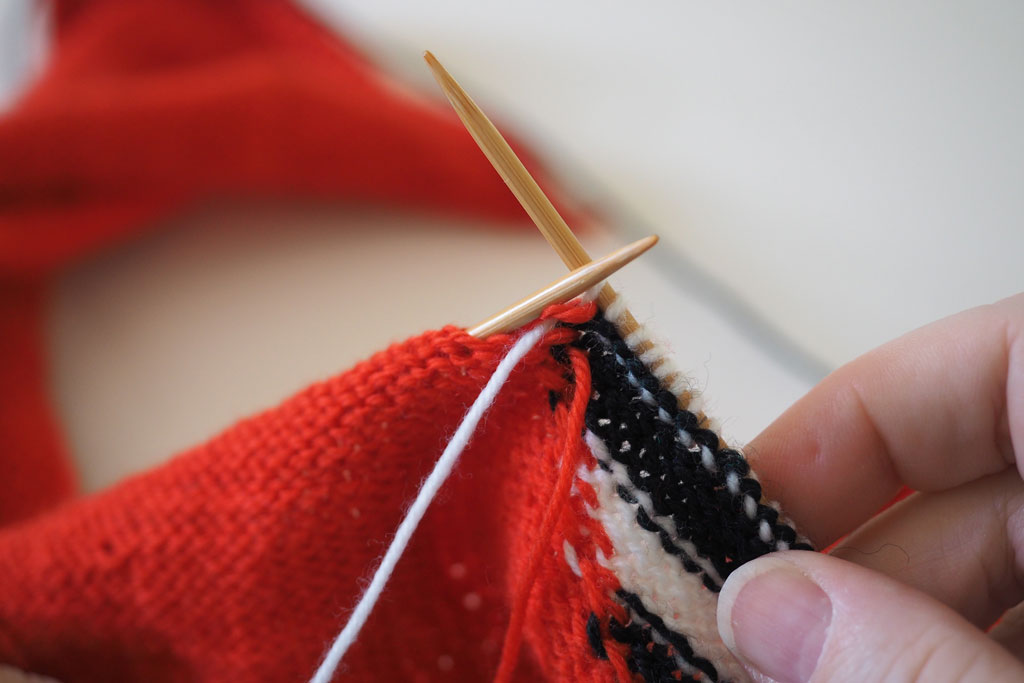
When you are ready to purl the next stitch in a new color, pick up the new color yarn:
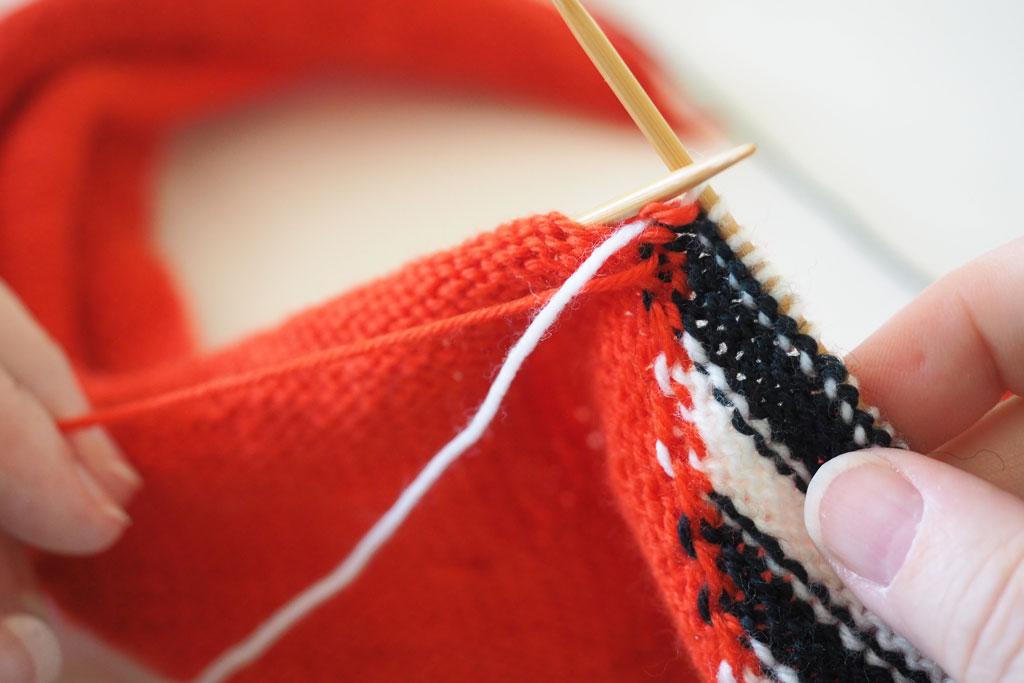
and bring it up underneath the old color yarn:
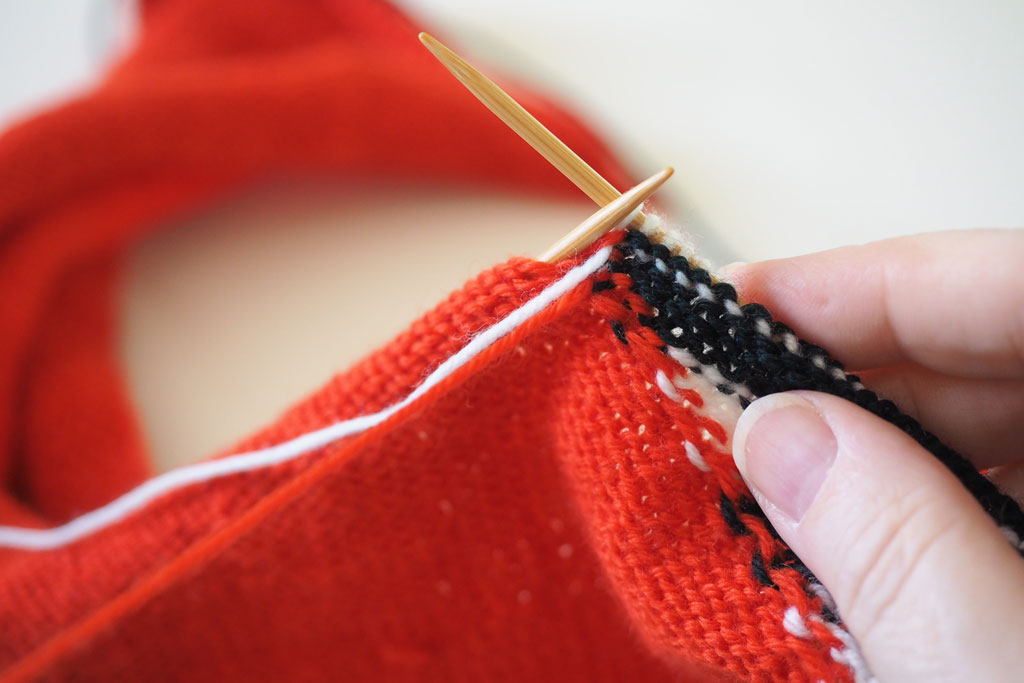
The yarn you will no longer be using should lay over the yarn you are about to use. This creates a “twist” that joins the two different yarns together. Hold old yarn down and to the right, and new yarn up and to the left (if you knit British style, do the opposite here and hold the new yarn up and to the right after creating the twist):
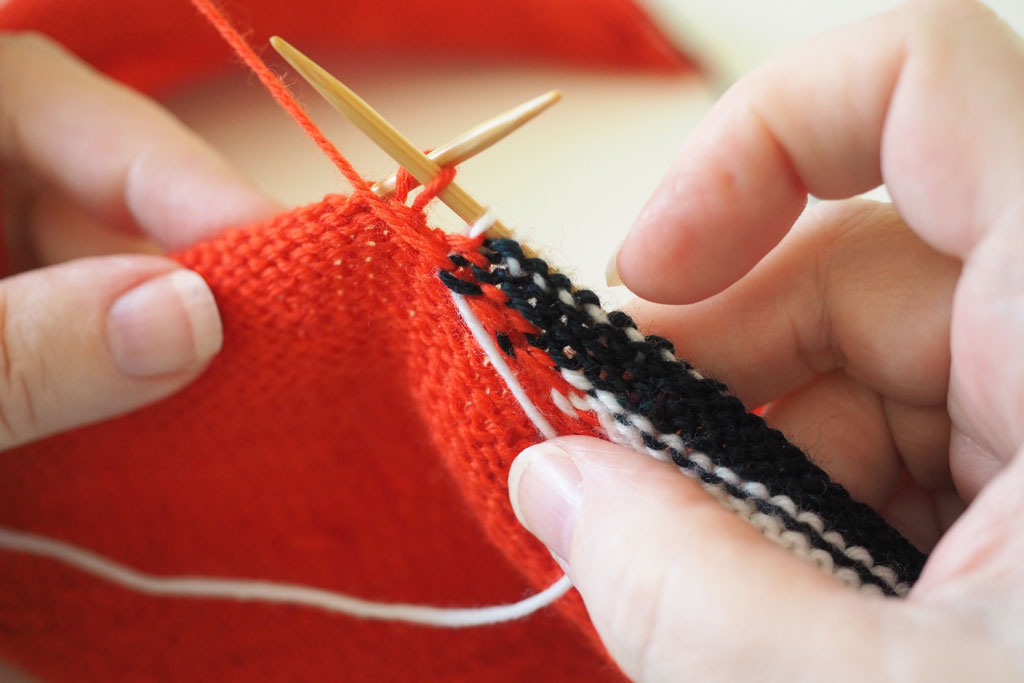
Now you can purl the next stitch in the new color yarn:
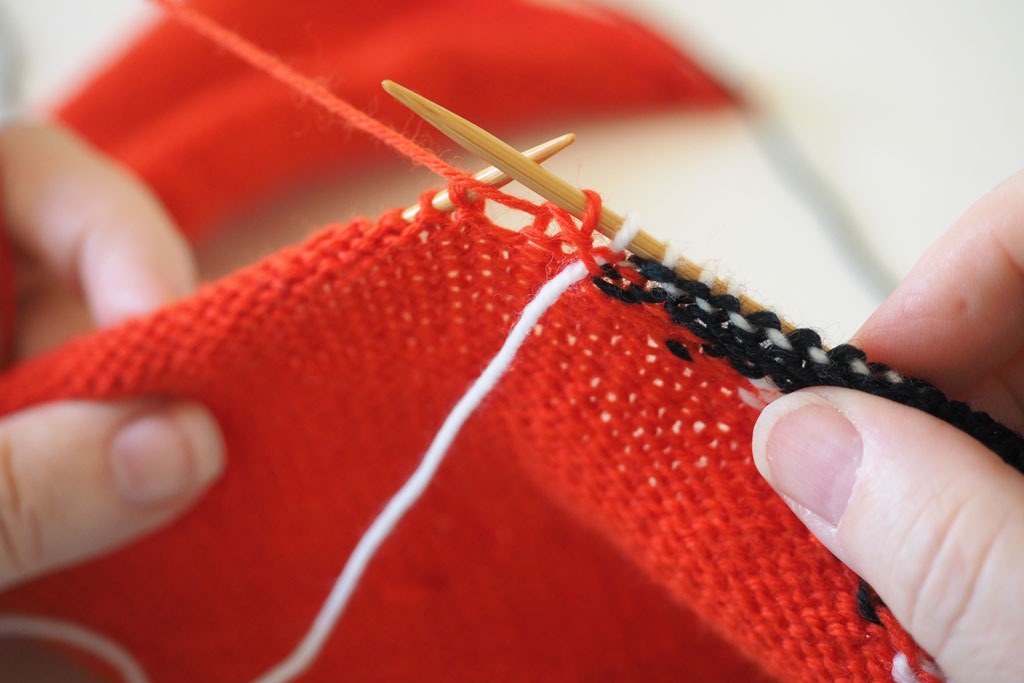
Make sure you keep the tension snug on this yarn twist, but don’t pull it too tight. Making the twist overly loose will create small gaps or holes in your garment. Pulling the twist too tight will cause it to pucker. When in doubt, check the right side of the fabric to see how it looks. No gaps or puckers? You’ve done it right!
Now, let’s take a look at intarsia on a knit row. Just as on the purl side, you will knit to the point where you will switch yarns. Lay the old yarn over the new yarn:
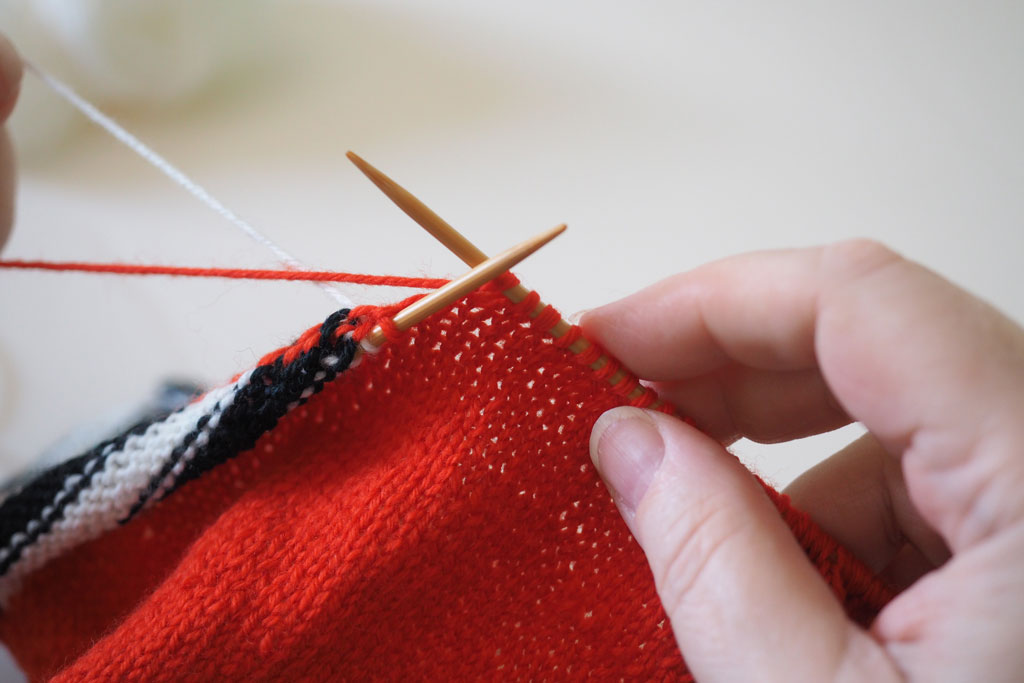
Hold the old yarn out to the right as you prepare to work with the new yarn (if knitting British style, hold old yarn out to left and pull new yarn up to right):
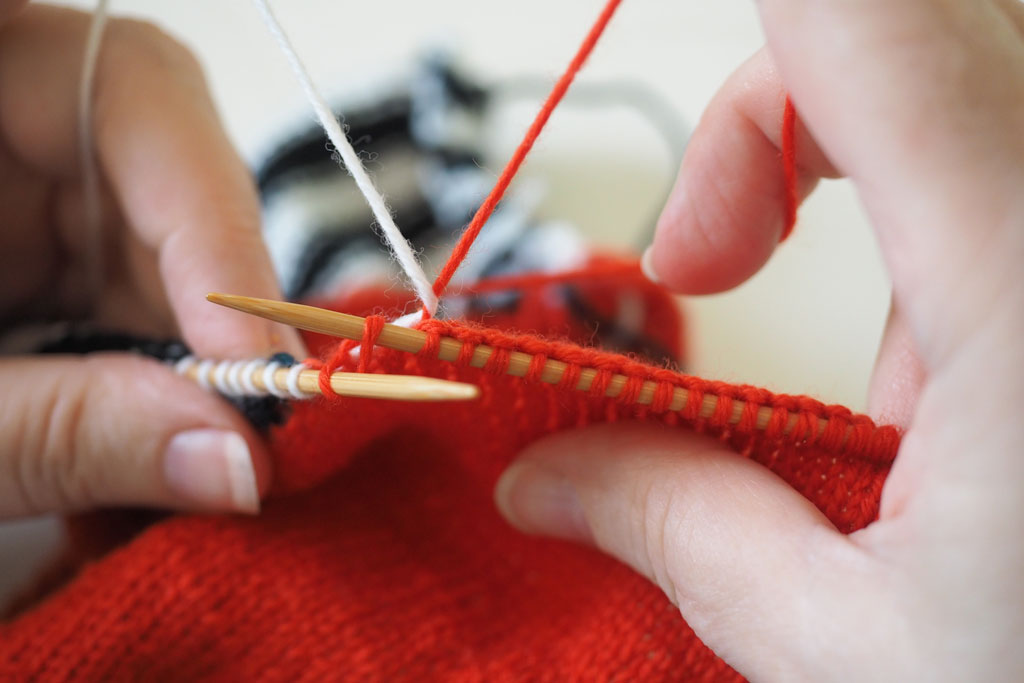
Now you are ready to knit the next stitch in the new color:
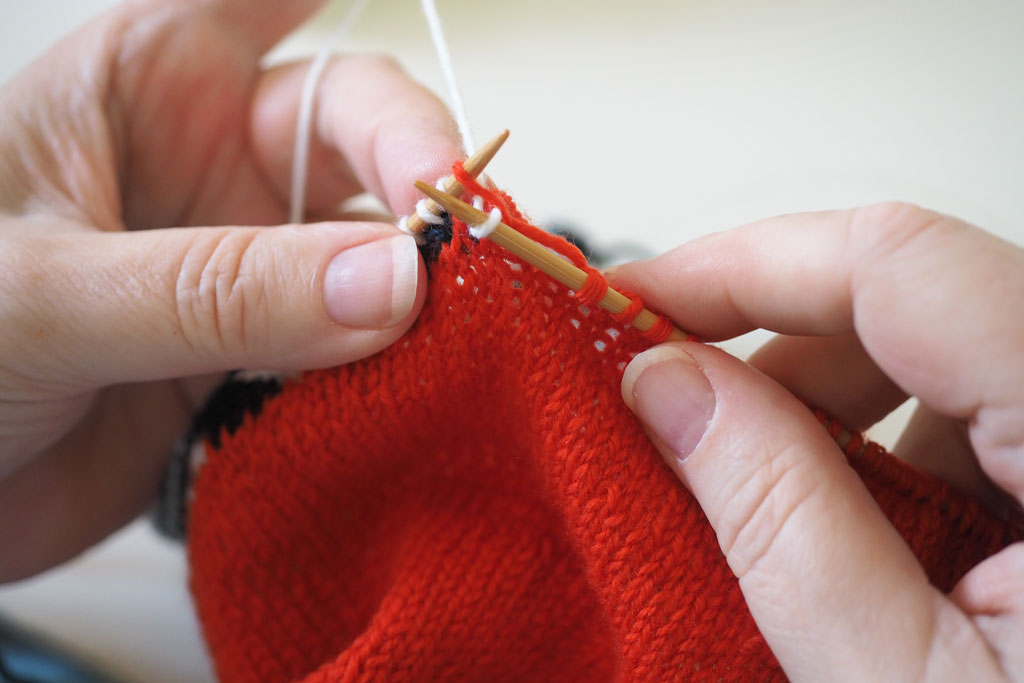
Again, make sure that twist is snug, but not puckery tight.
And that’s really all there is to intarsia technique! Mastering that twist, especially in terms of tension, will make your color transitions look smooth and flawless.

Thank you for following along! I hope you’ll put the intarsia technique to good use, in the Beak Street Tee and other designs!
In the upcoming weeks, I have another new design about to be released in yet another Knit Picks collection – this time, mosaic socks! I’ll be excited to share this new design with you very shortly. Until then, happy knitting!
Leave a Reply