If you are anything like me, you have many, many knitting needles. Cheapo plastic circulars. High-end steel or carbon circulars. Fancy square needles. Bamboo double pointed needles. All the straight needles you inherited from Great Aunt Myrtle and never plan to use but don’t have the heart to toss. In the past I’ve tried the nifty interchangeable sets, but I’ve never had much luck with them. Also, I would need about ten interchangeable sets to account for the multiple projects I have going at the same time, all requiring size US5 32″ circulars.
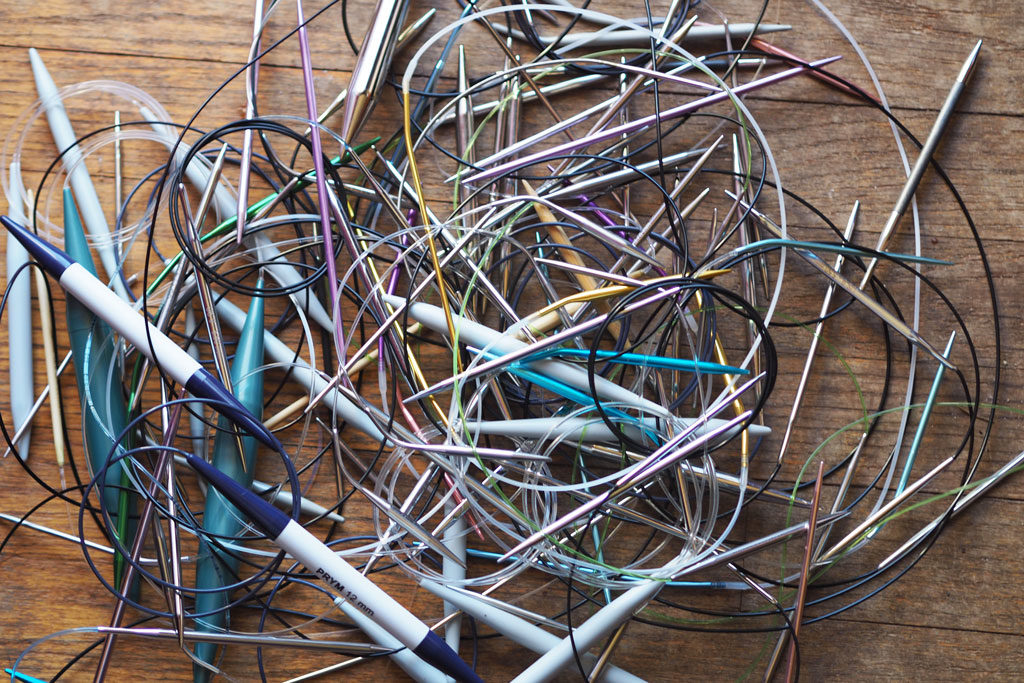
So, fine, you say. You have a lot of needles. We all do. So what? Well here’s my question to you: how do you store all these magnificent tools in a safe and organized way? Undoubtedly you have your methods. I wanted to share my own method with you, because it is inexpensive and has worked well for me for many years.
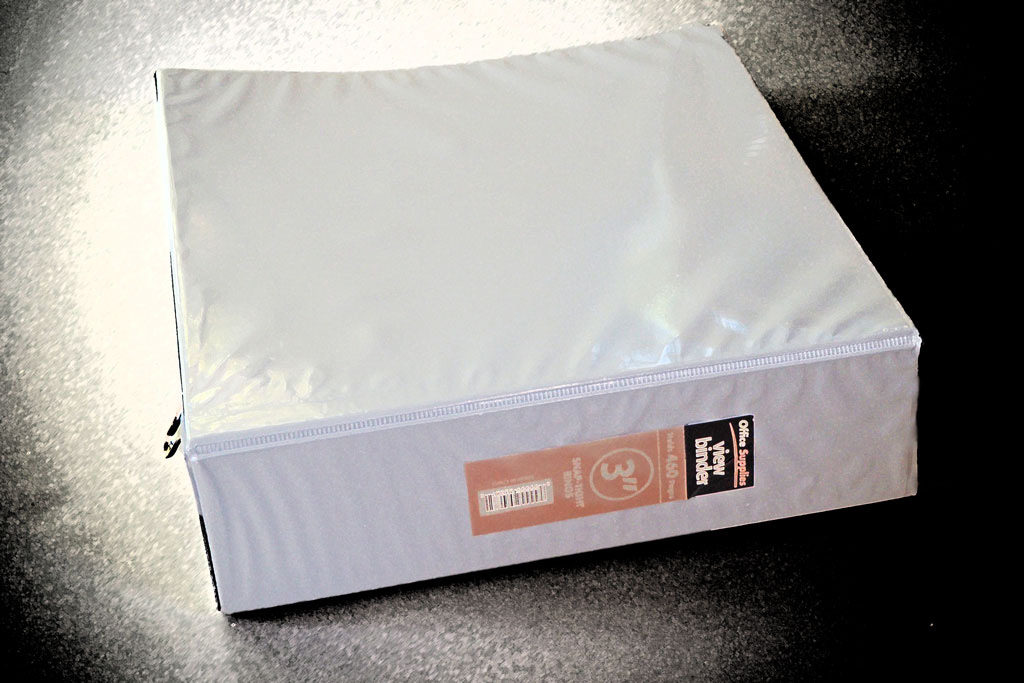
Behold! The Needle Binder!
– a permanent marker
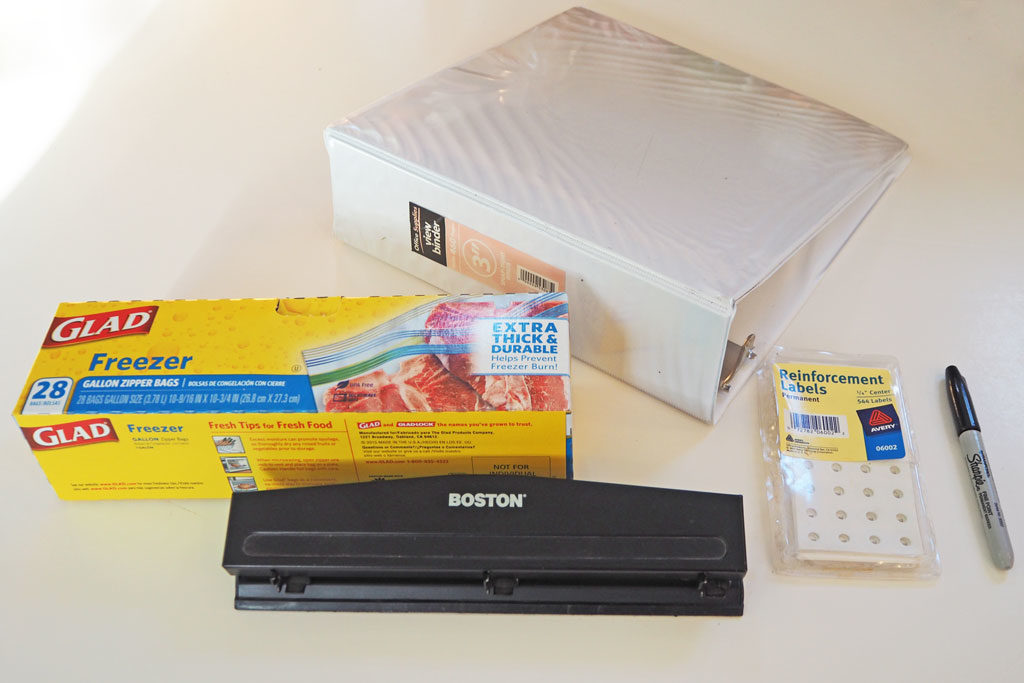
A wide binder is important so that it can hold many different needles without bursting open. You can purchase these binders at most office supply stores.
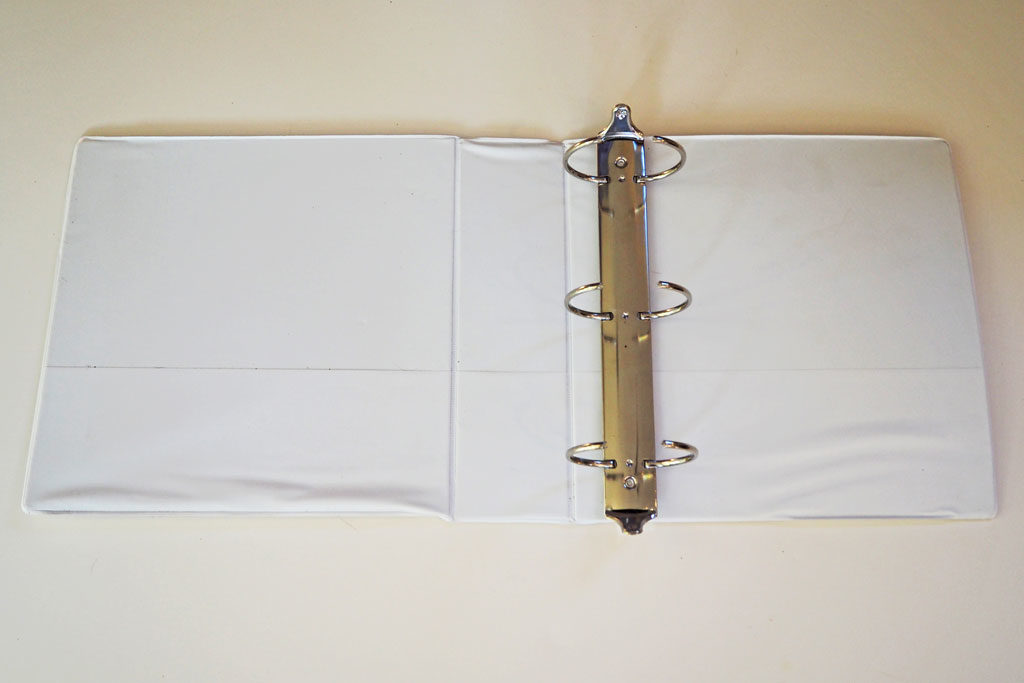
You will also want to choose the heavy duty gallon freezer bags rather than a regular gallon bag. The freezer bags hold up better to pokey needles! I prefer the kind with the slider for easy open and shut:
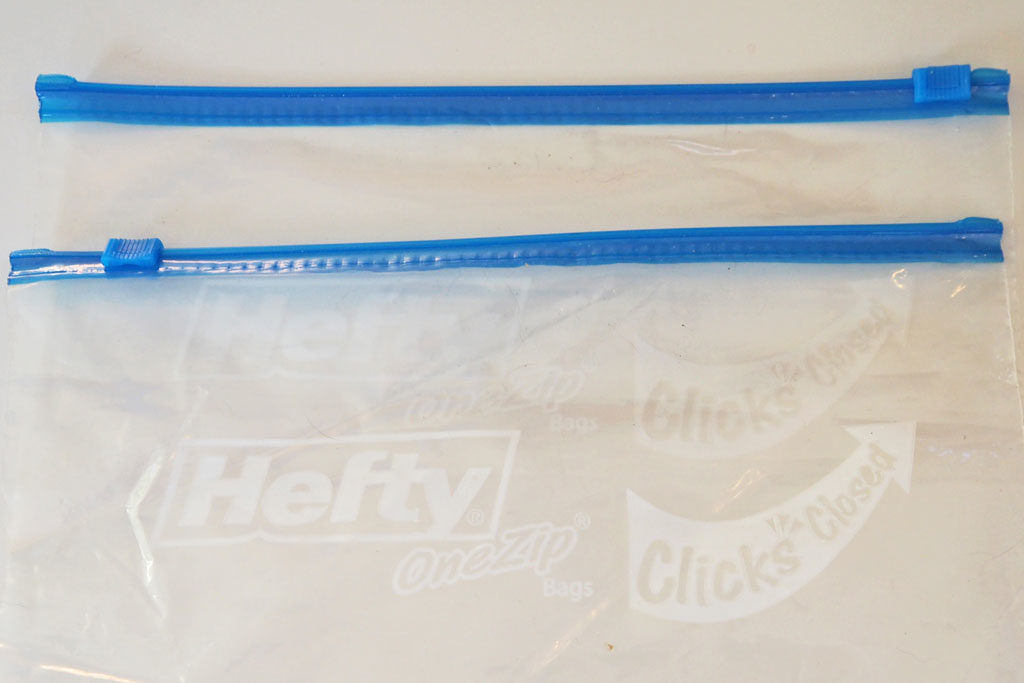
For this demonstration, however, I’ll be using the regular press-close freezer bags I found in my cupboard.
First things first: you will want to figure out how you plan to sort your needles and how many bags you will need. I designate one bag for each size needle (including needle sizes I don’t yet have – you never know!) from US 0 to 15+.
Next, you will need to punch holes in the bottom of each bag using a three-hole punch. Make sure your hole punch is sharp – it’s not always easy to punch through the heavy duty plastic!
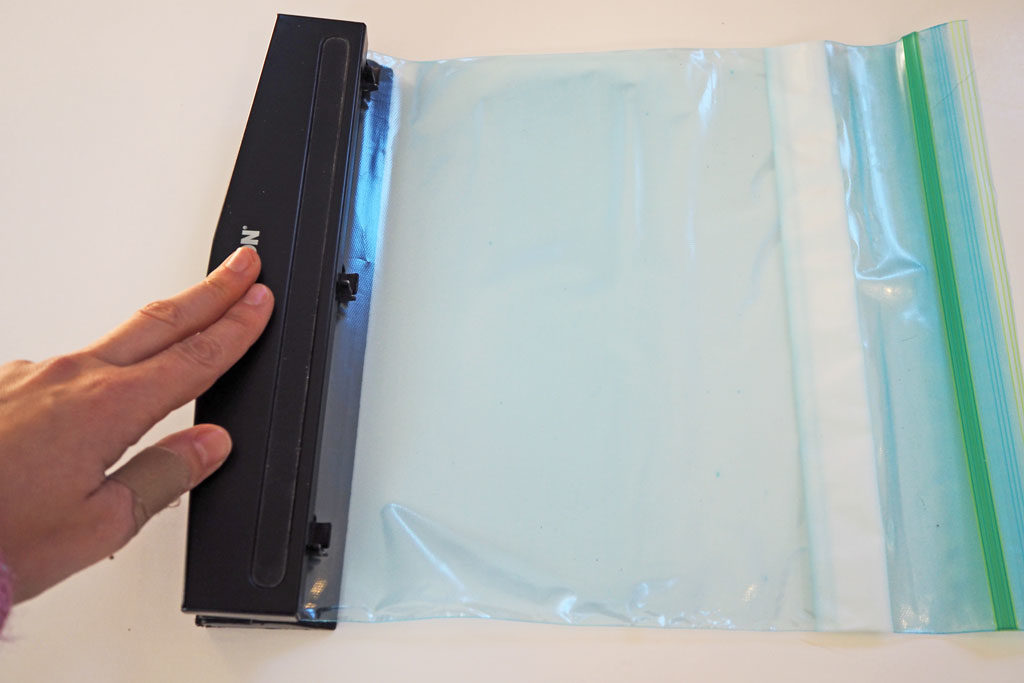
Once all of your bags are properly punched, you will want to reinforce the holes with reinforcement circles.
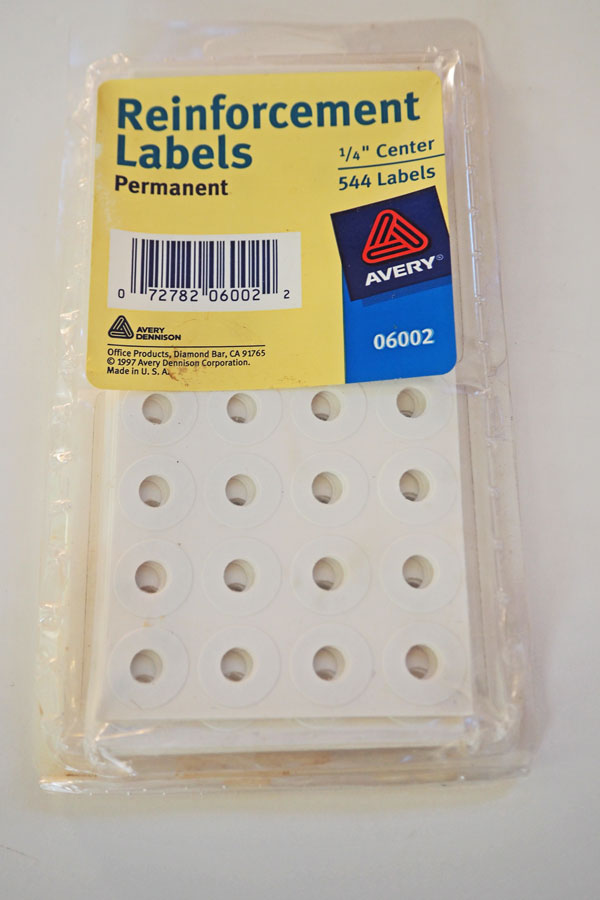
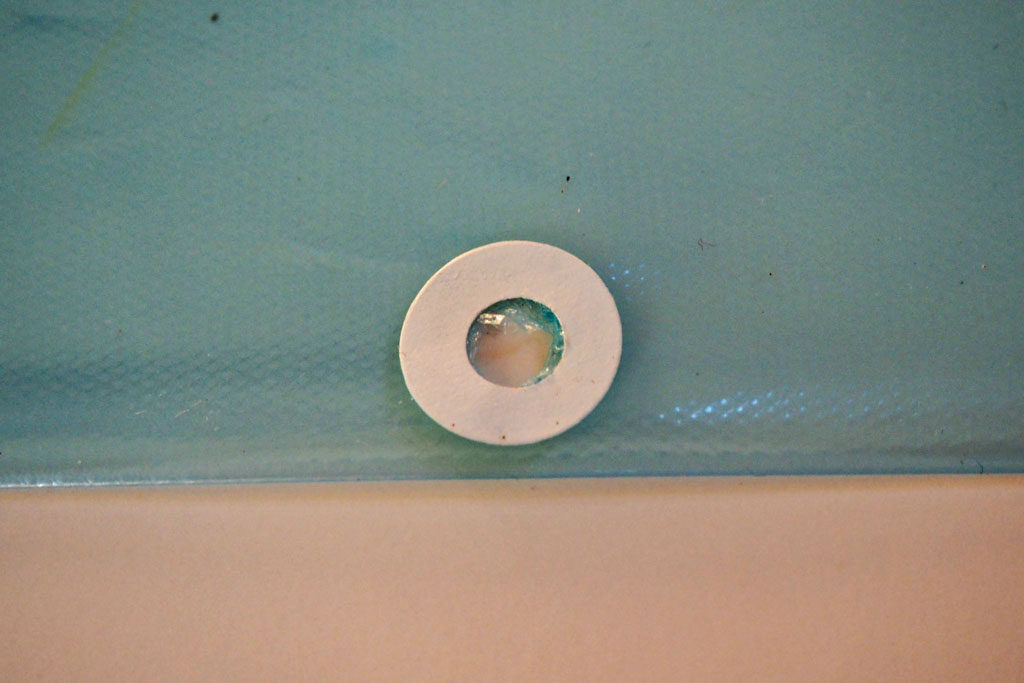
This may seem like an unimportant step, but you would be surprised how much longer the bags will last if you reinforce the holes. Be sure to use FOUR reinforcement circles for each hole – one on the outside and one on the inside of each layer of plastic bag.
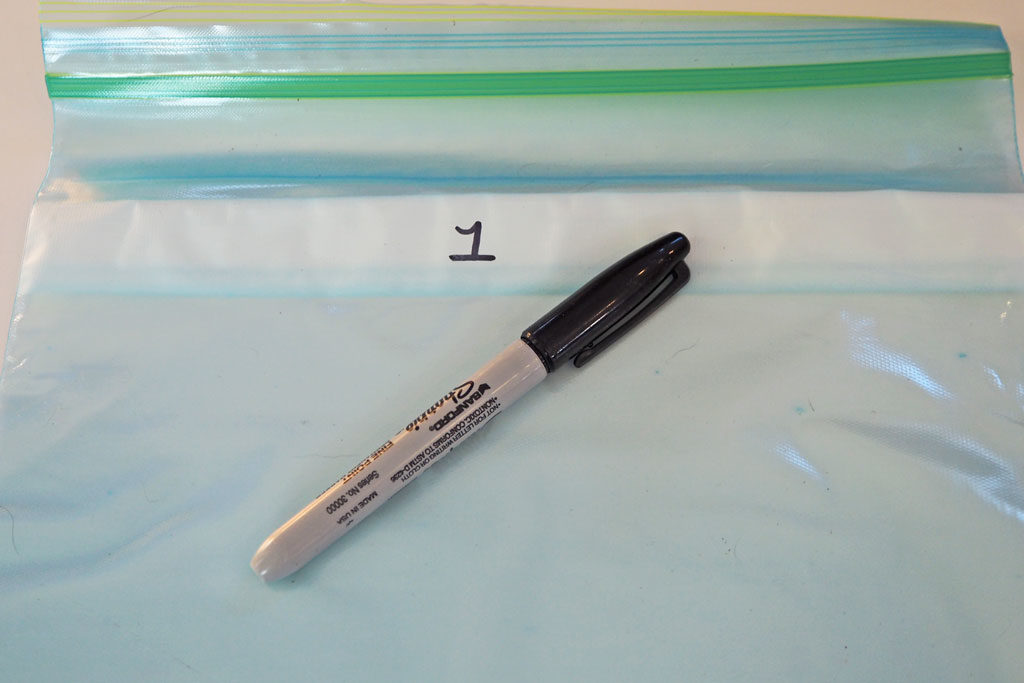
Next you will want to mark each of your bags with a permanent marker based on how you plan to sort your needles. I separate out by US needle size 0-15+, but you could also differentiate by millimeter sizes or another method.
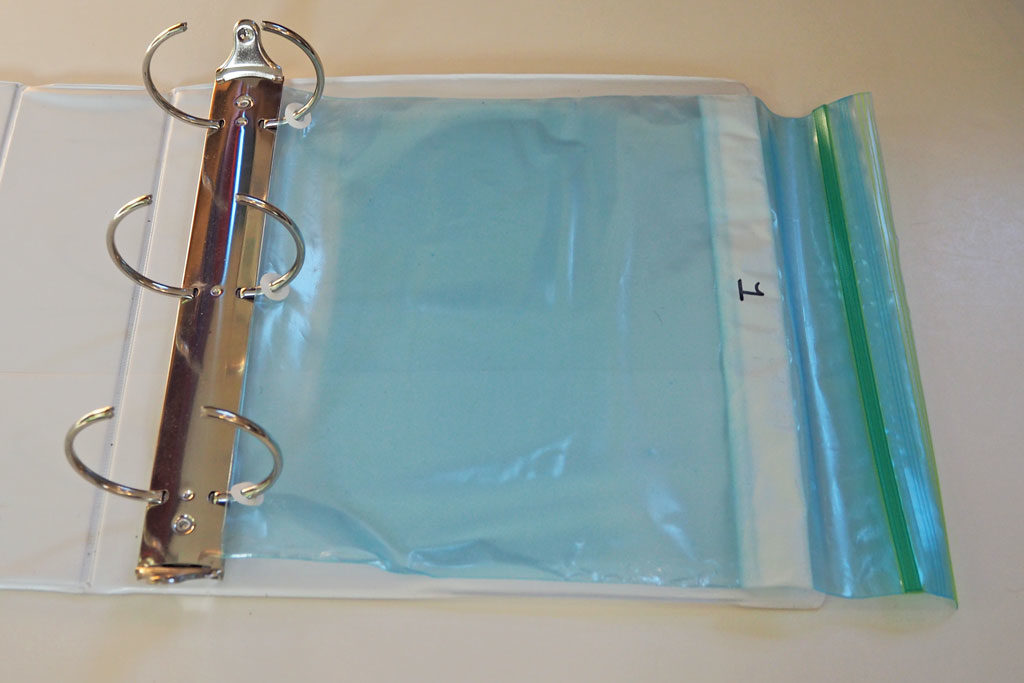
Now place all your bags in order into the binder.
Finally, you are ready to insert all your needles into the bags.
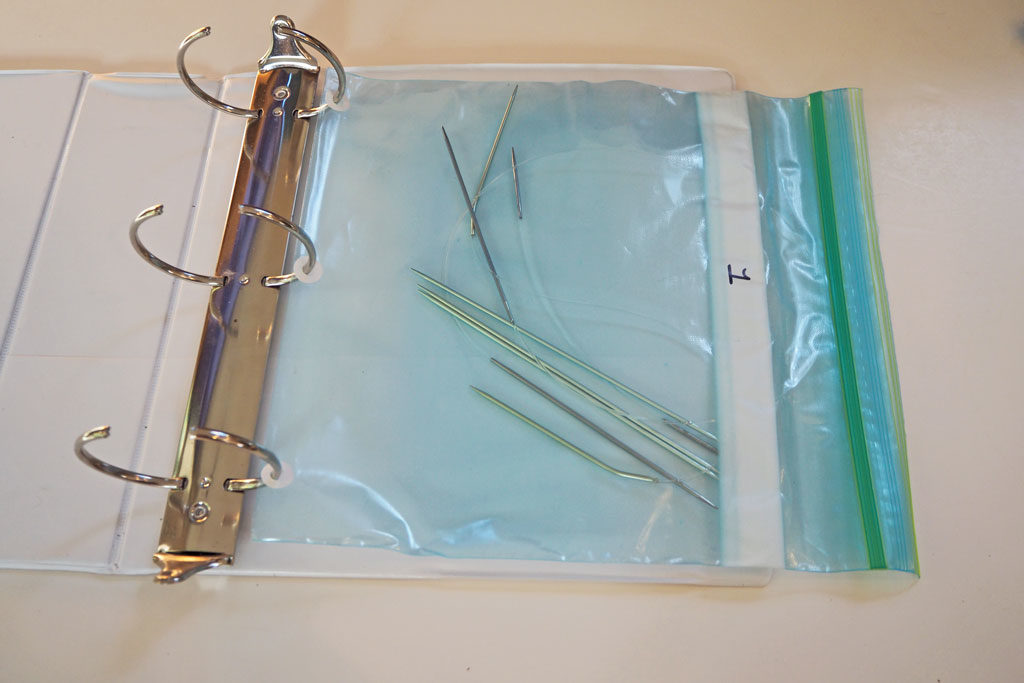
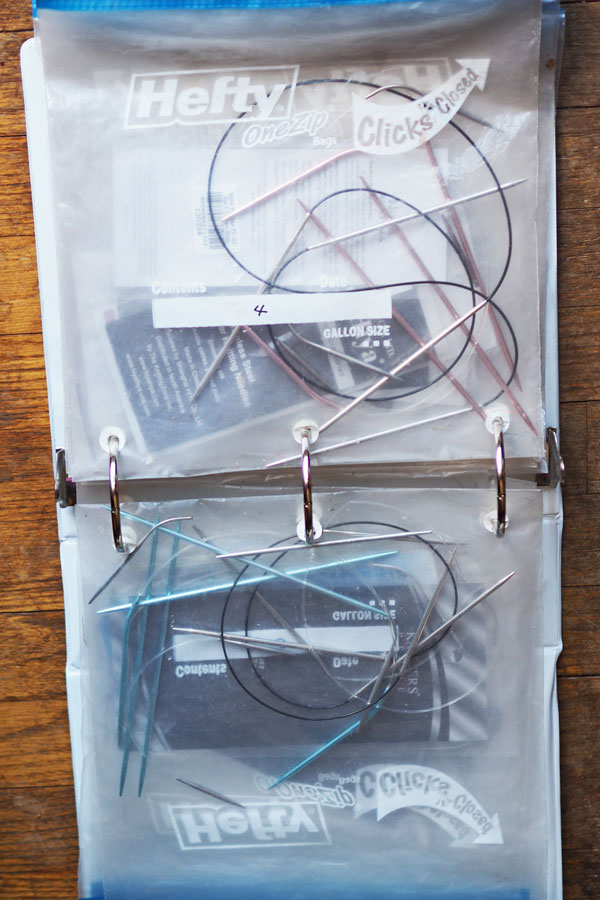
Voila! You have an inexpensive, well-organized storage method for your needles!
Thank you for posting this. I’ve had mine in a large bin for years and have to sort throuGh thEm every time i want to start a new project. What a Fantastic idea!
Oh good, I hope this will be helpful to you! It has worked really well in my household for quite a while now!
your mom showed me this when I started knitting and getting lots of needles about 15 years ago. At the time I used a 8.5 by 6 inch (3 inches thick) binder with quart size bags (I didn’t have any long needles). It has worked quite well for the last 15 years but is now starting to wear out. I think it is time to upgrade to the full size binder and gallon size bags:-)
She is the source of all great knitting wisdom! Definitely make the upgrade to the gallon bags and full size binder – it’s time!
I completely agree on both counts. I just haven’t taken the time to make the new binder yet (and I have the binder already). I really need to make it a priority but I haven’t yet:-)