As promised, I am going to do a two-part tutorial on adding a zipper to your knitted garment. This method involves hand sewing, picking up stitches, and creating a facing. It’s a bit time- and labor-intensive, but in my opinion, it’s well worth the trouble if you want to give your garment a professional finish!
For this tutorial, I’ll be using an Icelandic Lopi sweater I knitted in fall of 2018. It’s a lovely outer layer in shades of taupe and brown:
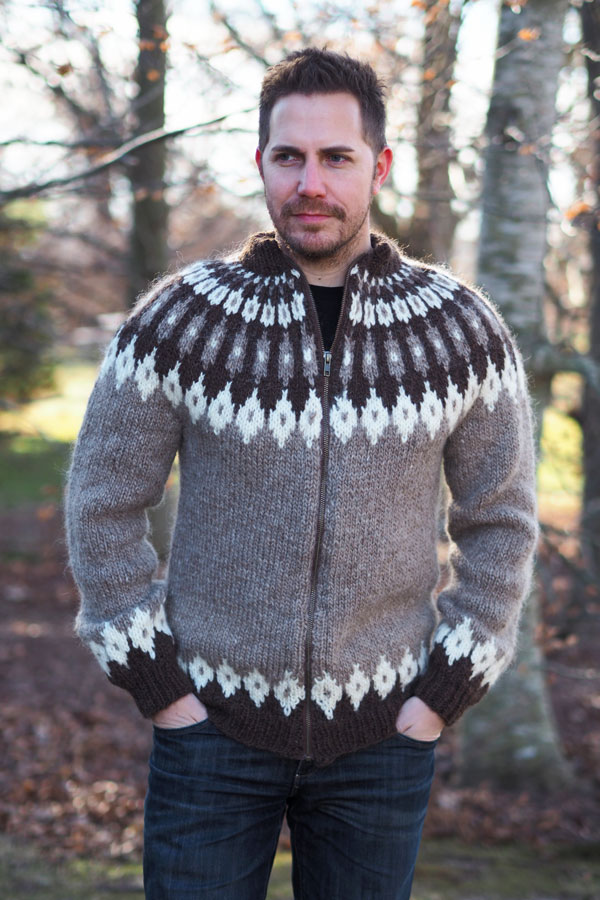
First things first: knit and block the entire garment before even purchasing the zipper! You just never know exactly what size will be needed until you have the whole thing finished and blocked, and nothing looks worse than a too-small zipper making the sweater all bunchy and ripply in the front, or a too-long zipper making you have to stretch your sweater all out of shape to fit it! So knit first, purchase later. The only part of the garment you will NOT finish first is the fold-down collar, if there is one. Leave this unsewn and we will incorporate it into the zipper process.
I special order all my zippers from a place called Zipper Stop. They are fabulous. They have every color and length imaginable, and they ship reasonably. I’m picky about the quality of my zippers, and I typically purchase metal-teeth zippers only (except for children’s garments) because they hold up well.
Alright, let’s get started. When you make your garment, you will likely have knit a few extra stitches on either side of the opening, so that you can fold them back and have a nice edge on which to pin the sweater. Not too many stitches are needed, just a few extra on each side (amounting to maybe half an inch).
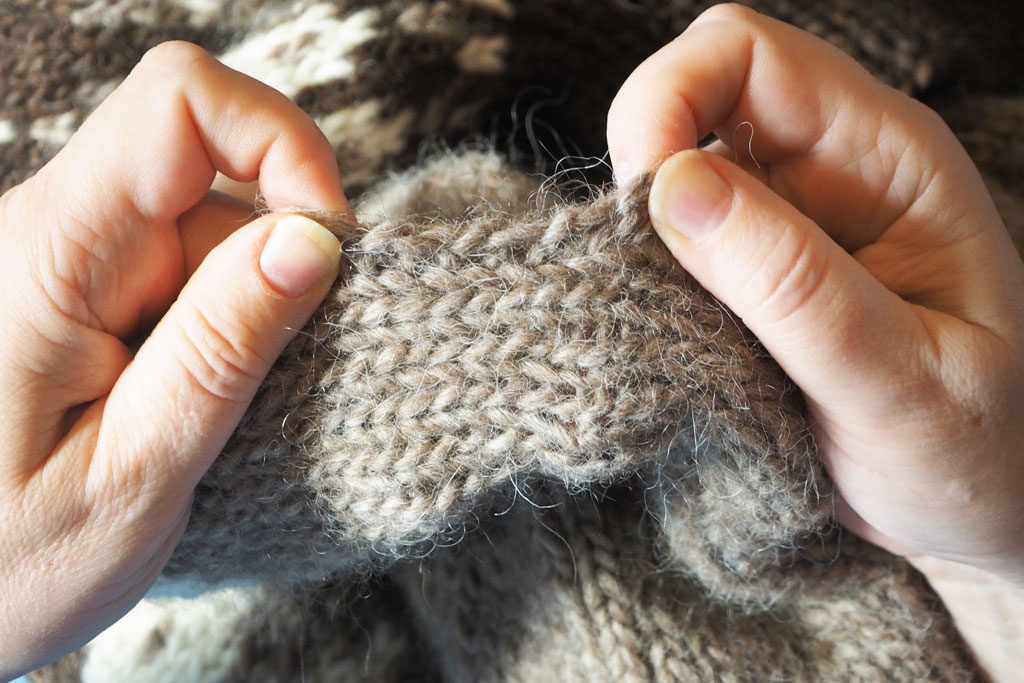
Fold that facing back, and line up your zipper so that the bottom edge is about a quarter to a half inch up from the bottom of the sweater. Make sure that the zipper teeth are showing fully (you don’t want them to get stuck in the yarn!) and start pinning in the zipper.
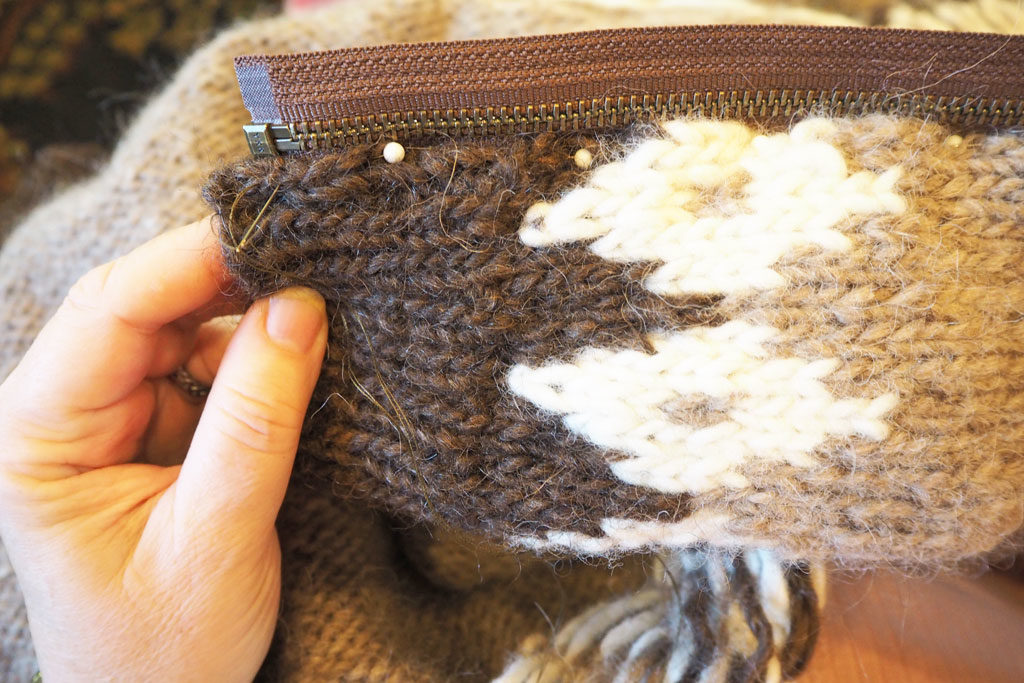
Take your time and adjust the pins if needed. You want to get this right before you start sewing in the zipper. Make sure there are no puckers in the zipper or in the garment, and that the edge looks nice and even.
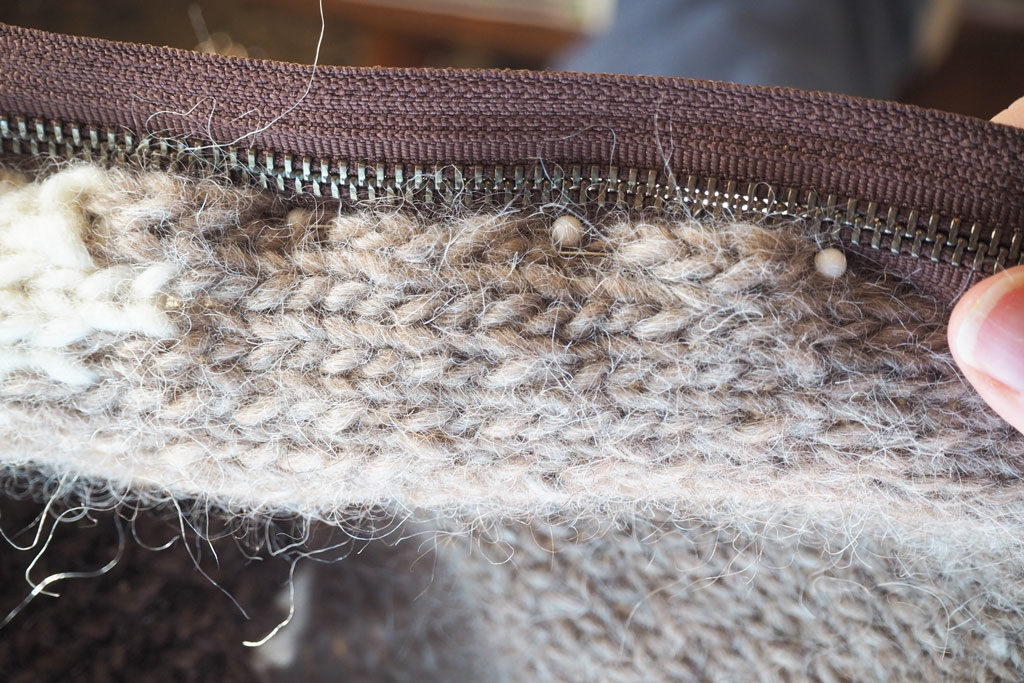
Once you have the zipper pinned in along one entire side, you will be ready to start sewing. Use a thread that blends in well with the garment, not necessarily the zipper tape (you’ll be covering up the tape with a knitted facing). Start by pushing through the plastic coating on the bottom end of the zipper tape. You might want to use a thimble to do so, as it can be tough to push through. Be careful not to break your needle!
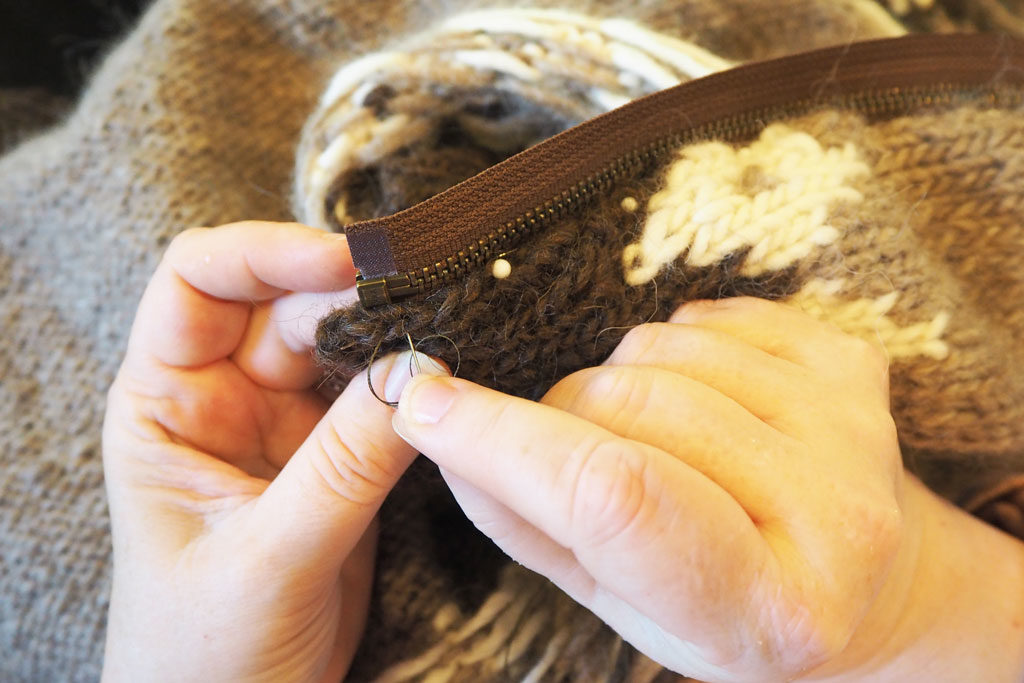
Continue to sew along the edge of the garment using small, even stitches. Be sure to leave a little space between the zipper teeth and the garment edge. If you overlap, the yarn can easily get stuck in the zipper when you zip and unzip the sweater!
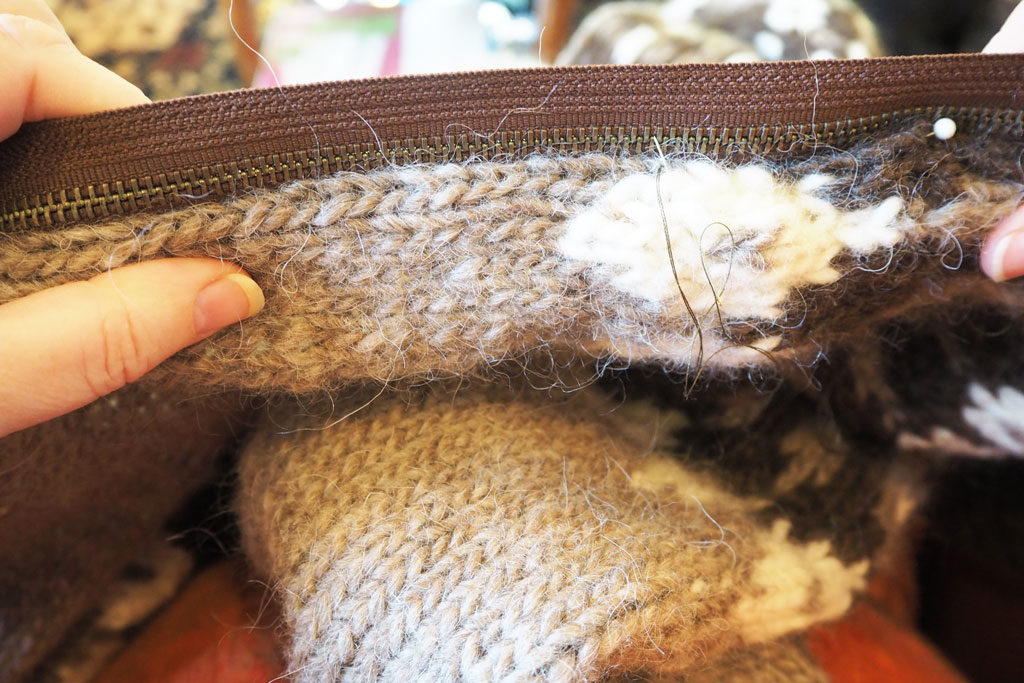
Soon you will have the zipper sewn in completely along one side of the garment. If the garment has a fold-down collar, as mine does, you will sew the top of the zipper into the collar, leaving just a little space between the zipper and the outer edge of the collar.
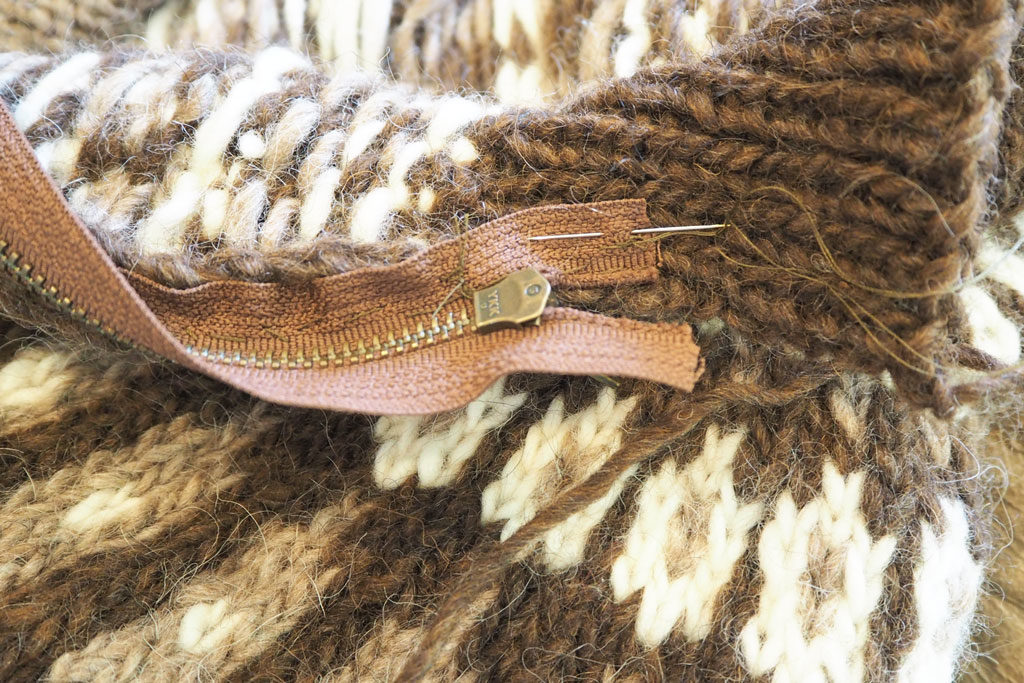
Now you will want to fold and sew down your collar, if necessary. Sew it down right over the zipper tape, and make sure the zipper teeth are not covered. Don’t sew the collar all the way across to the other side! Leave the opposite edge open just a little bit so you can sew in the second half of the zipper when you get that far.
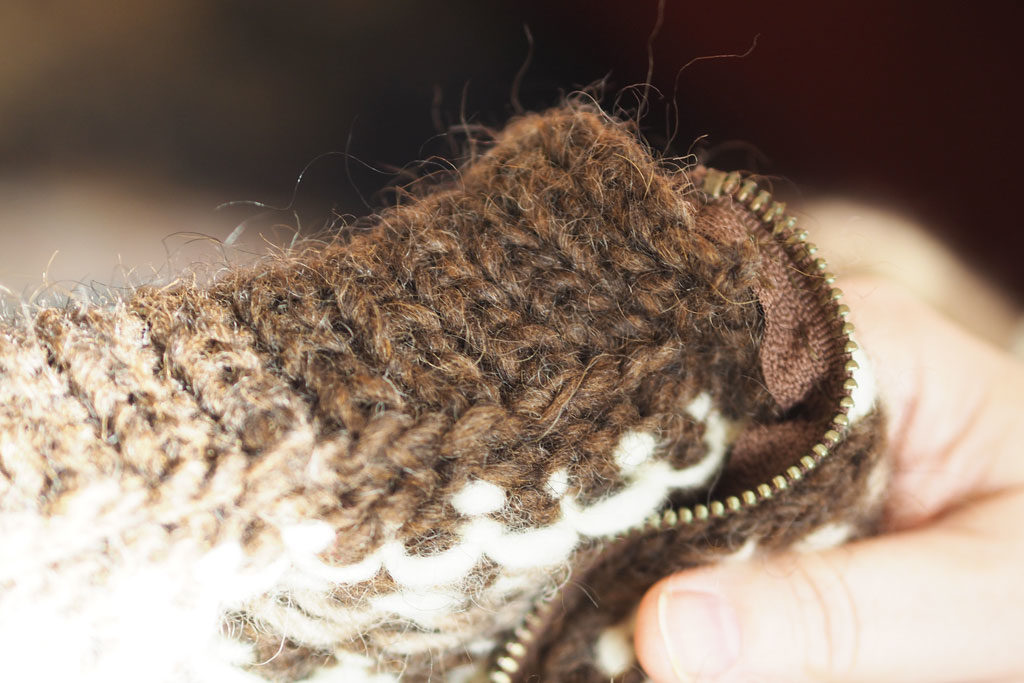
Once you have the collar folded and sewn down, use needle and thread to sew the two collar halves together along the edge, so that the zipper tape doesn’t poke out or show.
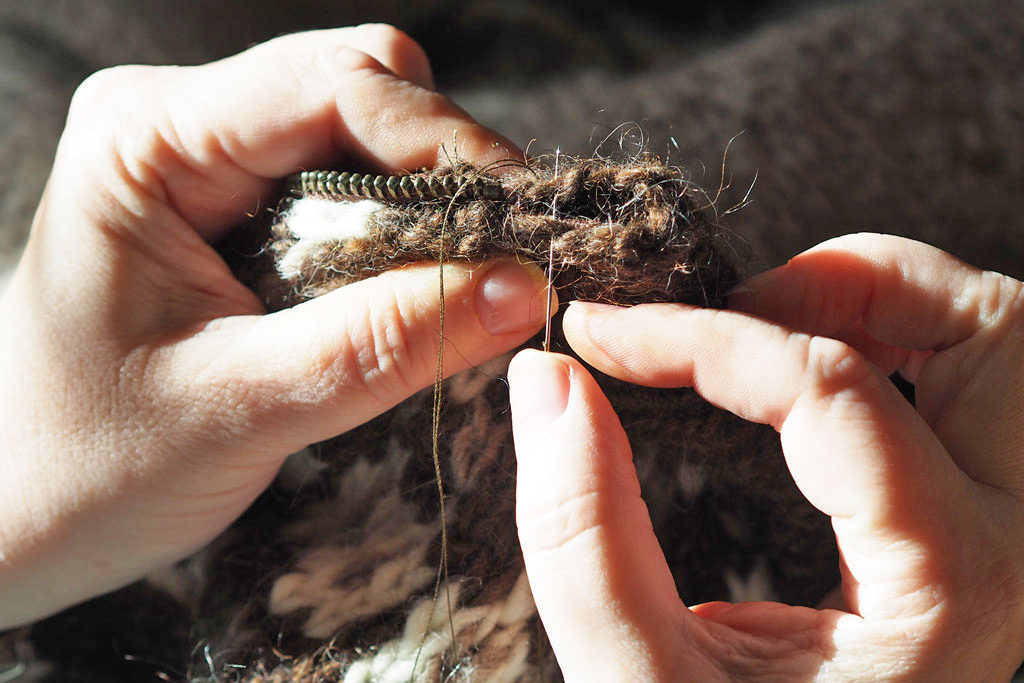
Ok! Now you’ve got one side of the zipper sewn in! Time to sew in the other side. The easiest way to do this is to unzip the zipper completely and pin in the second half. If you started at the bottom and worked your way up on the first half, you’ll do the opposite this time: start from the top and work your way down.
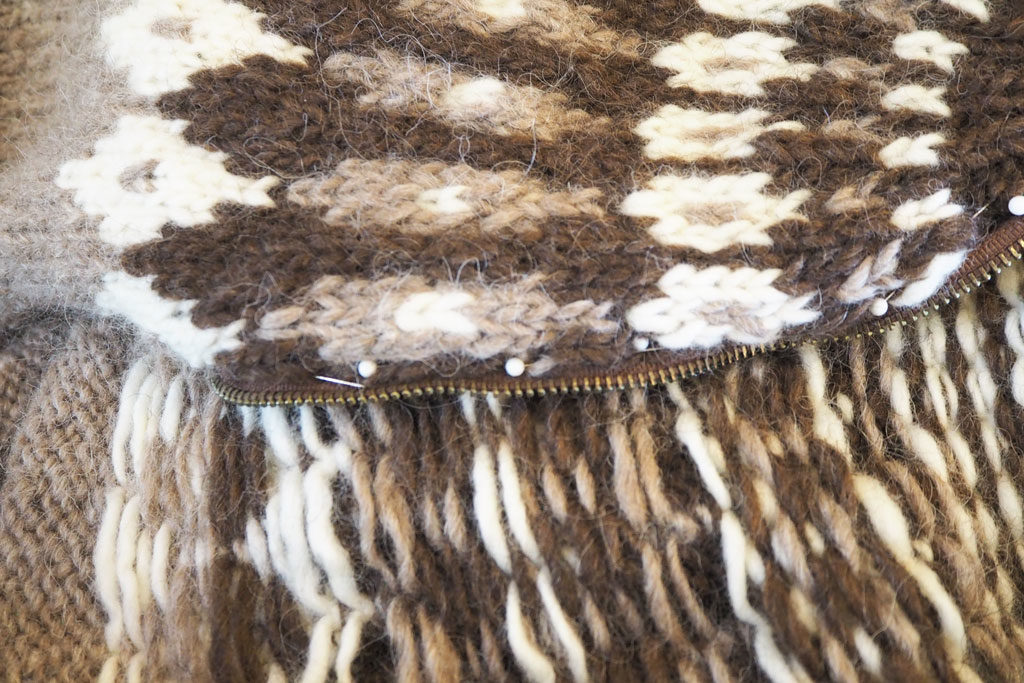
The trickiest and most important part about pinning this second half is to be sure that it aligns perfectly with the first half. This is absolutely essential if the garment has any patterning on it, such as the yoke of this Lopi sweater. If the patterns do not align perfectly when zipped up, the mistake will be very noticeable. Do a test run by pinning the entire second half, then zipping the two halves together. Adjust and readjust until they line up just right!
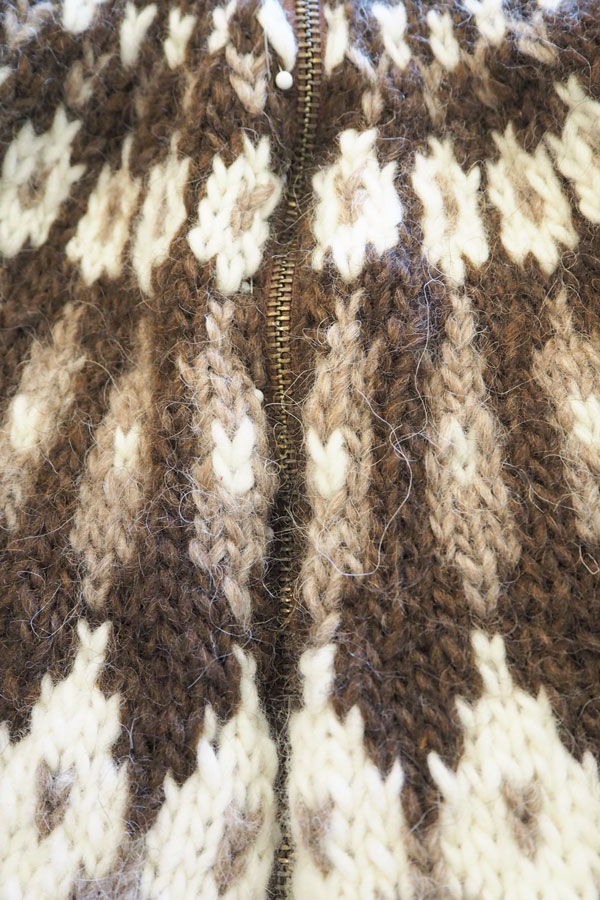
Ok, do you have them lined up just right? Are you sure? If so, sew in the second side of the zipper just as you did for the first half, including the folded collar if your garment has one.
How does it look from the outside now? Nice and even? Don’t worry about your stitches and the zipper tape on the inside. In part two, we’ll learn how to create a knitted facing to cover over the tape and give the zipper a professional finish. Stay tuned!
Leave a Reply