Ok, so over the summer I’ve been busy at work on a new pattern collection. It all started with a stranded knitting scarf design featuring lots of fun little motifs, and based on that design (complete, but not yet published), I’ve been working on a thematic collection of 10 patterns, which I hope to publish all together some time next year. But a year of designing without publishing will drive me completely bonkers. I’m too impatient: this collection is super cute, and I can’t wait to share it!
So, I’ve decided to publish a small “teaser” design to offer a sneak peek at the collection. So, here it is: the Hedgehogs Smartphone and Tablet Cover!
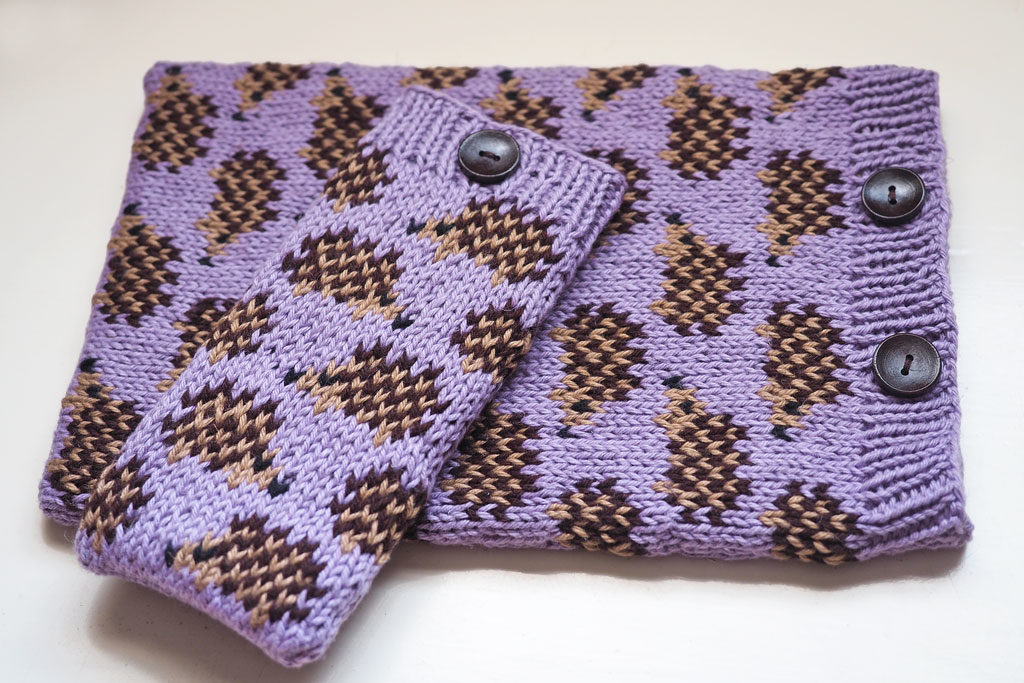
I absolutely love hedgehogs in all their prickly adorableness, so I tried to capture their essence in this stranded knitting project. Those of you who know me will laugh at the irony of me designing a smartphone and tablet cover, since I’m a bit of a luddite and own neither smartphone nor tablet (I had to borrow from friends and family for the photo shoot!), but I figured it was a cute, quick project that could come in handy for many people out there.
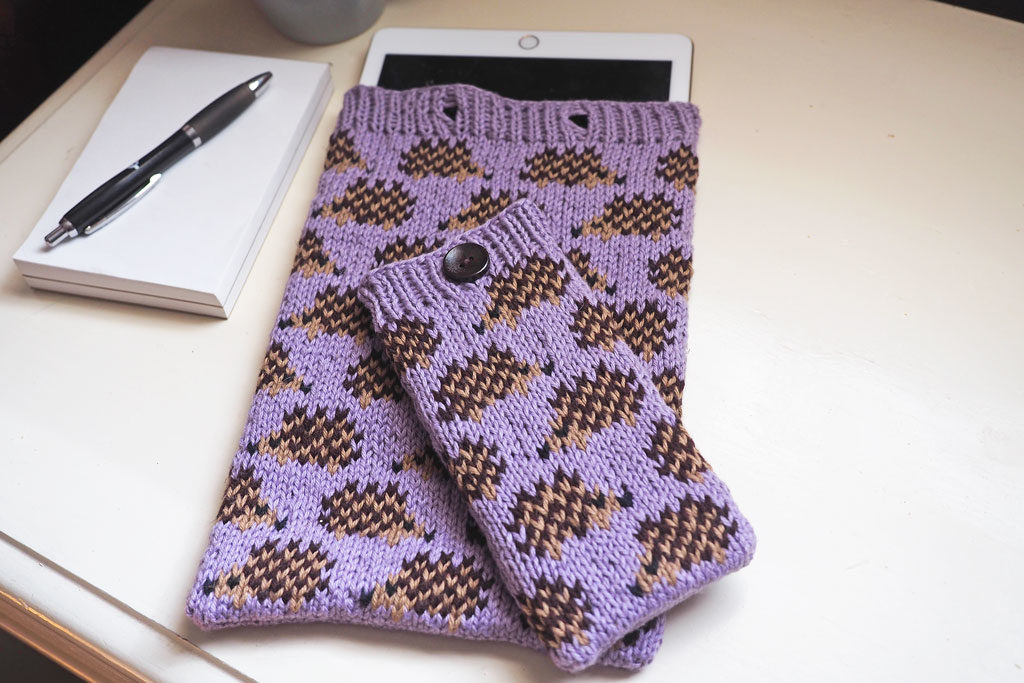
I chose Knit Picks CotLin for the yarn. It’s a DK weight blend of cotton and linen, sturdy but soft, and it comes it lots of bright colors. The design would work well on a wide variety of background colors, so knitters can choose their favorite (my favorite color is purple, if that isn’t already obvious).
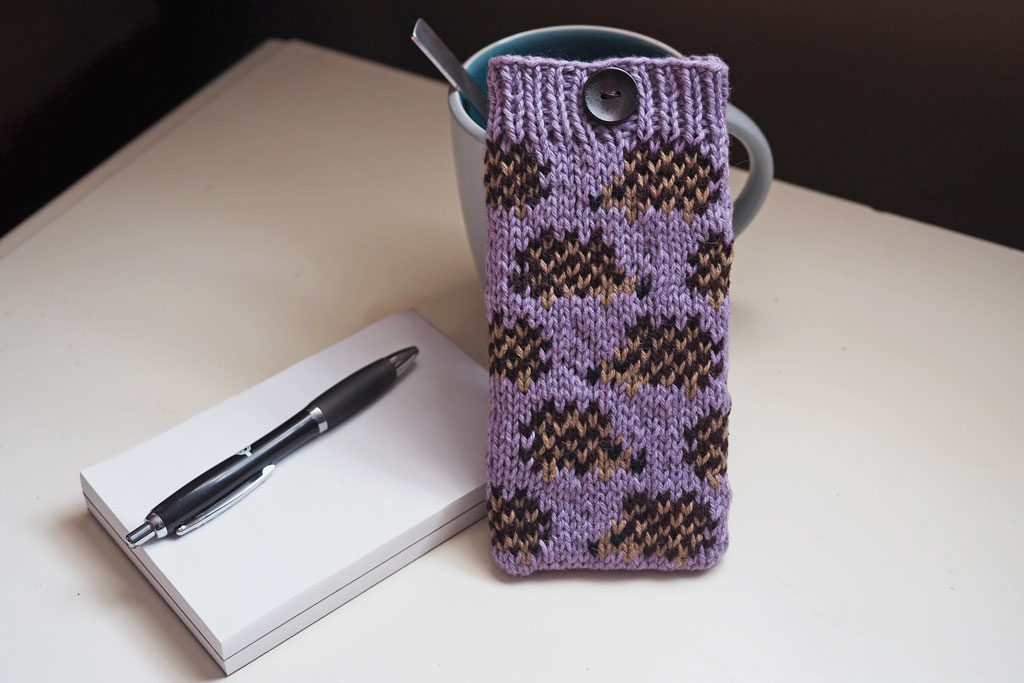
I wanted to use the blog to provide some knitting technical support, so here in this first post, I will offer a mini tutorial on the provisional cast on technique used in this design. I’ll show how to cast on with crocheted chain stitch, and how to remove the crochet chain in preparation for the next step.
In two follow-up posts, I’ll go over three needle bind off (to create a nice sturdy neat seam at the bottom of the cover) and duplicate stitch (for those who would prefer not to do stranded knitting in four colors at a time). So stay posted!
Alright, here we go with provisional cast on:
First, find a smooth-textured yarn (cotton is good) that ideally is thicker than the yarn you will use for the project. I chose a worsted-weight cotton. Also use a crochet hook the same size or larger than the knitting needle you will use for the project.
Make a slip knot and place it on your crochet hook:
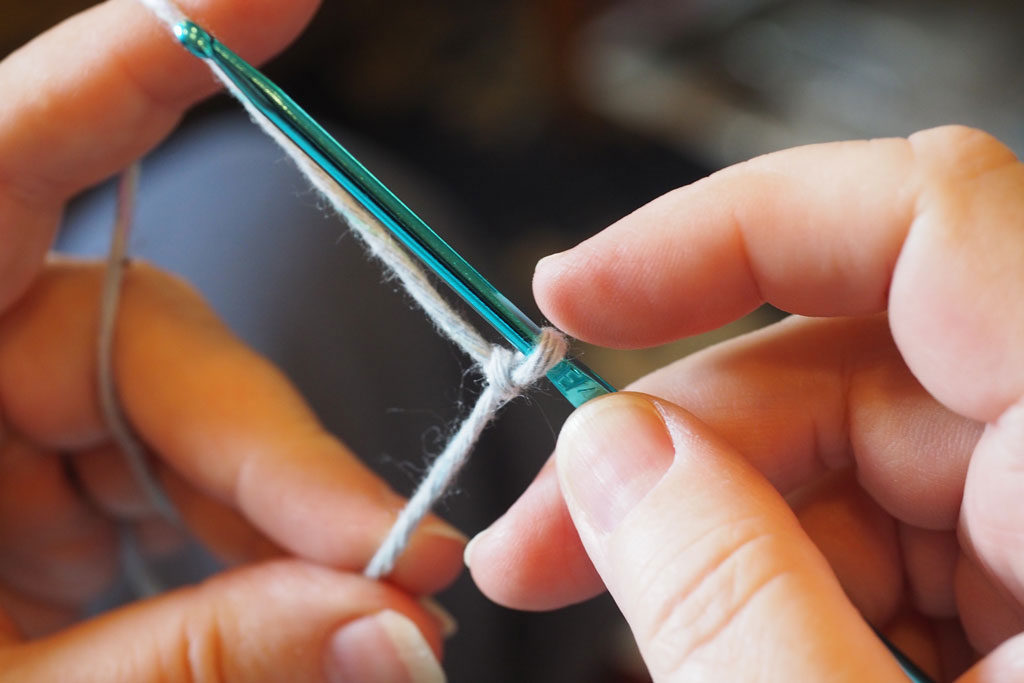
Now pull the yarn through the slip knot stitch to start the crochet chain. Wrap:
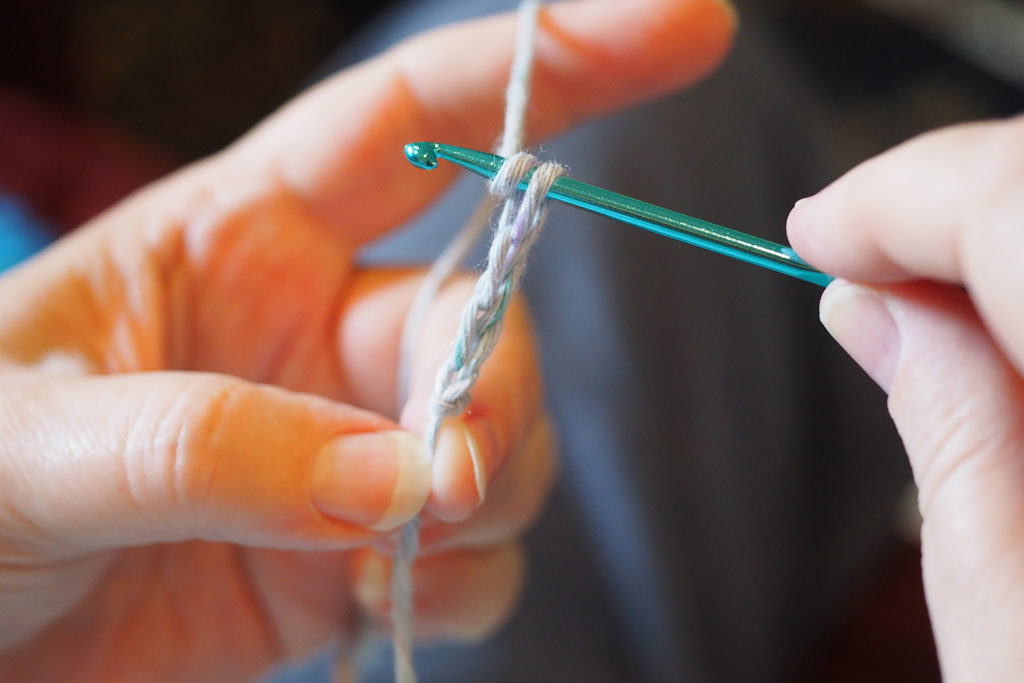
And pull through:
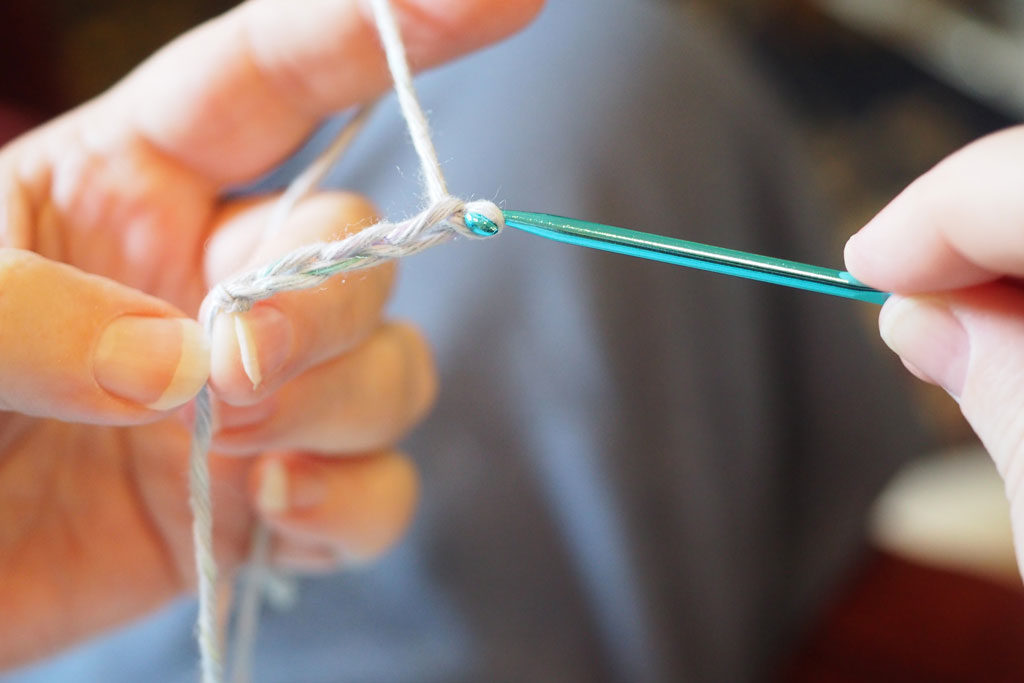
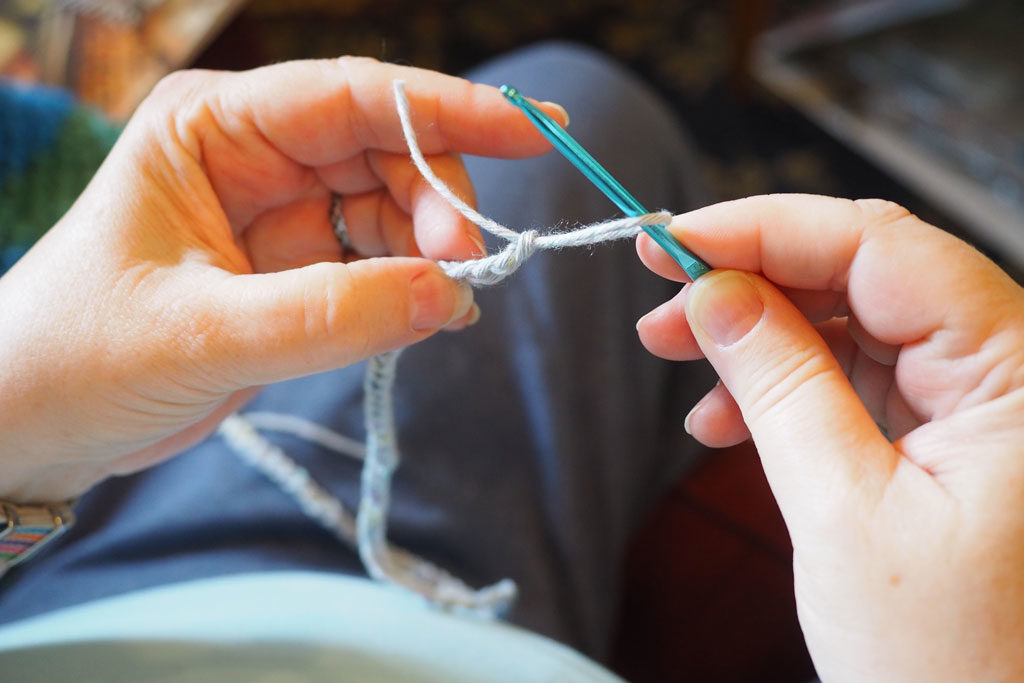
Continue to chain stitch, keeping your stitches very loose. You’ll continue until you have 6 more stitches than the amount you will cast on for the knitting project. In this case, you’ll want to chain 48 stitches for the smartphone cover and 90 stitches for the tablet cover. When you finish, cut your crochet yarn and pull through to make a knot:
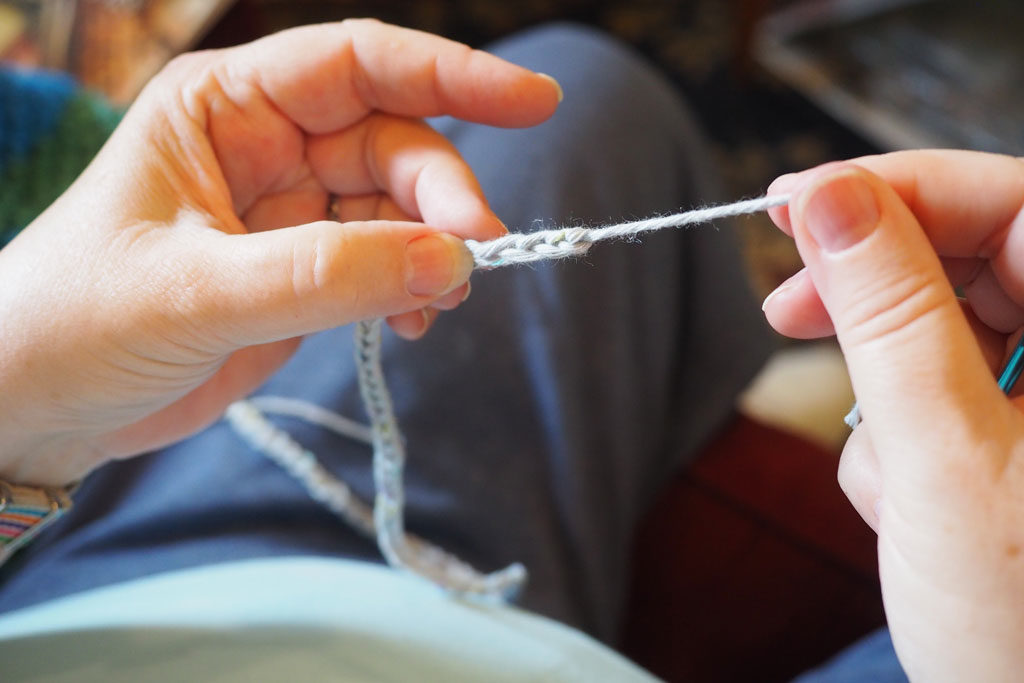
Great! Now that you have your crochet chain, you can use it to create your provisional cast on. First, start by turning the chain over to the side that resembles purl stitches:
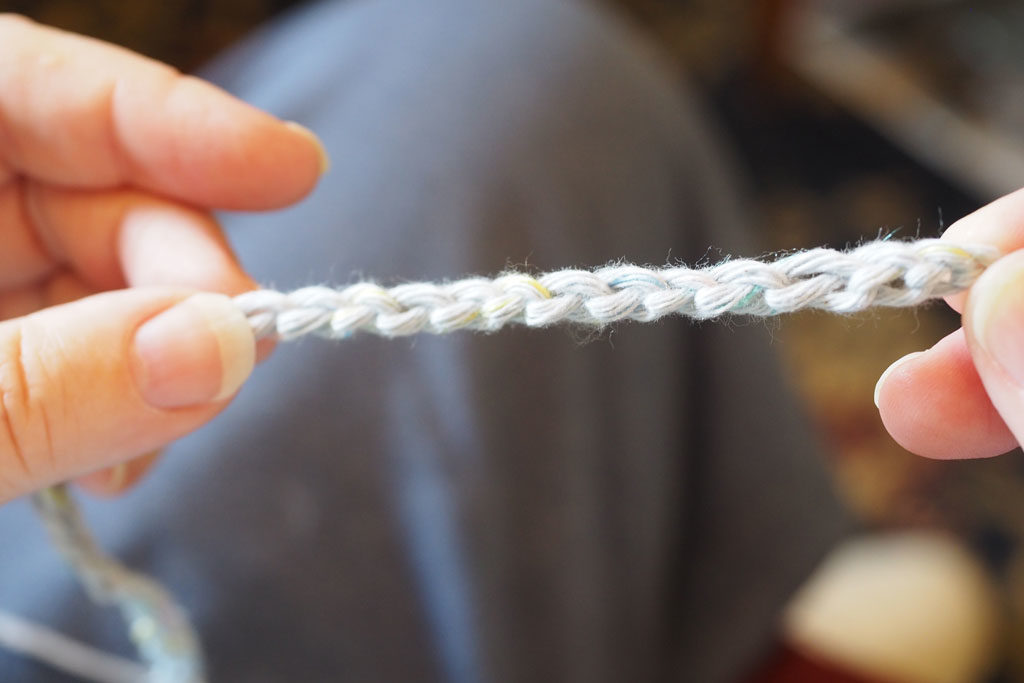
Using a knitting needle and MC, knit into the fourth “purl” nub from the right end of the chain.
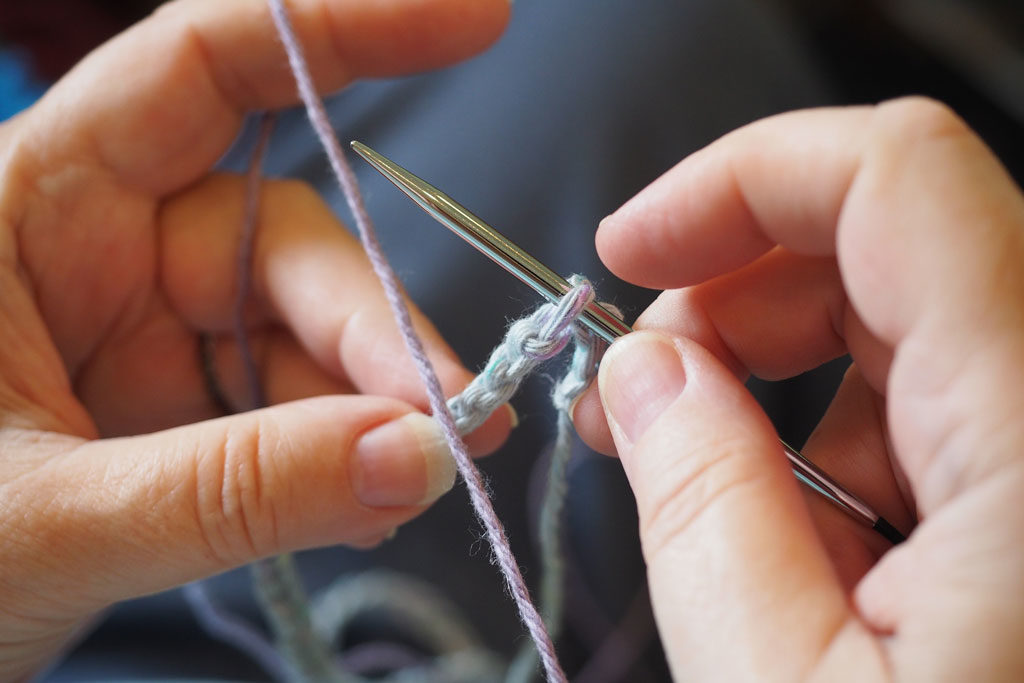
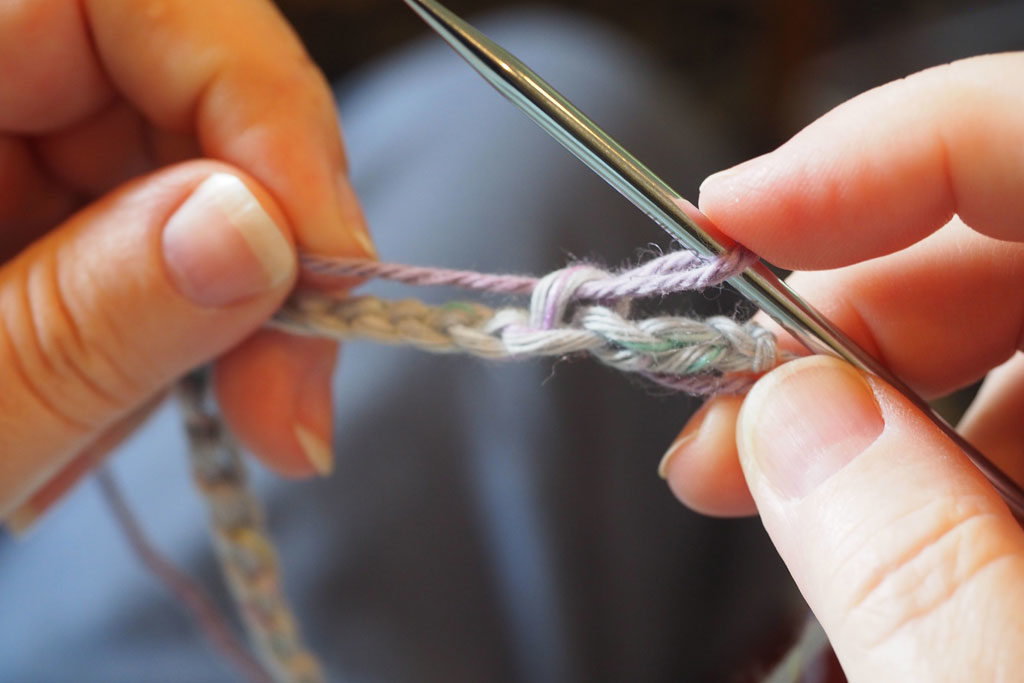
Be sure to leave a very long tail, which will be used at the end to “seam” the bottom using three-needle bind off technique. Put needle under the next “purl” nub:
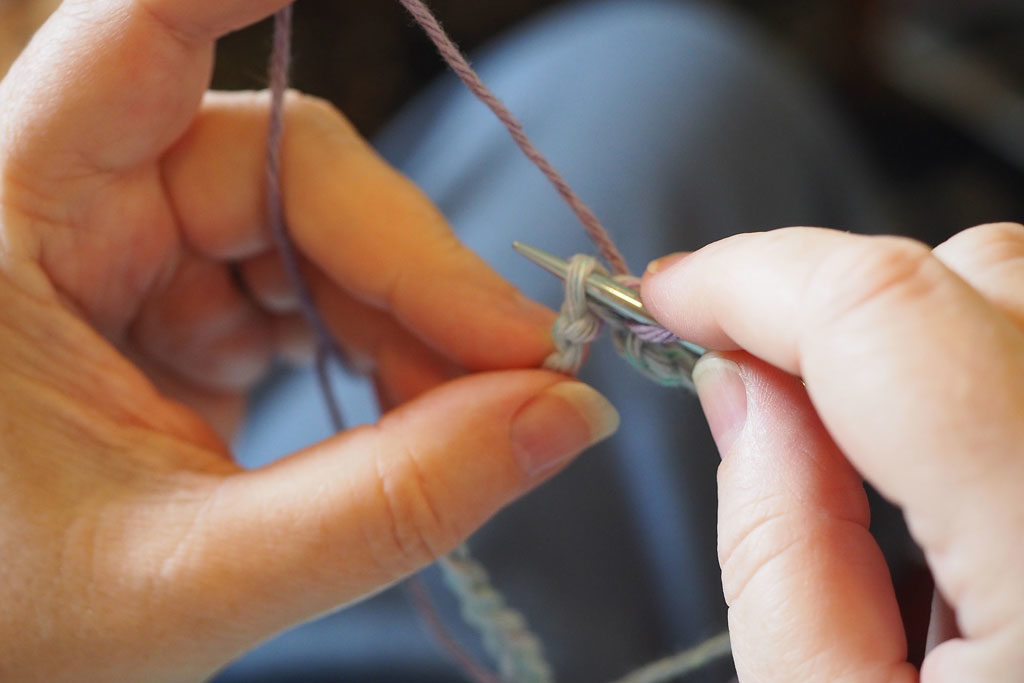
And pull yarn through to make a second stitch:
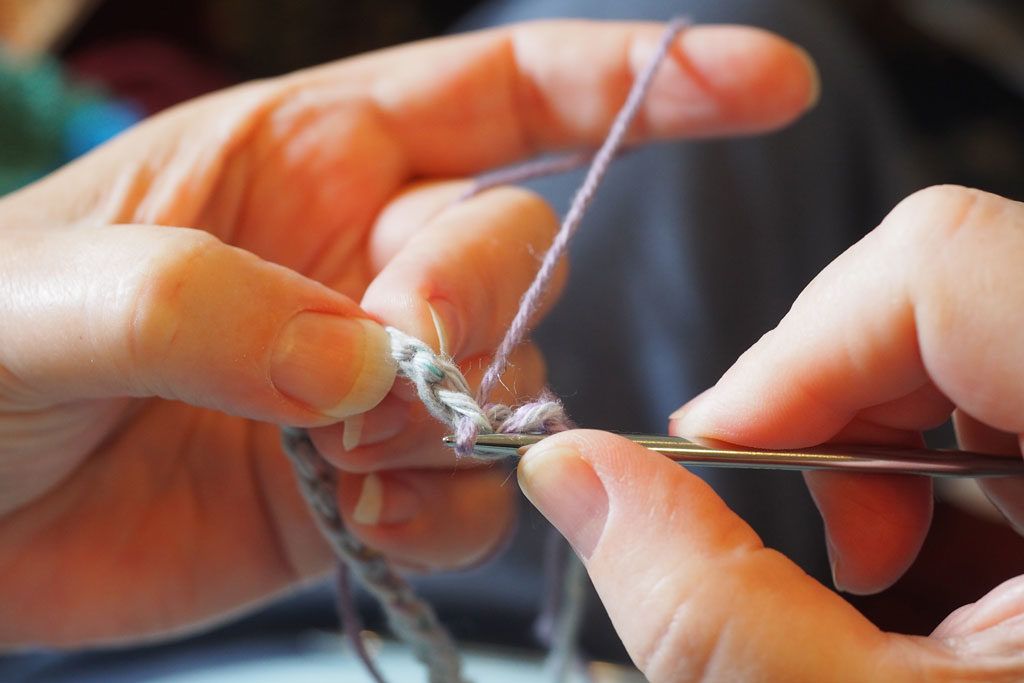
Continue until you have the correct amount of cast on stitches on your needle (42 for the smartphone cover, 84 for the tablet cover). Three extra crochet stitches should be left at either end (but not a big deal if you have more on one side than the other). You are now ready to knit!
When you have completed all knitting, it’s time to remove the crochet chain from your work, leaving live stitches ready for bind off.
First, undo the knot at the left end of the chain and carefully unravel the chain:
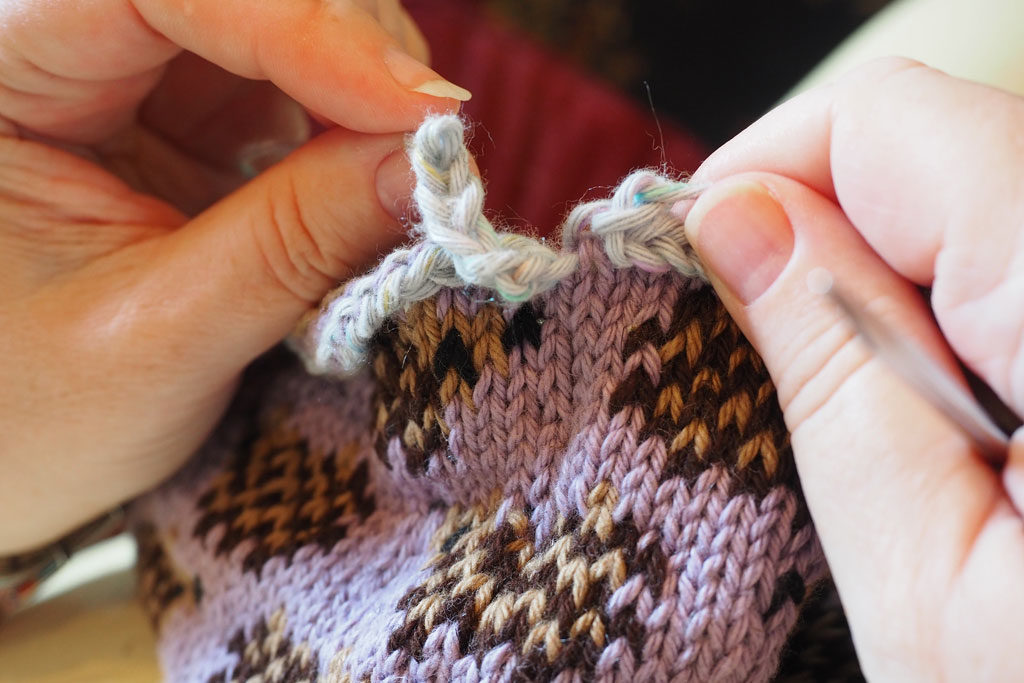
You’ll know if you’ve undone the wrong side of the chain, because it won’t unravel. Try the other side instead. Once you’ve unraveled enough of the chain, you will see live knitting stitches. Pick up these stitches on your needle:
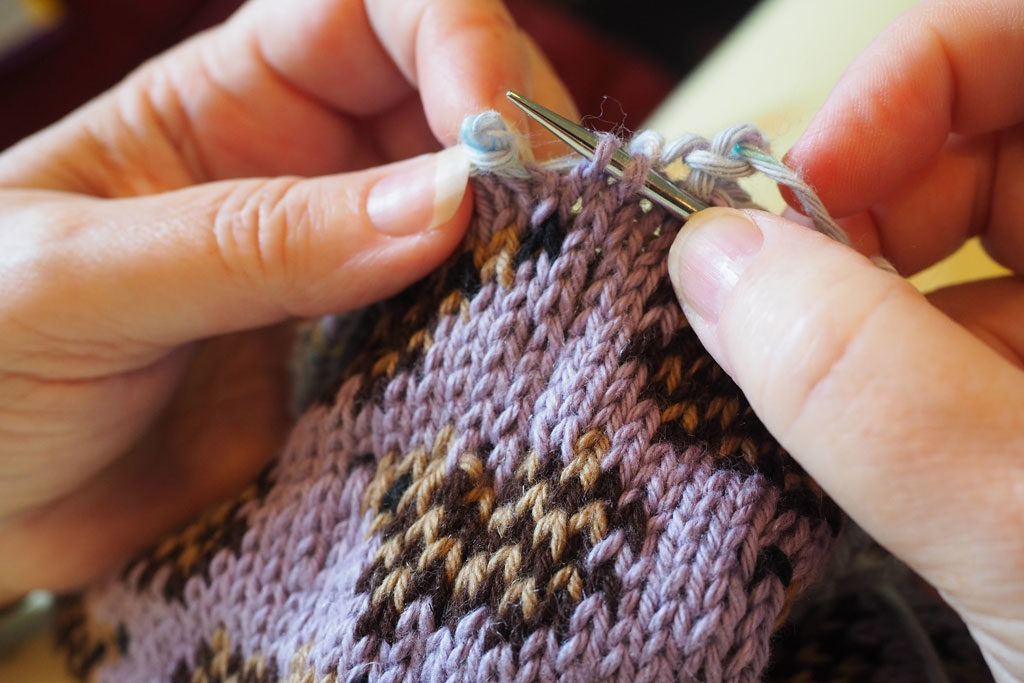
Continue around, carefully unraveling the crochet chain and picking up the live stitches, until you have all (42 or 84) stitches on your needle.
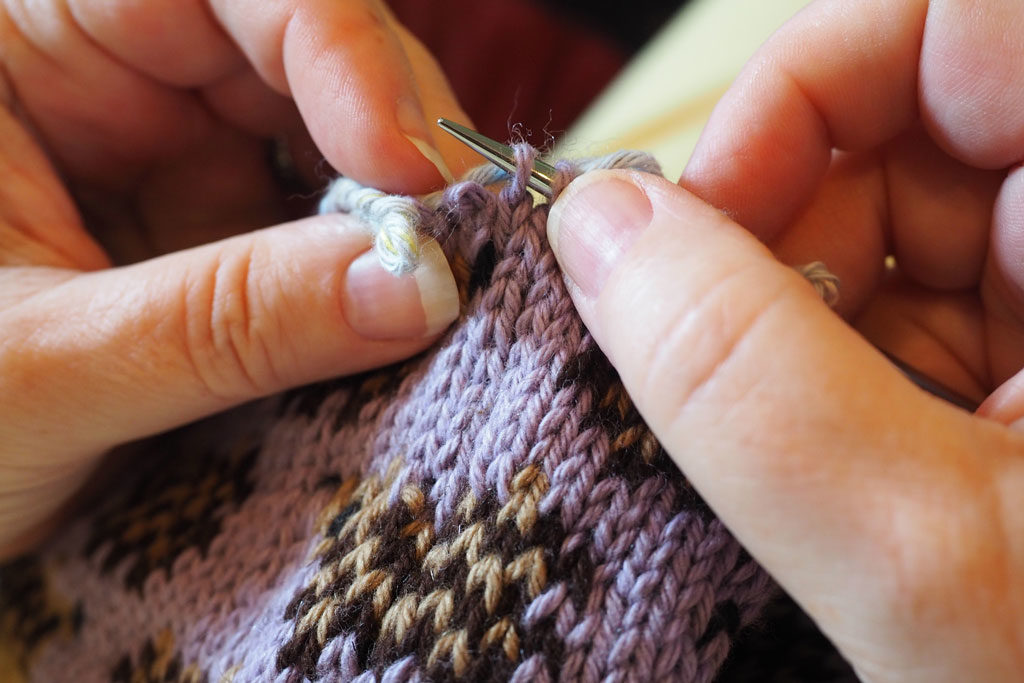
Now you are ready for the next step, three-needle bind off to seam the bottom! Stay tuned; I’ll go over that technique step by step in my next blog post.
Leave a Reply