I’m a bit of an Outlander fanatic. Yes, I admit it. I love the books. I love the show. I love just about every single thing about this series. And for those who follow the show, Season Five is scheduled to air one week from today. I can hardly contain myself, even though I’ve read the book and already know what to expect – mostly.
I’ve decided I need to put some effort into restocking my Etsy shop this year, and my miracle-working mother has agreed to help with the knitting. And so, with Outlander on the brain, I’ve asked her to make a few versions of my Inverness Highland Tam design. Because – TAMS! INVERNESS! HIGHLANDS!
She made three new tams for me. The first is the raspberry colored merino/alpaca tweed from the original design. This yarn is so delicious!

The second is an interesting wool/silk blend from Tahki yarns – who knows how it came to be in my stash, but we played yarn chicken and had JUST enough to eek out the tam.


And lastly, we used a good old fashioned sturdy single ply wool tweed in a deep midnight blue with flecks of purple and turquoise. It doesn’t quite have the drape of the alpaca or the silk, but I’d like to think it’s closer to the felted tams used in the highlands.


At any rate, while blocking these tams, I thought it might be a good idea to document the process. It’s straightforward, but sometimes it’s just nice to see all the steps first before you try it yourself.
First I wash the tam in luke warm water with a bit of gentle soap.
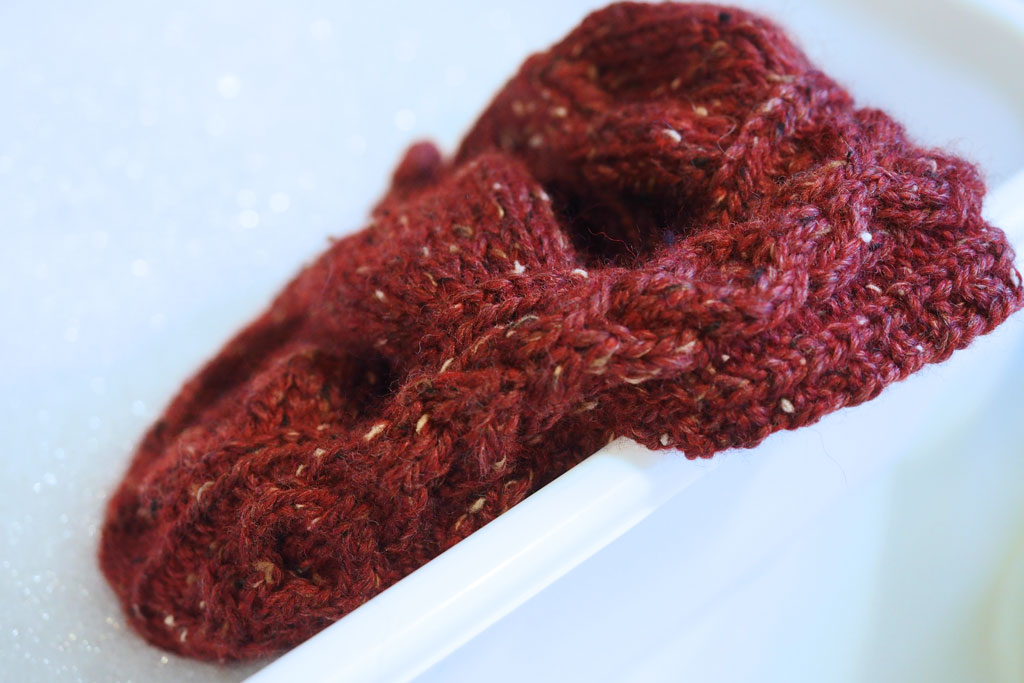
Be sure to soak the tam thoroughly, but gently.
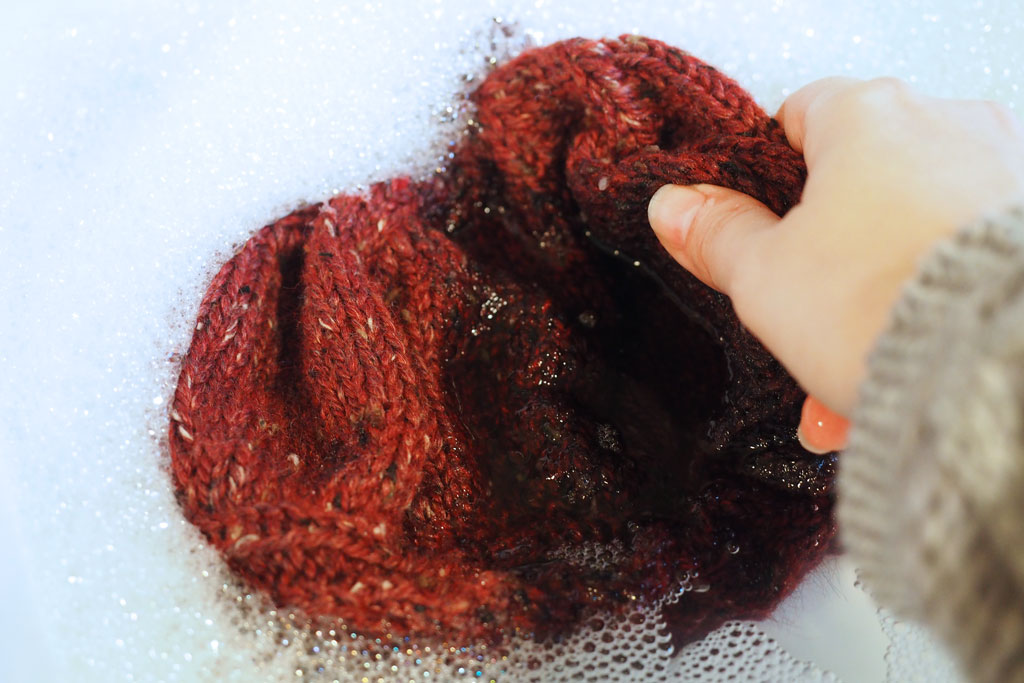
You’ll want to rinse off the soap and then squeeze out all the excess water by rolling the tam in a towel. Now it’s time to block. Tams and berets look AWFUL before blocking, so this is a necessary step. You’ll want to find a round-edged plate with the right diameter. Try a bunch of different sizes until you find one that stretches the hat but doesn’t damage it. For my medium size tam, I’m using an 11″ diameter plate (slightly larger than a dinner plate – more like a small serving plate).
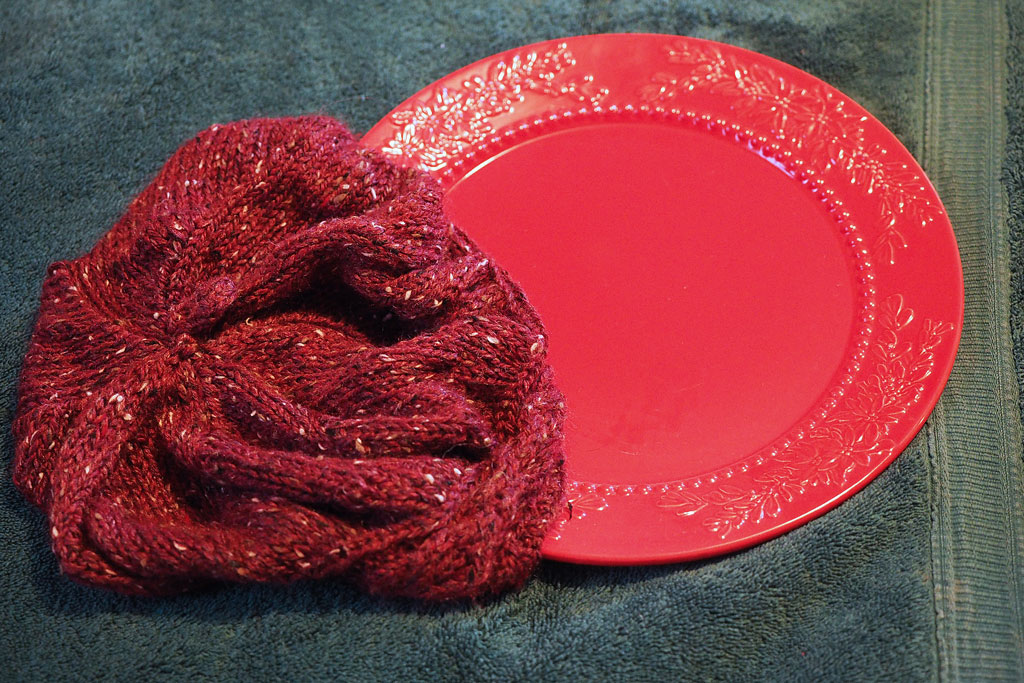
Work the plate into the hat by stretching carefully.
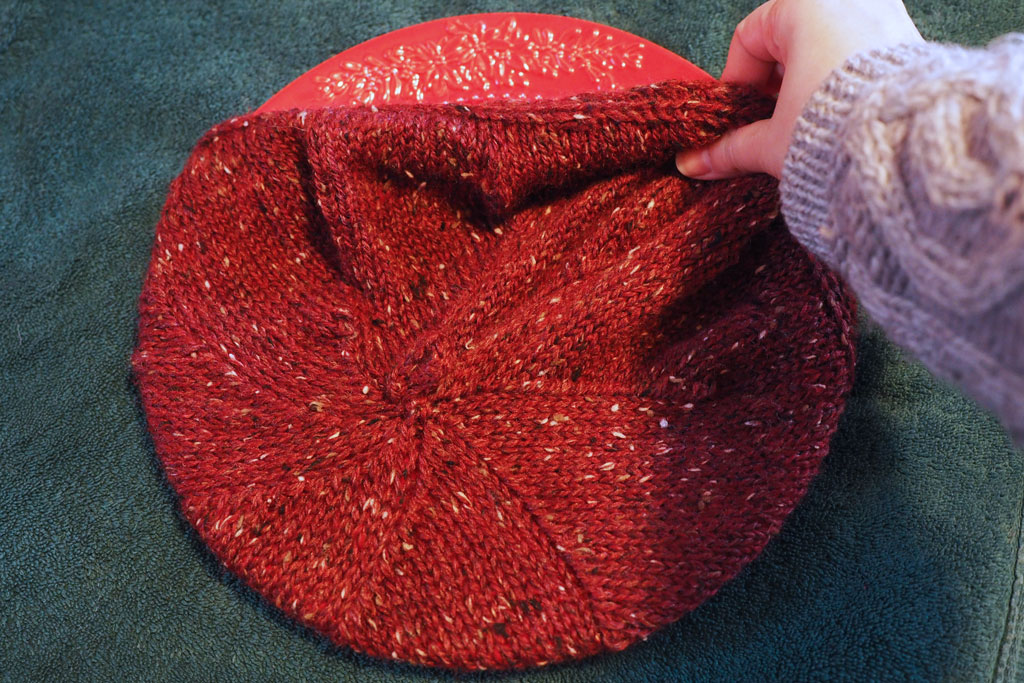
Once the plate is inside, adjust the hat so it is centered evenly on the plate.
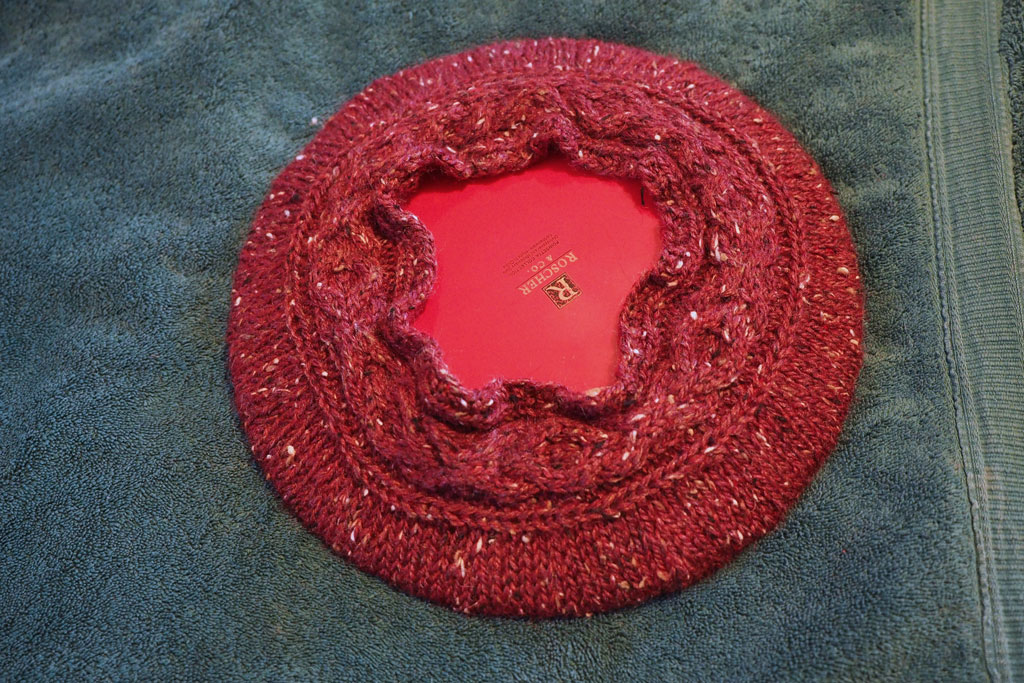
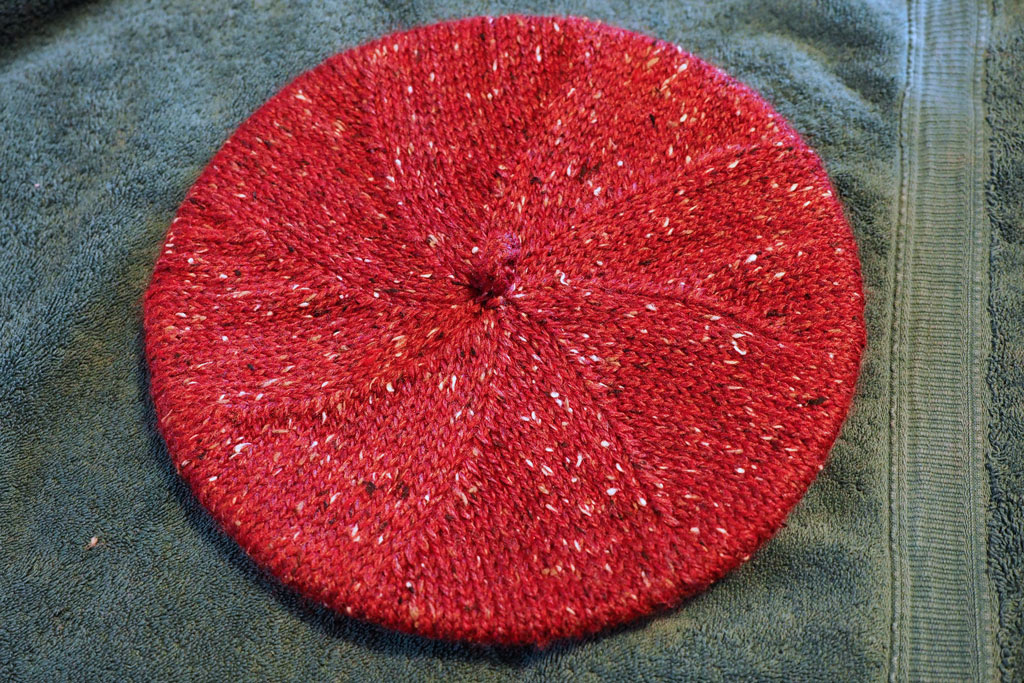
Now the tam just needs to be left in a well-ventilated spot to dry! You can place the plate on top of a small block or container so air can get to all parts of the hat.
Once the tam is dry, it will have that classic shape! The whole process will need to be done any time the hat is washed, but it should hold its shape until then!
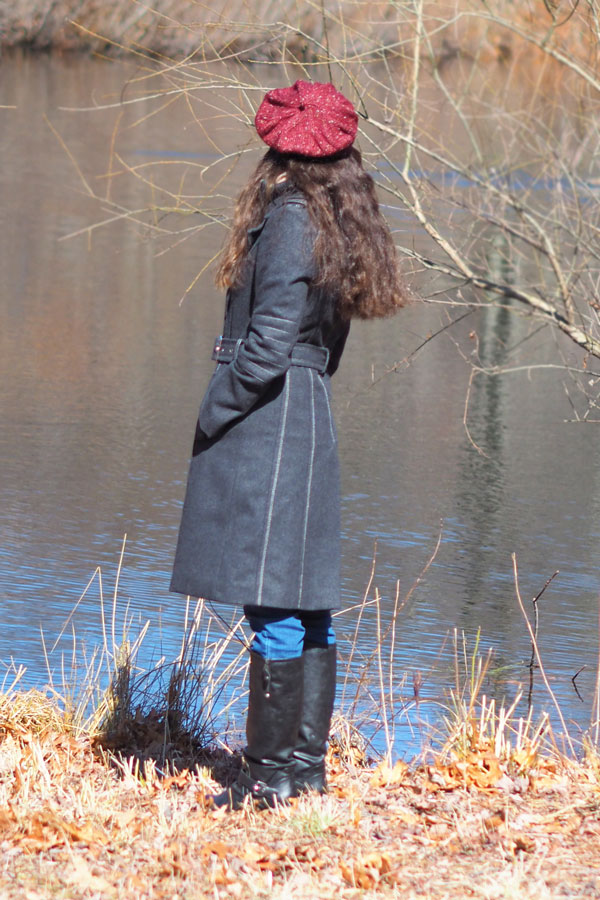
Happy tamming, and happy Outlander!
Hi Bridget…I love your Tamsin. Hoping I’ll find a pattern in your shop.
Hi Caroline! Thank you so much! Yes, there is a pattern in my shop: https://www.ravelry.com/patterns/library/inverness-tam