Hello! I’m so glad to have released my Woodland Critters Collection, and it’s trending well on Ravelry! I had such a great time creating this collection, and now it’s time to share some of the design process with you all!
Here I want to focus on the Woodland Critters Scarf, which is the capstone project for the collection. It contains most of the “critter” motifs of the other designs, all in one place. It’s also the very first design I created for the collection. In fact, it wasn’t intended to be a collection at all! I had the idea for the scarf, and that’s as far as I had gone. But once I got into the designing aspect, I saw the possibilities were endless, and I decided to keep going!
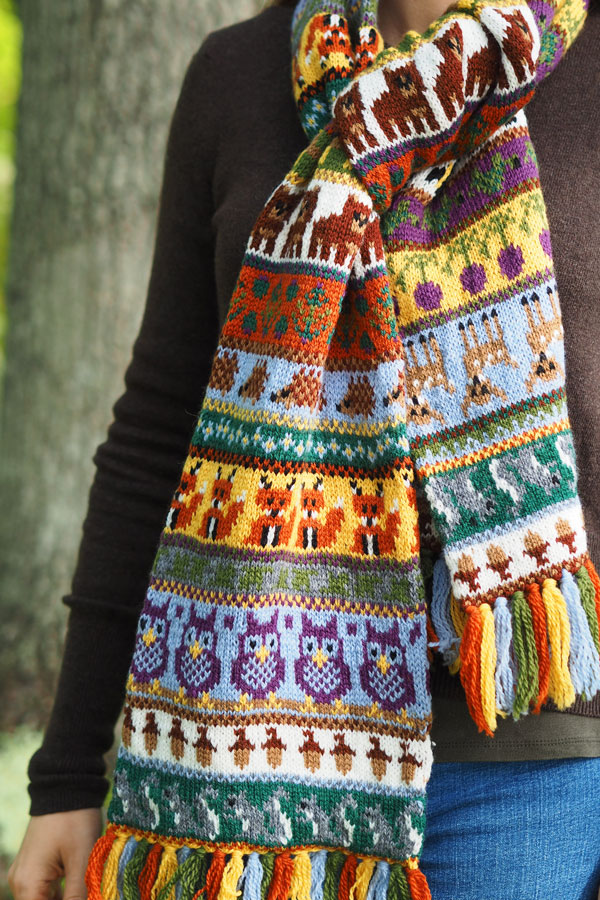
My original thought was this: a Fair Isle/stranded knitting scarf or long cowl with a woodland theme to it. I wasn’t quite sure what to do, but I had an image in my head of bright but woodsy colors, and some traditional motifs like pine trees and moose, etc.
However, I needed to create motifs that would all fit into the same amount of stitches, so I could stack them into a large chart. I couldn’t have a moose taking up 24 stitches and a flower taking up 5 stitches – it wouldn’t work out on a single chart. So I decided on a standard amount of stitches: 13. A lucky number!
Next I had to brainstorm some animals to include. Which animals would fit my forest theme? Which would be familiar enough to most people that they would be immediately recognizable? Once I got started, I couldn’t stop! Bears, deer, foxes, squirrels, skunks, owls, turtles…the list was endless!
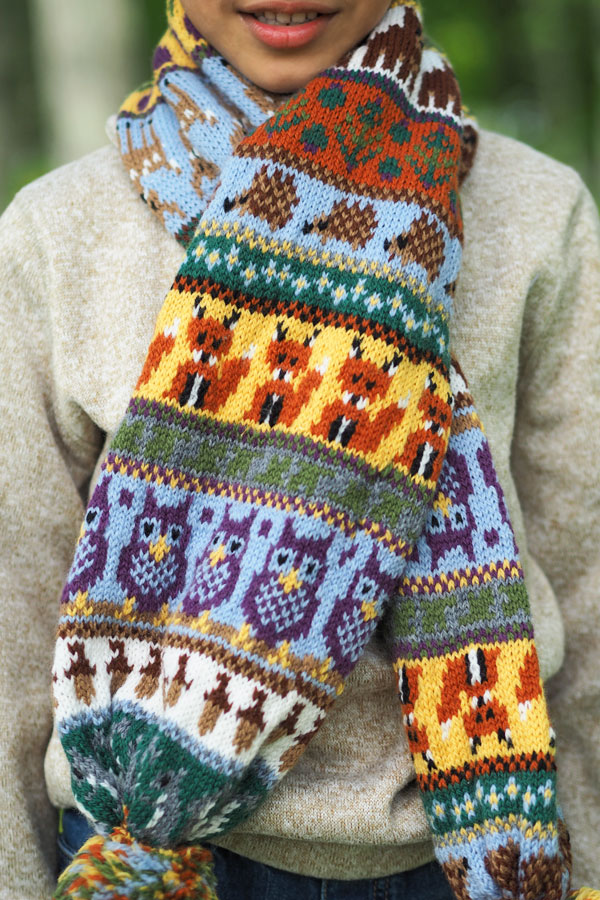
Once I had settled on a list of fauna, I tried to pair them with flora that would fit the theme. Leaves, acorns, flowers, trees…also an endless list!
Now came the difficult part. I wanted this to be a bright and colorful scarf, but I couldn’t include TOO many colors. I’d have to choose some essentials, and then use them in multiple motifs. I chose to use Knit Picks Palette yarn, because it is affordable and offers hundreds of colorways. Trying to limit and choose was a challenge, but I eventually narrowed the colors down to 11.
Here was my initial choice:
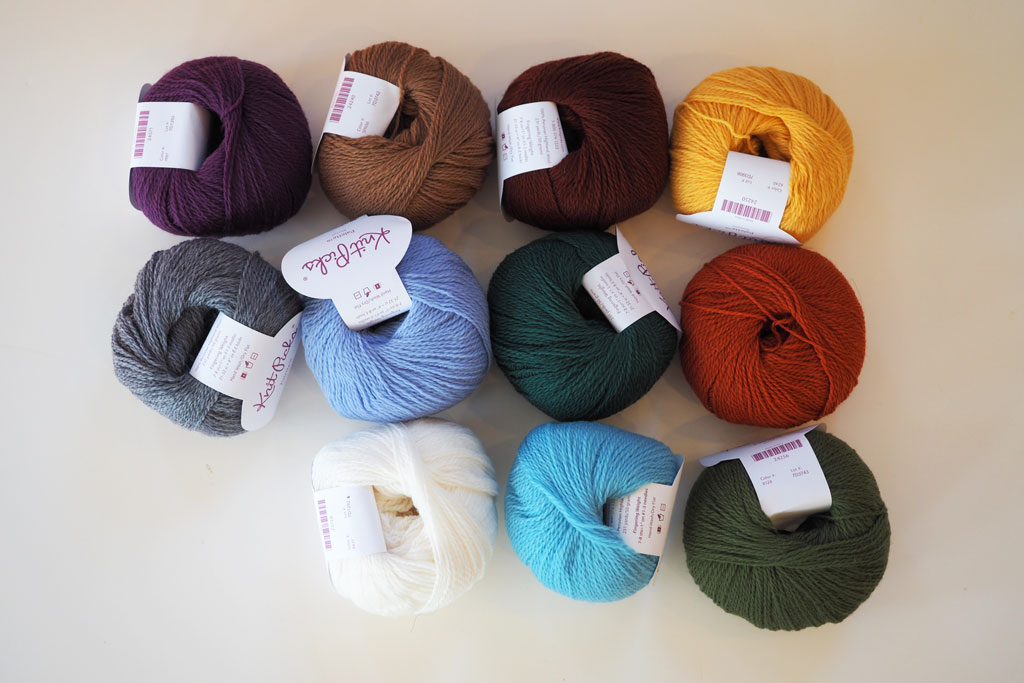
I loved the way the colors worked together! I had originally chosen a bright Sky Blue (bottom center) for backgrounds and highlights. But once I received Bluebell (middle row, second from left) in the mail, I fell in love and went with it instead of the sky blue. I also realized I would need a standard black for the skunks and for eyes and noses, etc.
Now came the fun part: charting the motifs! I did research for each animal and plant I had chosen. How did a deer stand, looking alert? How large was a bear’s head compared to its body? How to create an acorn and a thistle? How could I fit each into the standard 13 stitches?
Another goal I set for myself was to create animal designs that were cute, but not cartoonish or completely unrealistic. This took quite a bit of work! I reworked many of the motifs over and over until I had them just right.
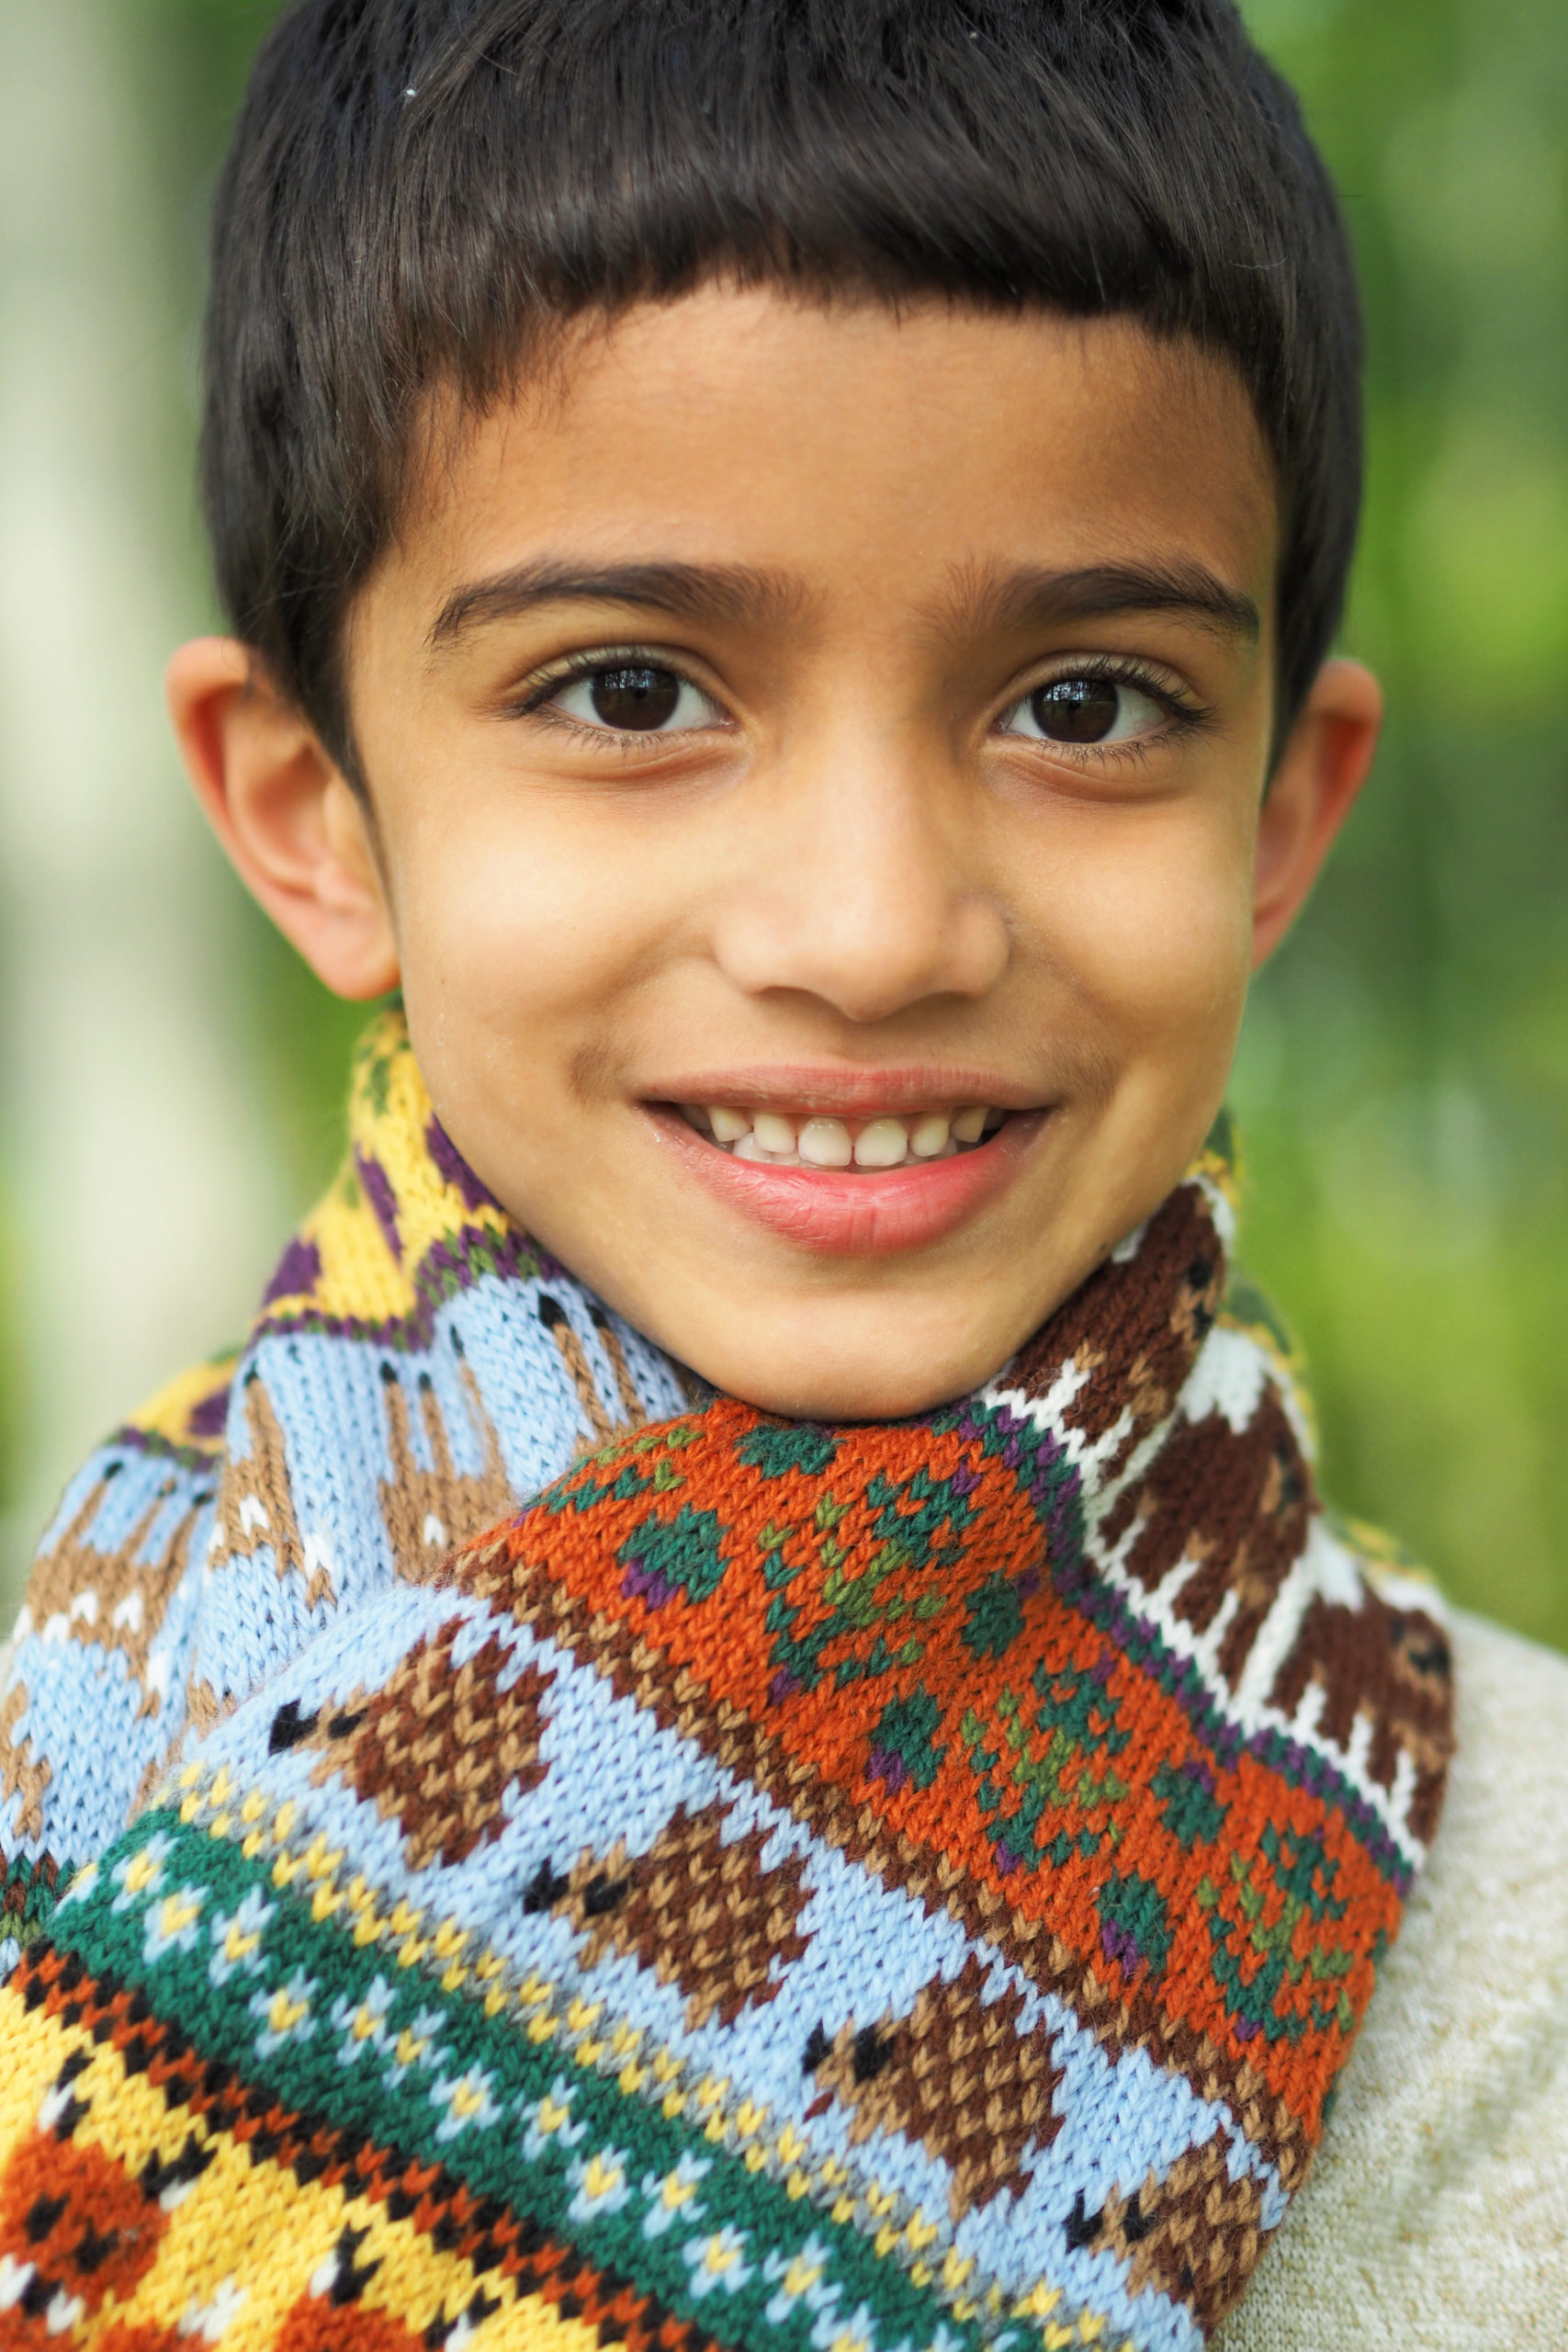
Now I had to assign colors to each motif, and stack them in a way that was aesthetically pleasing and not repetitive. I wanted a quick and easy two-row check pattern to separate each motif, and I had to choose colors for these borders as well.
After rearranging the charts over and over again, I finally had it just right. Time to start knitting!
I wanted two sizes for this scarf, to fit a child and an adult. I love the idea of matching parent/child garments, and this would work perfectly for children and adults! So I worked out two sizes, and got to work on the adult size.
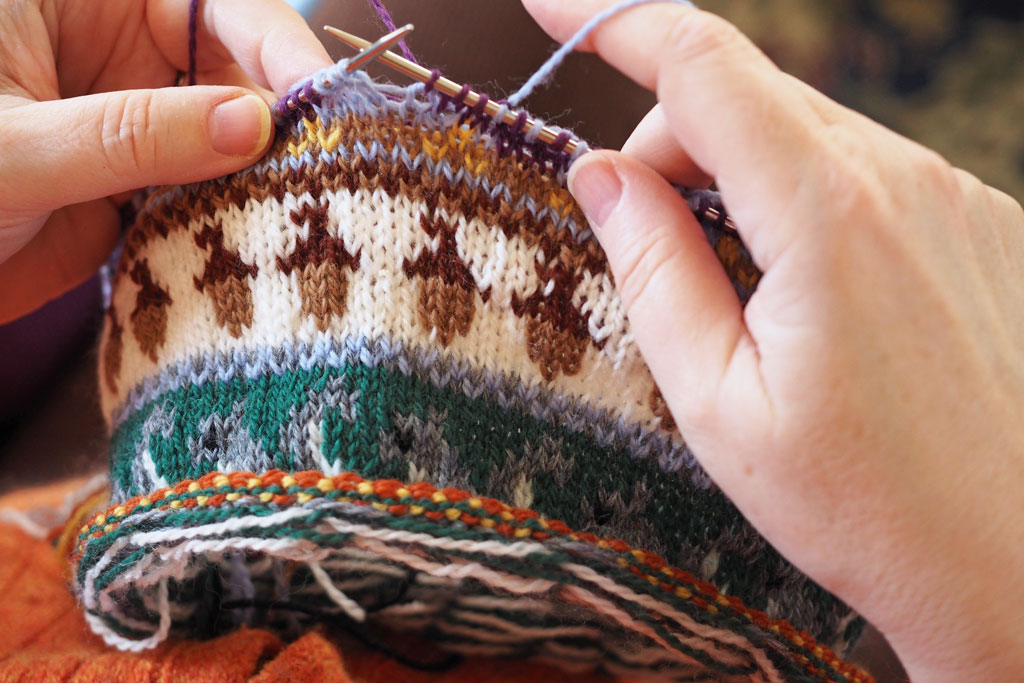
The knitted scarf exceeded my expectations! It was such fun to knit, and to see each motif come to life! Knitting four colors in a single row is a challenge. I love a knitting challenge, and I prefer to knit all at once rather than to use duplicate stitch after the fact. But I could see that this would be difficult for many knitters, so I decided right away that I’d need to include charts and instructions for a duplicate stitch option. More on that technique in my next post!
Finally, I decided to offer two different finishing options: tassels and pompoms. Knitters can choose based on their preference. I’ll post a tutorial on each option, coming soon!
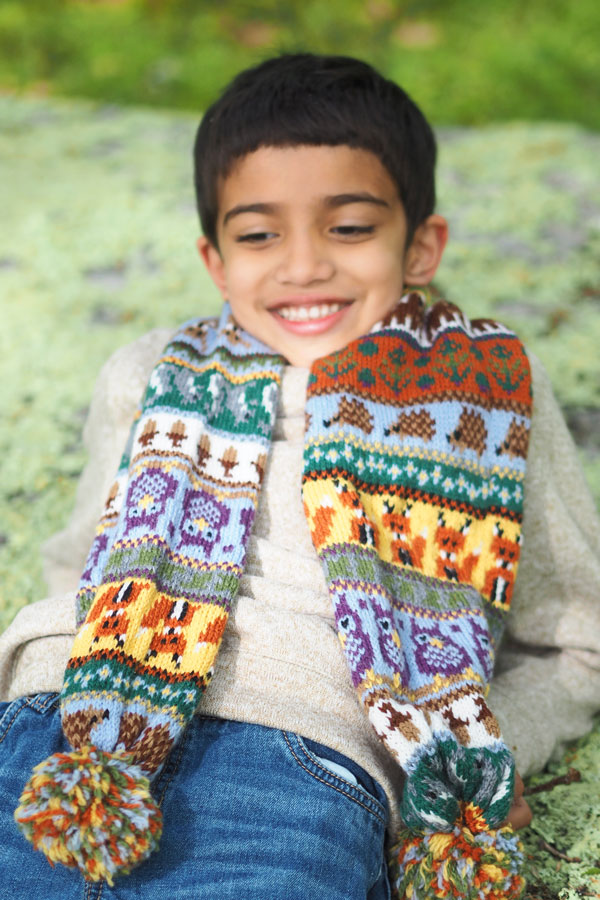
I was finally done with the project, but I didn’t want to stop there! I had worked so hard on my motif charts, and I could envision many new designs incorporating one or more of the motifs. So, the Woodland Critters Collection was born! In the coming weeks, I’ll focus on other designs from the collection and how they came to be. I hope you’ll follow along!
So adorable! You do a great job of tracking your design process – I tend to get ‘in the zone’ and then completely forget to document anything until after the project is done and I wish I had something to blog about!
It’s so difficult to stop and document in the moment, isn’t it? I really have to remind myself – and sometimes I go back and “fudge” it after the fact! Taking photos throughout the process really helps me to organize my thoughts and jog my memory!