As promised, I am doing a two-part blog post on how to sew a zipper into a knitted garment. In Part One, we learned how to sew in the zipper and make sure both sides of the garment align well. Now, in Part Two, we will work on creating a facing to cover the zipper tape on the wrong side of the garment and finish it off professionally.
So, here we go! Once again, I’ll be using this Icelandic Lopi sweater I knit in fall of 2018 to show off the whole process.
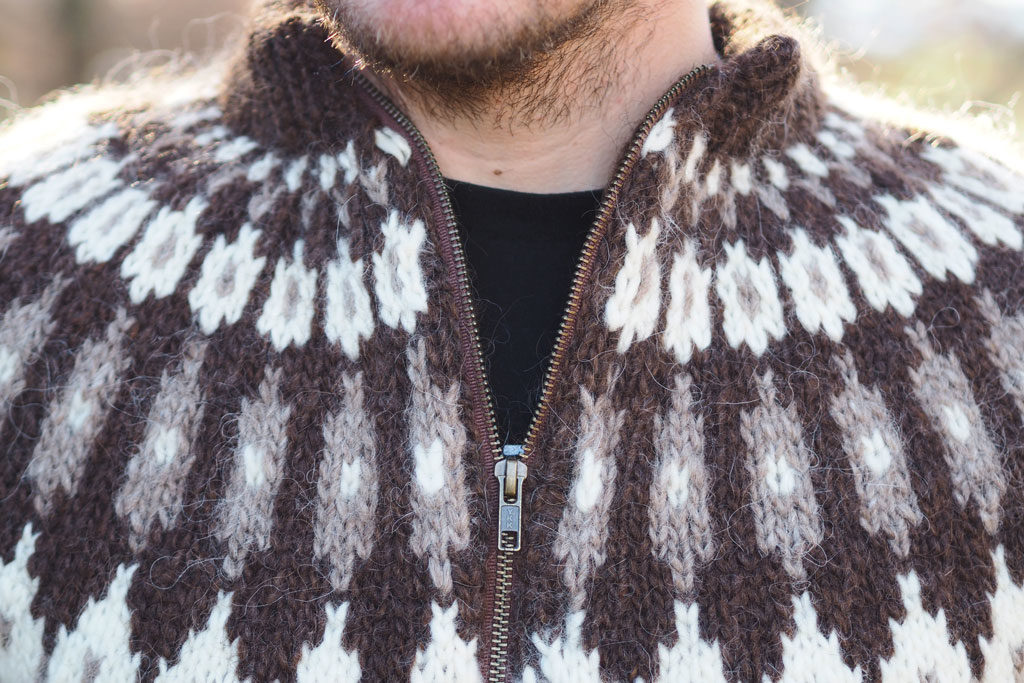
At the end of our last post, we had the whole zipper sewn into the garment. However, as you can see, the zipper tape is only stitched down along the inner (teeth) edge, and who knows what our stitches look like on the tape, since we were focused on making them invisible from the front. Not a problem! We’ll cover those messy little stitches right up, and secure the zipper with a second row of stitching while we’re at it!
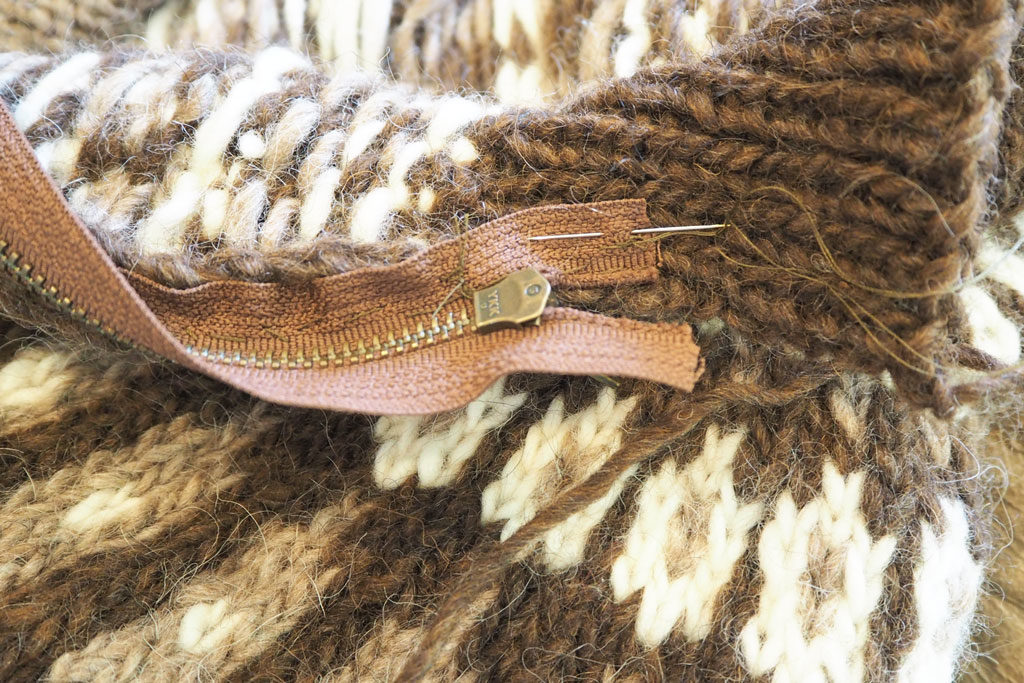
The first step is to use a long circular needle, the same size used to knit the garment. A 32″ needle, or longer, is ideal for an adult sweater. Beginning at the bottom left hem, pick up stitches vertically about 1/2″ away from the edge of the zipper tape. Don’t pick up stitches too close to the tape, because the stitches themselves will take up a little space, and you’ll want a bit of room to maneuver. You can use the 3/4 pickup rule: pick up 3 stitches for every 4 rows of knitting (skip the fourth row).
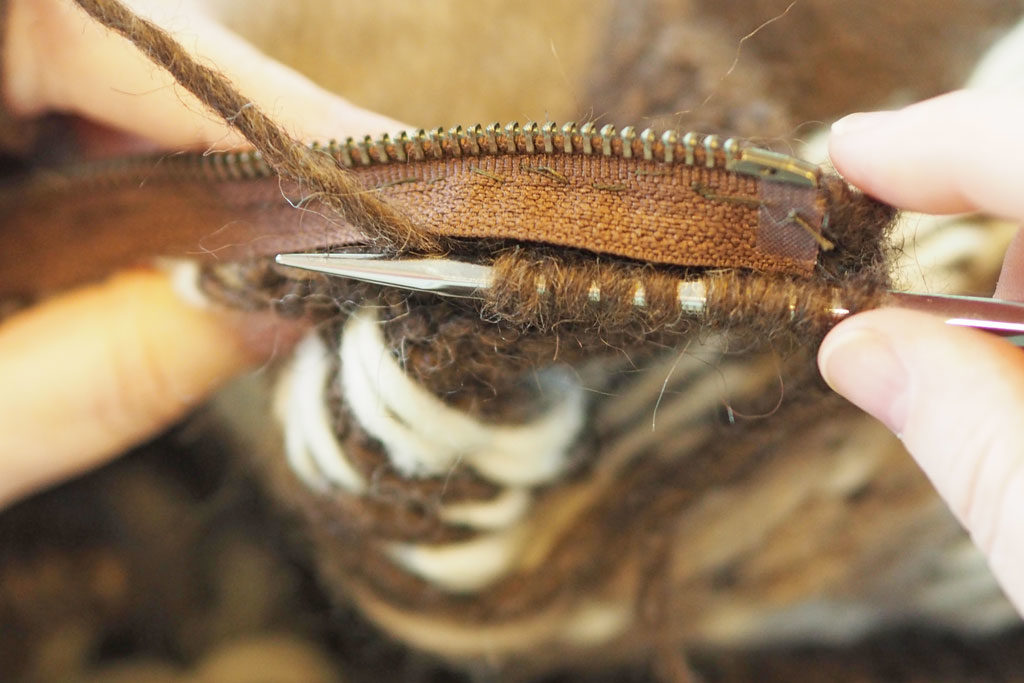
You will want to make sure you pick up stitches in a nice straight vertical line. Although these stitches will not be visible on the right side of the garment, you’ll want to cover the zipper tape evenly from bottom to top. If helpful, you can use straight pins to mark where you will pick up the stitches and remove the pins as you go.
If you have a fold-over collar as I do for this Lopi sweater, you will pick up stitches all the way to the sewn collar edge. If you do not have a fold-over collar, continue picking up stitches to the end of the zipper tape.
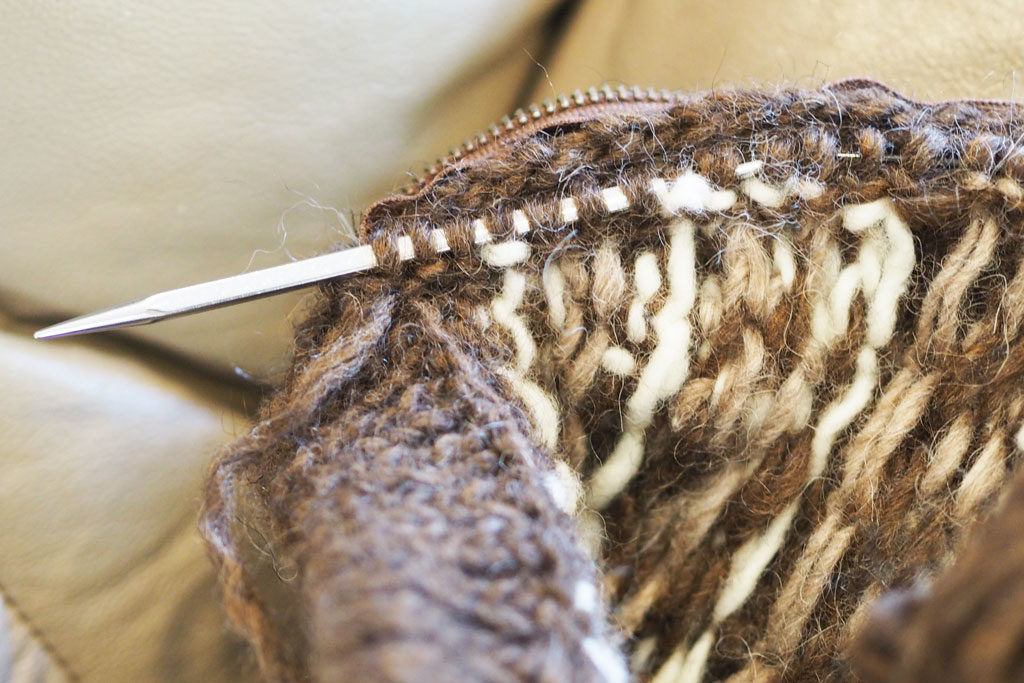
Now you will turn and work flat on the stitches you have picked up. You will work in Stockinette Stitch, meaning you will purl the wrong-side rows and knit the right-side rows. So, purl across this first row to the end. Knit the next row to the end. Continue in Stockinette Stitch until the facing measures approximately 3/4″ in height. You’ll want it to just cover the zipper tape, but not cover the teeth or be bunchy when you sew it down. Check after every row or so until you get just the right height. For my sweater made with bulky weight Lopi wool, I only needed to knit a few rows to reach the right height. Bind off all stitches and weave in your ends.
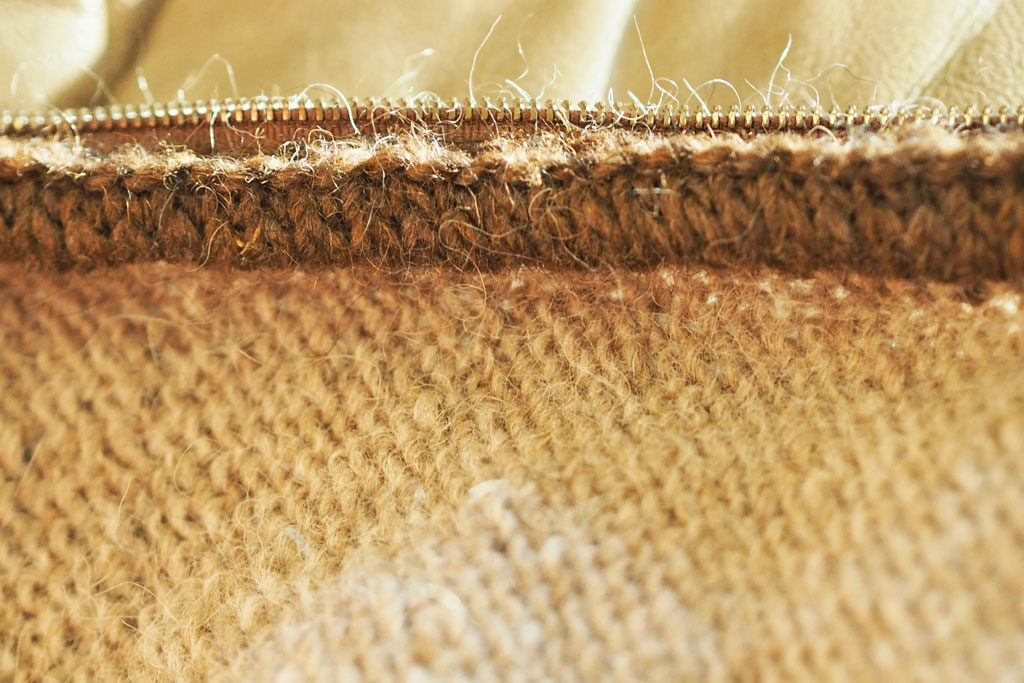
Now you will want to pin the facing to the zipper tape carefully using straight pins. Sew the facing over the zipper tape using a needle and the same thread used to sew the zipper in place.
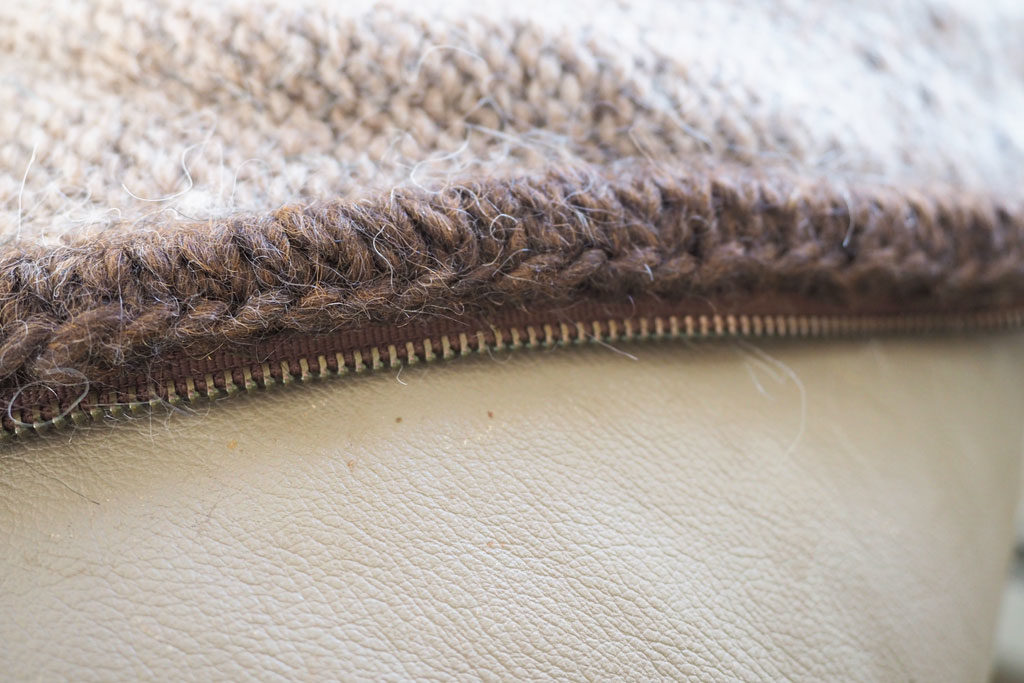
Keep an eye on how your stitches look on the right side of the garment (the goal is to make them invisible on the right side).
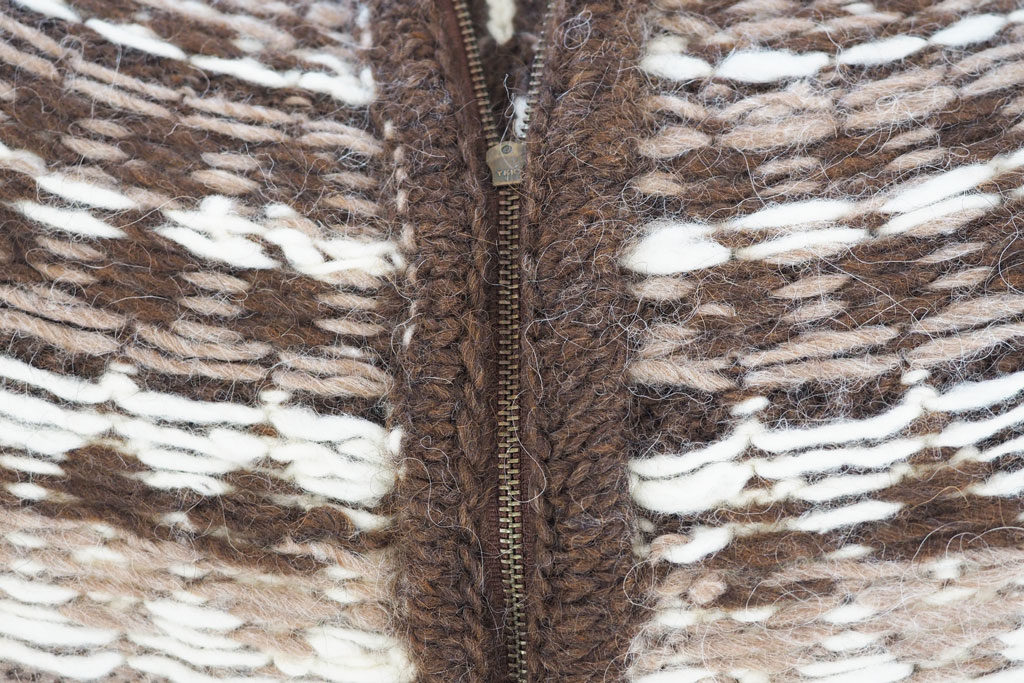
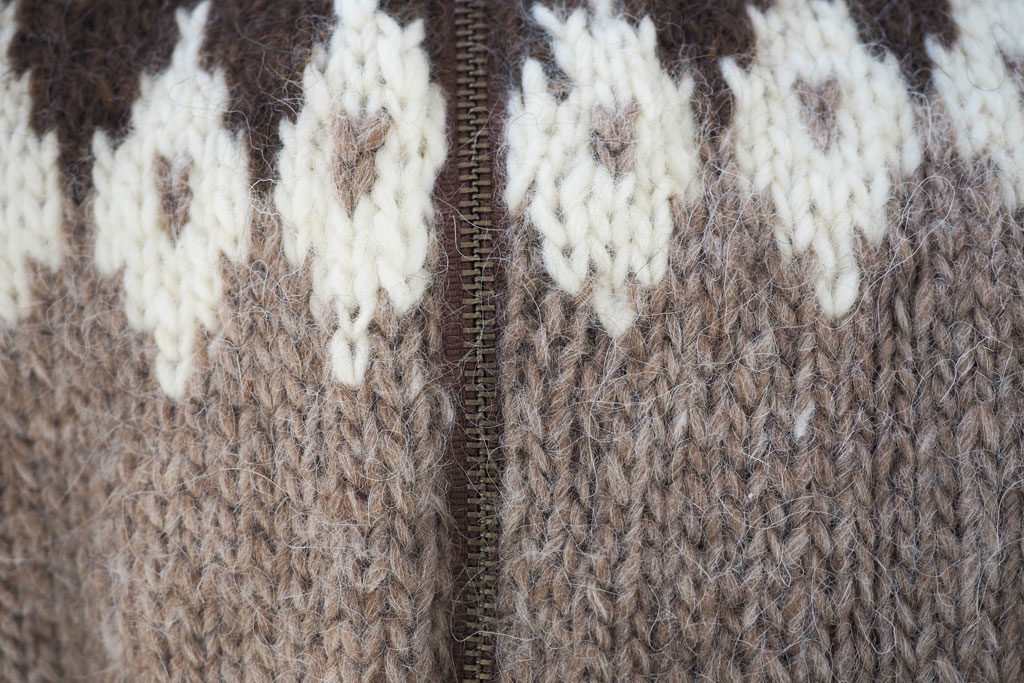
Wonderful! You have one facing in place. Repeat these steps on the other side to create and sew down your second facing.
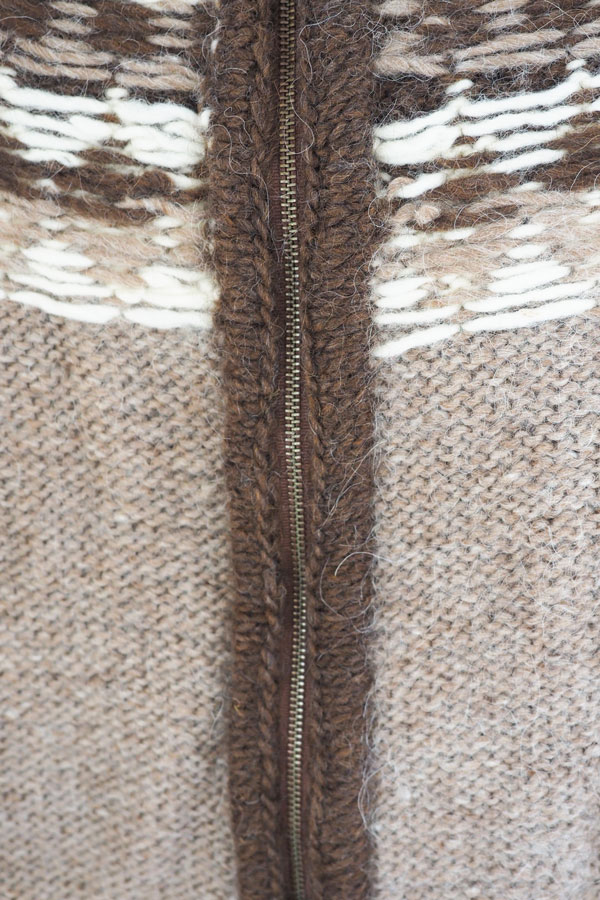
Look at what a nice, neat, professional finished product you have created! I hope you will agree that the process was well worth the time and effort. Now you can start planning your next zip-up project!

Leave a Reply