In my last post I provided a step-by-step tutorial on a DIY pompom maker in custom sizes using household objects.
Well, now it’s time to put that pompom maker to use! Here’s a tutorial on making pompoms. You’ll need your DIY pompom maker, yarn, scissors, and a spare knitting needle for this project. I am using a 2″ pompom maker here (the most commonly used size) but you can use any size pompom maker you like.
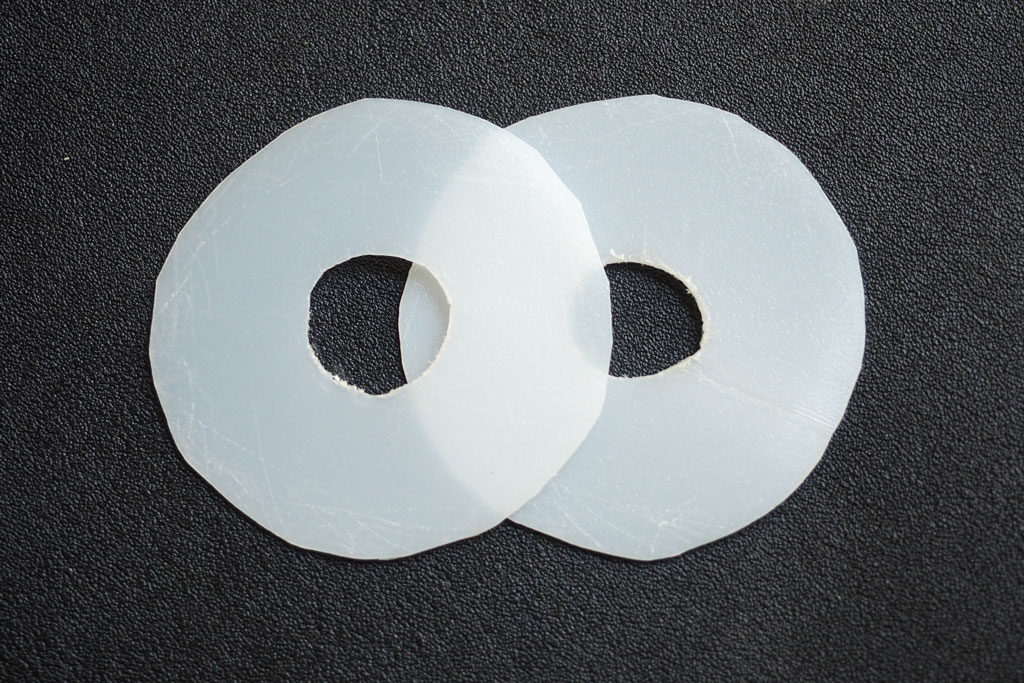
The amount of yarn needed varies based on the size pompom and the weight of yarn. I tend to cut 27″ lengths for a 1″ pompom, 40″ lengths for a 2″ pompom, and 100″ lengths for a 3″ pompom. You will want all of your lengths of yarn to fit very easily through the center hole of your pompom maker, and to make a nice, full pompom, the hole will be filled by the time you are done. Today, I’m using two different colors in worsted weight. I’ve cut 5 lengths in blue and 6 in red.

Take your two plastic circles and feed the lengths of yarn through the center hole like this:
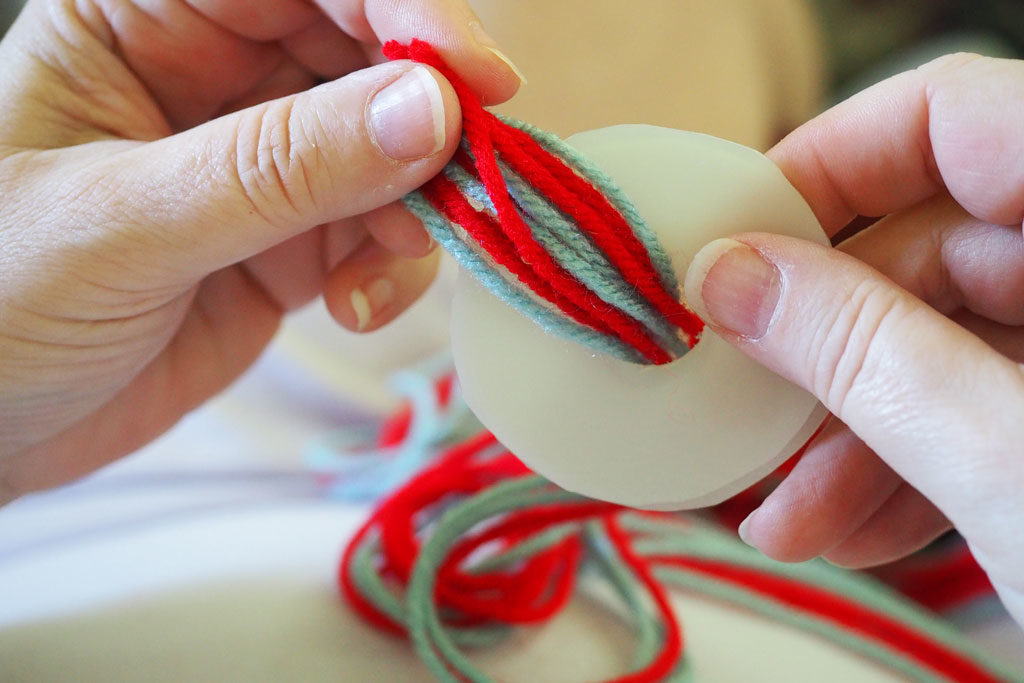
Now wrap the lengths of yarn from the back to the front, crossing over the yarn ends, like this:

Feed the lengths of yarn through the center hole again.
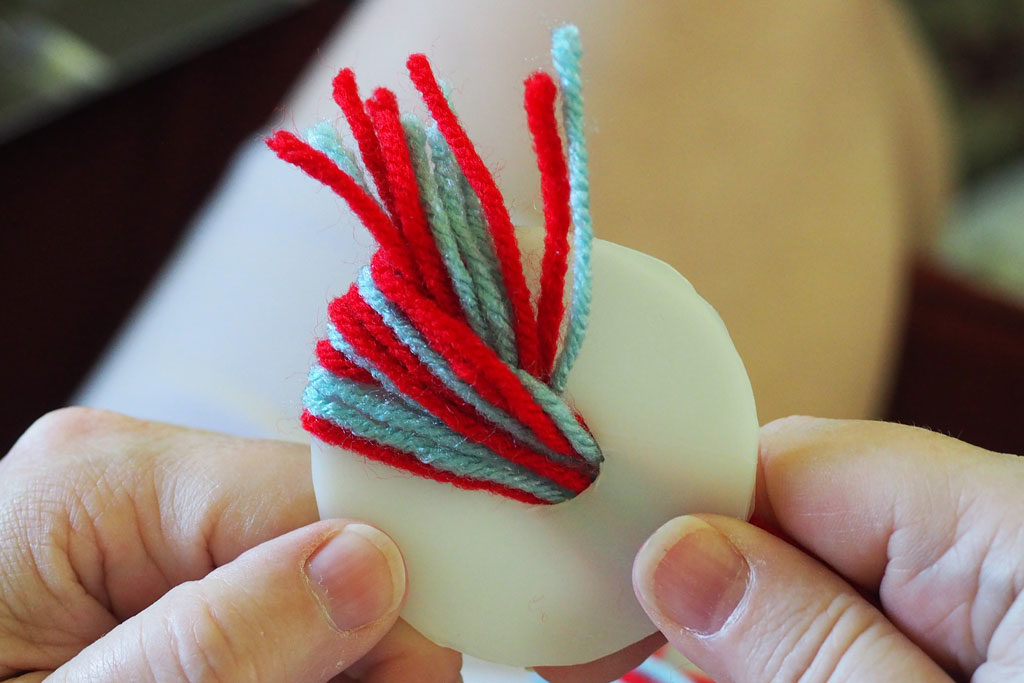
Continue wrapping and feeding the lengths of yarn through the center hole until the pompom maker is completely covered. If it gets difficult to push the yarn through the center hole, use a spare knitting needle to help:
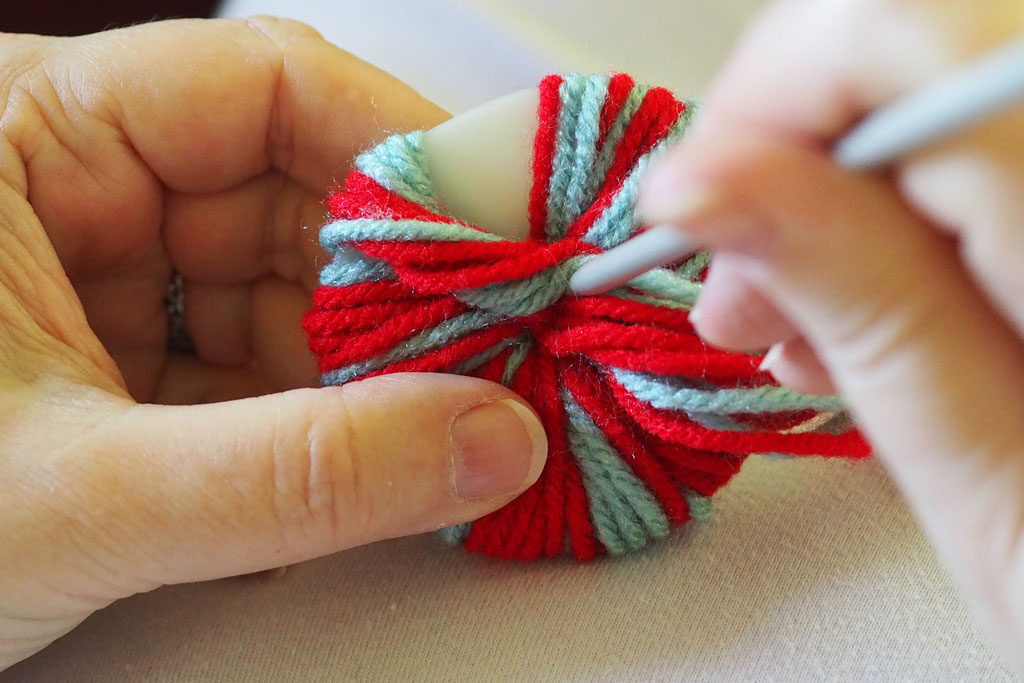
When you’ve completely wrapped your pompom maker, trim off any excess yarn:
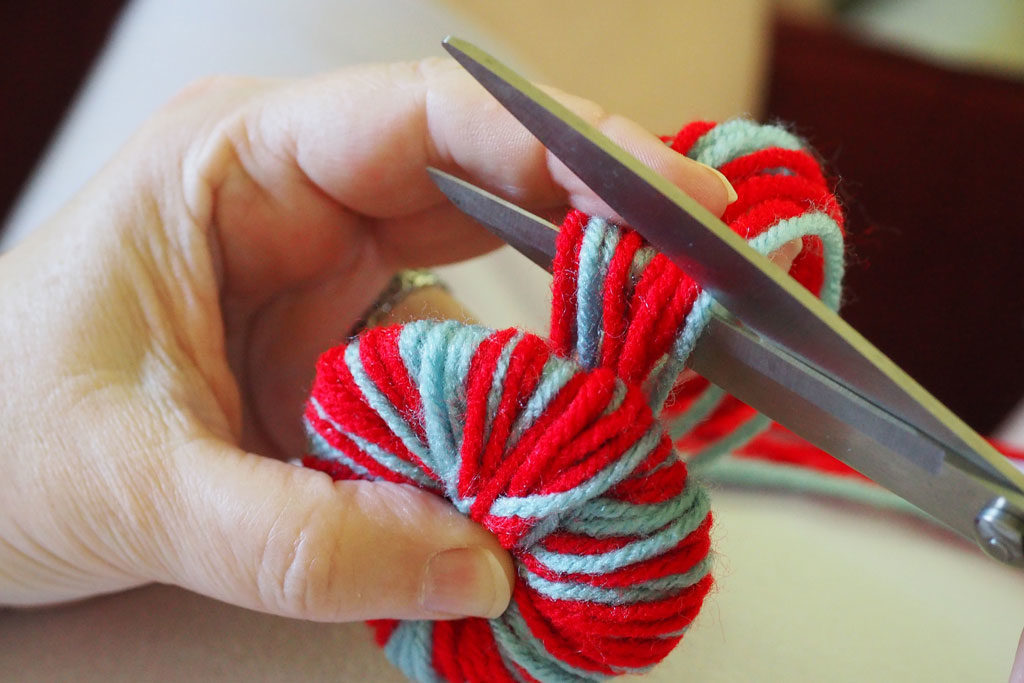
Now you are ready to cut the pompom! Push the yarn away until you can see both circles of the pompom maker. Fit your scissor blade in between the two circles. You’ll cut around the entire pompom, keeping your scissor blades between these two circles.
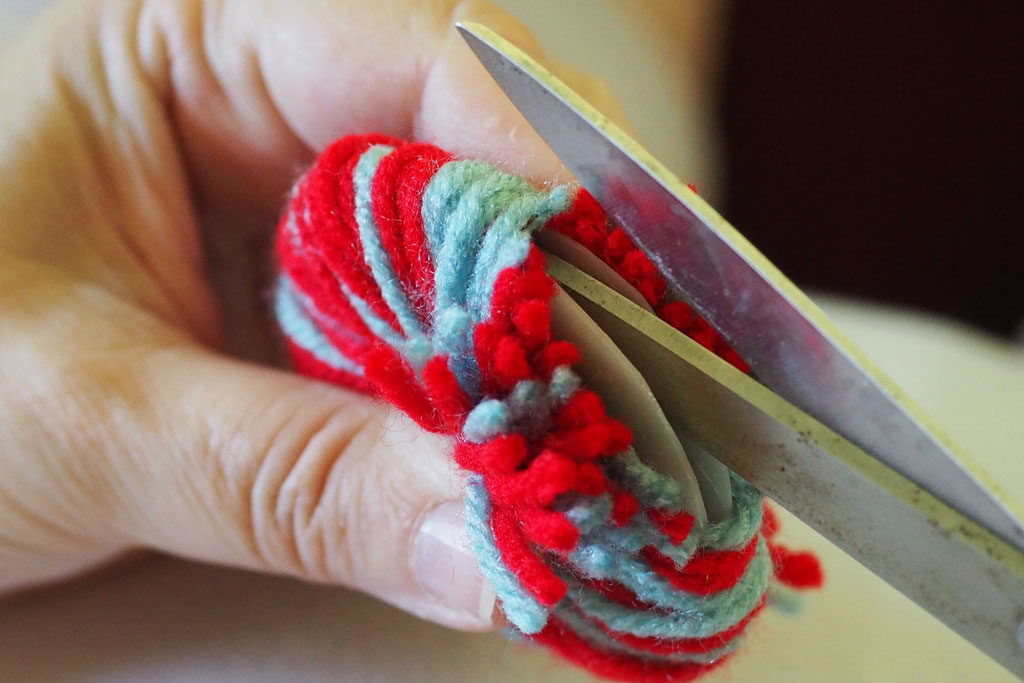
Once you’ve cut all the way around, take a length of yarn, at least 12″ long (perhaps longer if you are making a larger pompom), and run it between the two circles of the pompom maker.
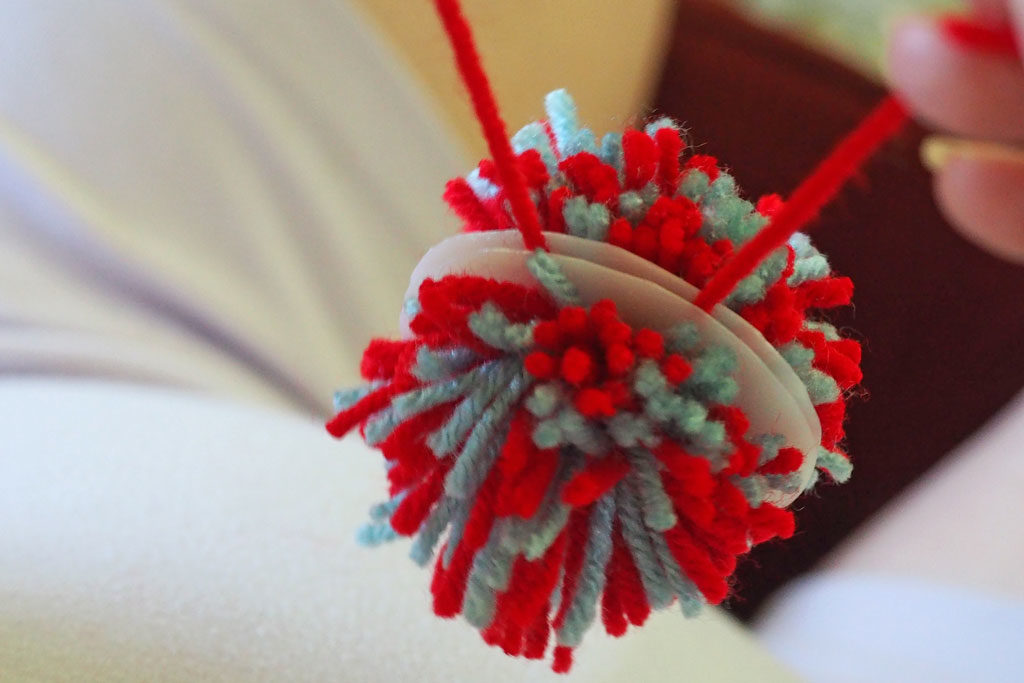
Now loop the length of yarn into a knot and pull tight. Make a double knot for an extra secure hold.
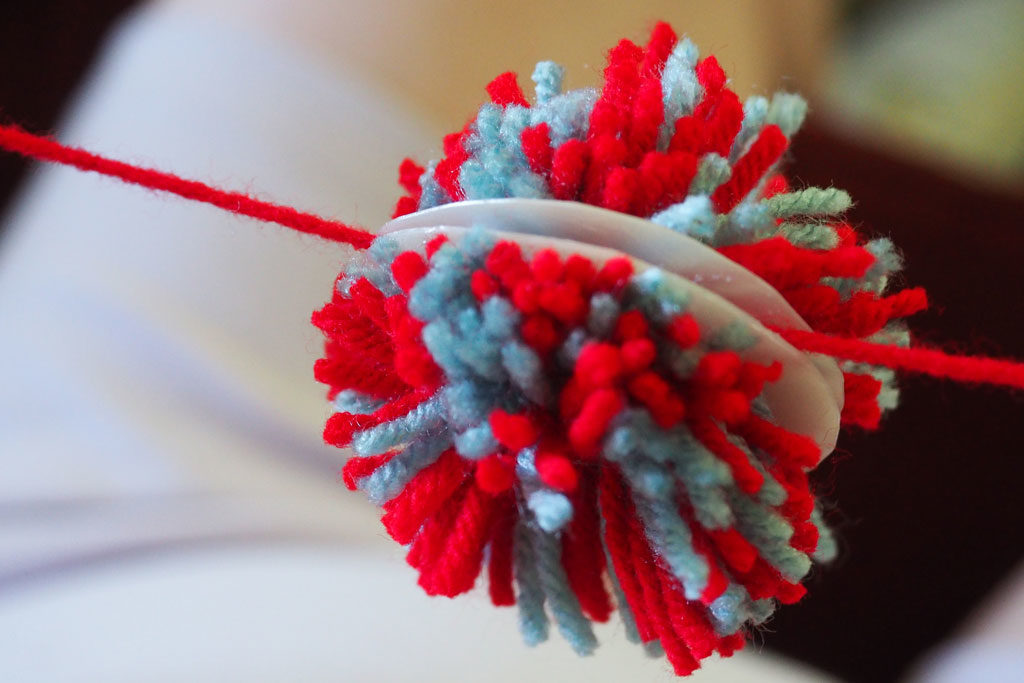
You now need to ease both circles of your pompom maker away from the center and off the pompom. This can take some time, especially if your pompom is very full. Twist gently from side to side to move it off your pompom. Be careful not to snag or break the yarn!
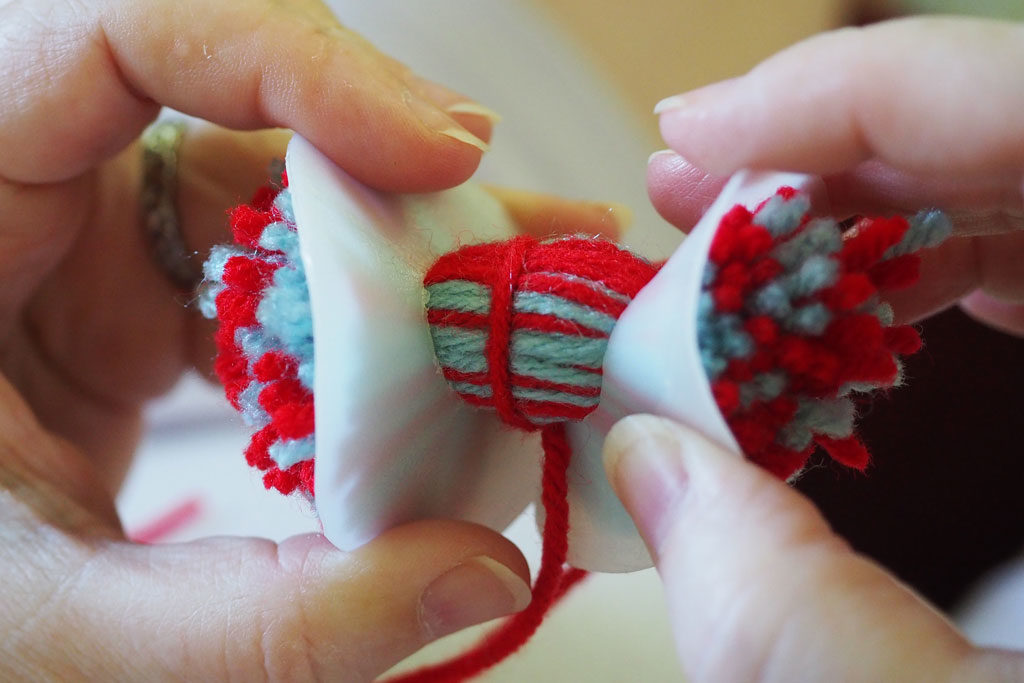
When you’ve removed the pompom maker, you’ll have a rather pathetic, shabby-looking pompom like this:
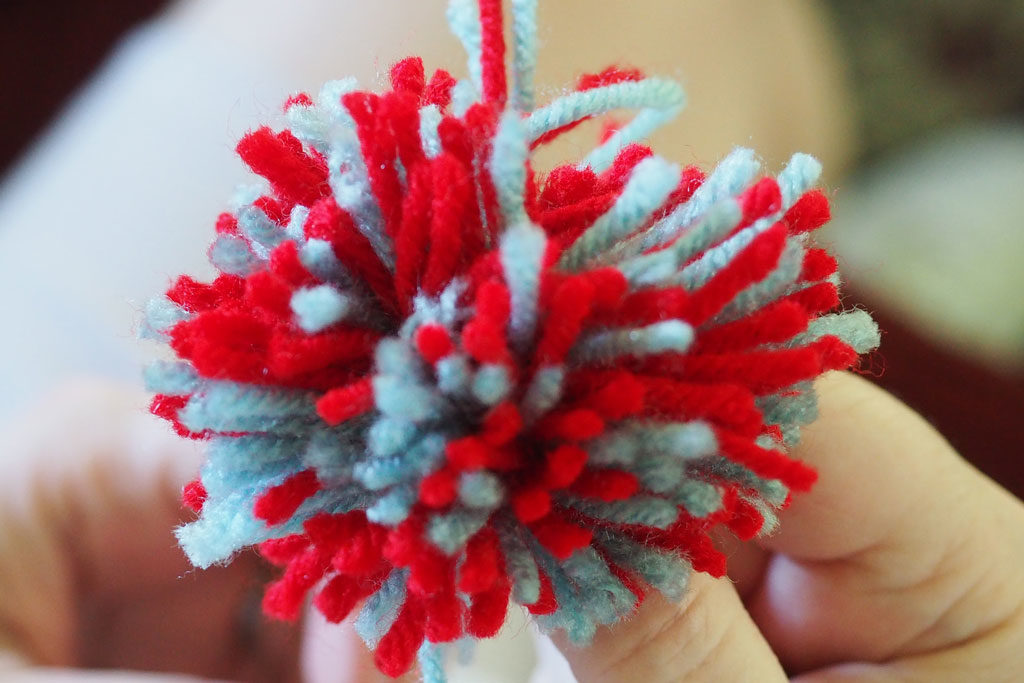
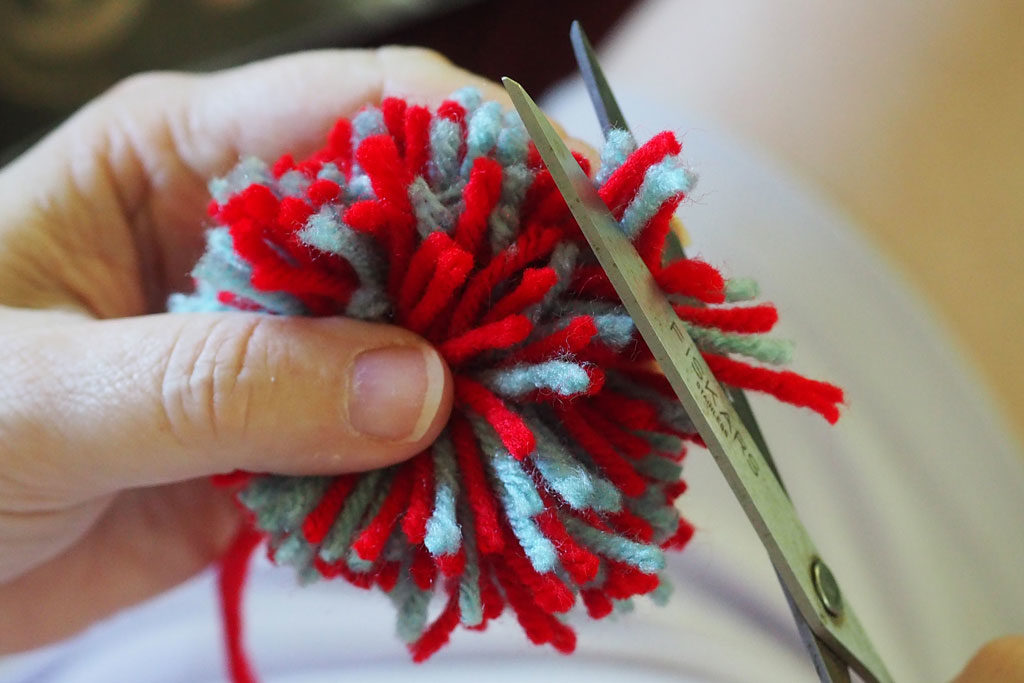
Fear not! Once you trim the ends evenly, it will look much better:
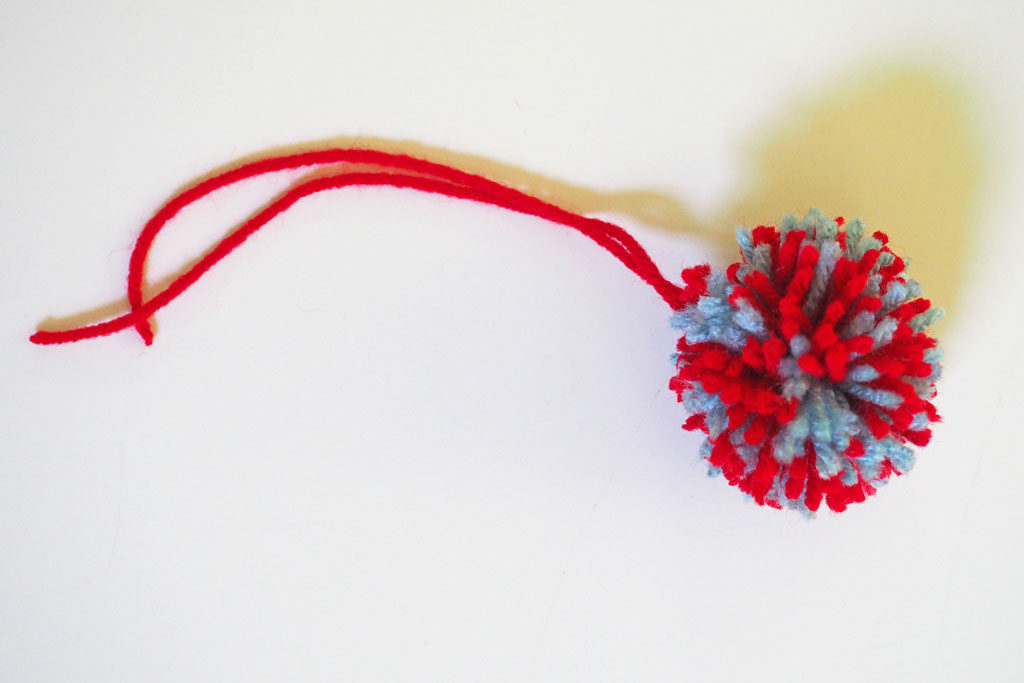
Here’s the finished product, ready to be tied onto a hat, scarf, poncho, etc.
In a few days we will be off to Scotland and northern England for a lovely trip to visit family. I can’t wait to share our experiences and photos soon! In the meantime, have fun making pompoms!
Leave a Reply