Hello all!
Well, typically I post twice a month, but I have a feeling I’ll be posting far more often in the near future, to keep up with all the news on my upcoming pattern collection release! And even now, I have lots to post about my two most recent patterns, the Visconti Shrug and the Collie Cowl. Come back soon for news on the cowl!
But today, I’d like to present a second photo tutorial on the Visconti Shrug, showing just how to finish off your shrug. If you remember, we ended last week with a knitted but unfinished garment:
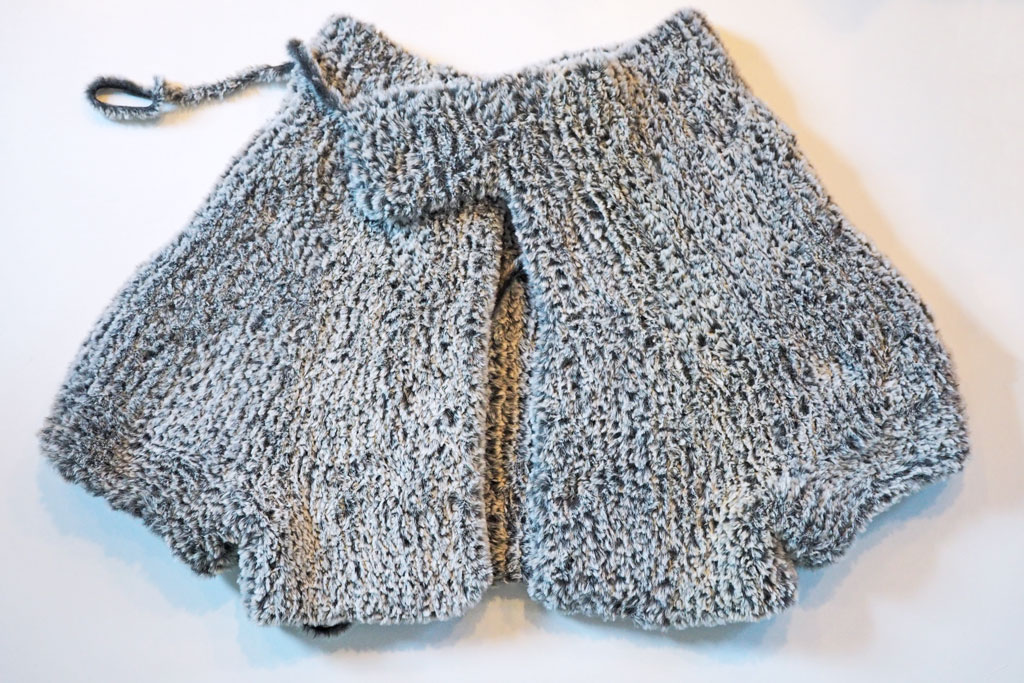
So today, I’ll go through the finishing steps. There are a few tricky but essential steps on which we’ll focus: gathering the front edges, sewing down the tab facings, folding over and sewing down the upper edge, and sewing on the button.
The trickiest part of the first three steps is knowing what and where to sew! I’m hoping this handy dandy image will clarify a bit:
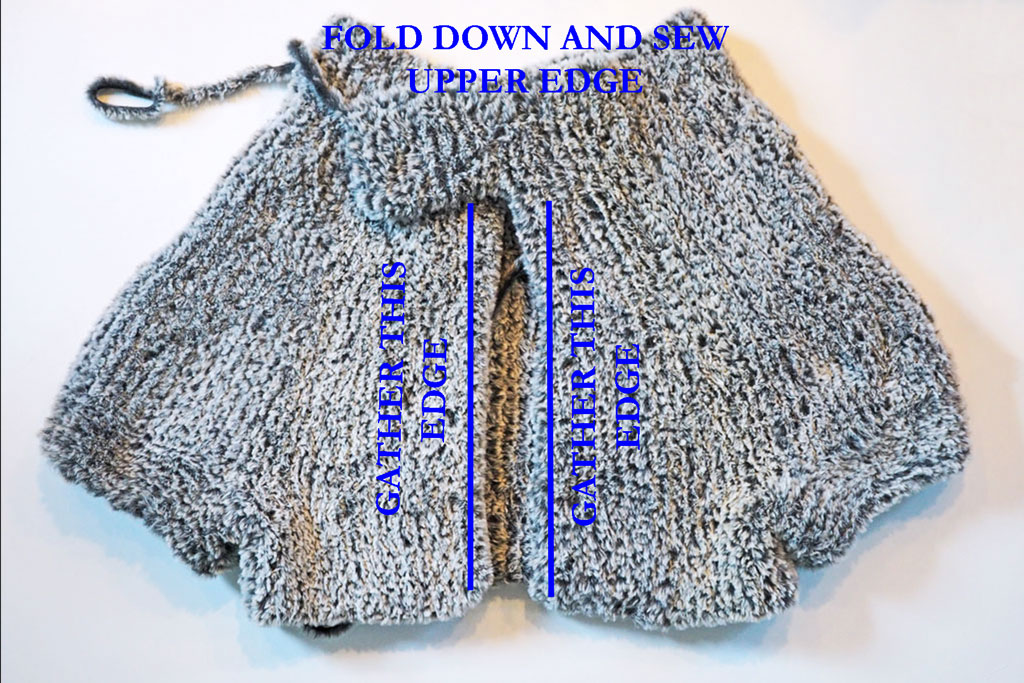
Here you can see that you will be gathering up the front left and right edges, from the bottom hem up to the tab facing (that funny extra tab at the top of both fronts). You can also see that the edge you will be folding and sewing down is the upper edge, all the way around. You can handle this two different ways, and I’ll explain both.
Ok. First thing to do when gathering the front edges is to thread a length of faux fur yarn through your yarn needle. Make sure the needle has a wide enough eye to fit the yarn and have it slide through without snagging!
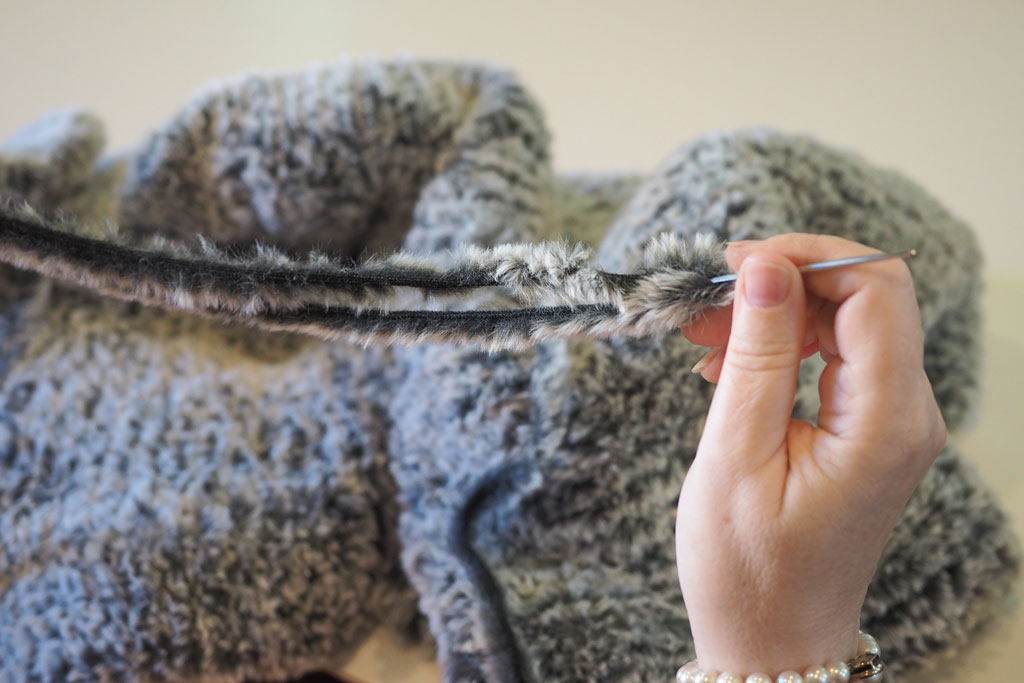
At the end, you’ll either want to make a LARGE knot, or you’ll tie it on to the lower edge of the LEFT front. We don’t need to worry too much about either of these options showing, because the gathering will be covered by the tab facing.
Now you’ll want to work the needle in and out along the left front side edge. Start at the bottom hem and work your way up. This will make largish, maybe sloppy stitches, but again, it will be gathered and covered.
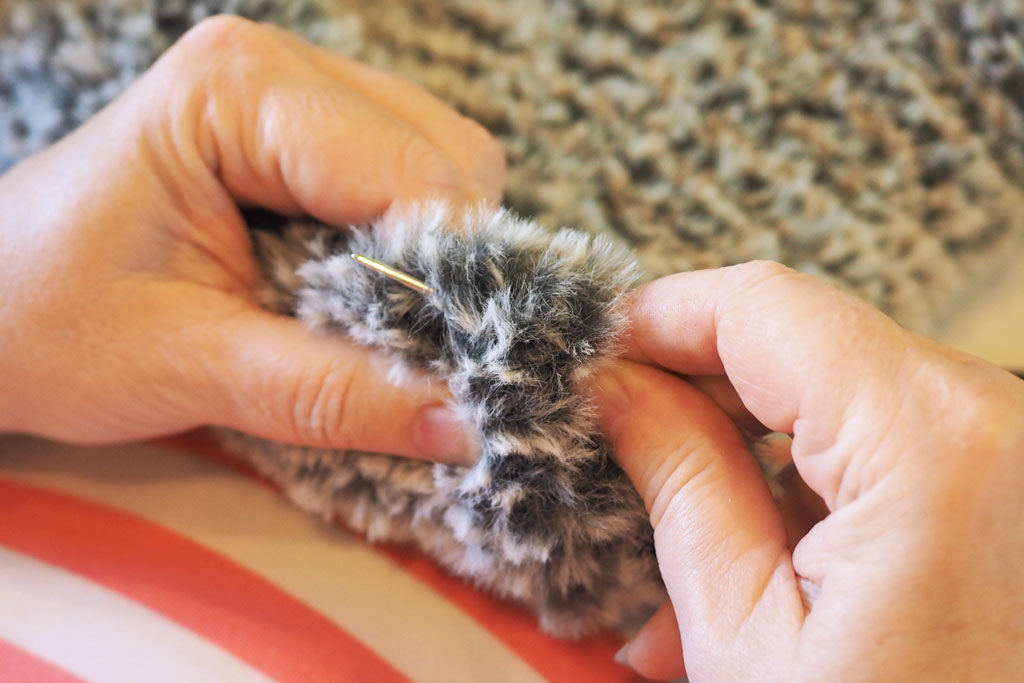
Keep working your needle in and out along that left front edge, working your way up to the tab facing. Pull the yarn through and straighten it out when necessary.
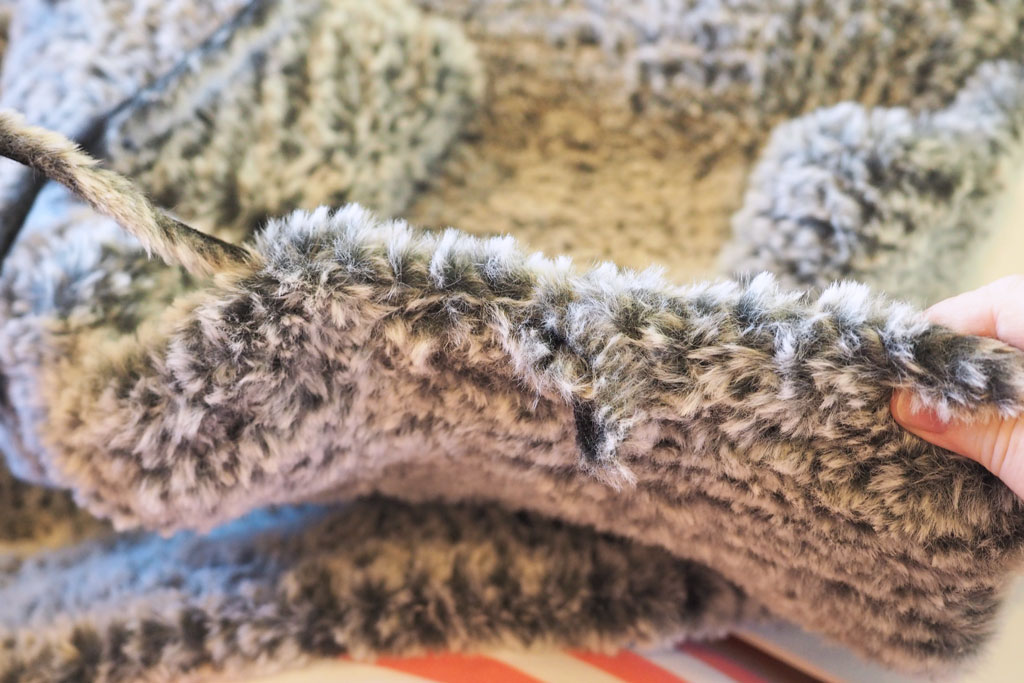
Eventually you’ll get to the top end of the left front edge, where the tab facing begins. Stop there! Don’t baste through the facing.
Now you are going to gather the left front edge up by pulling on your yarn while pushing the edge back toward where you first began your basting. You don’t need to gather too much: just enough so that it’s about the same length as the long edge of the tab facing.
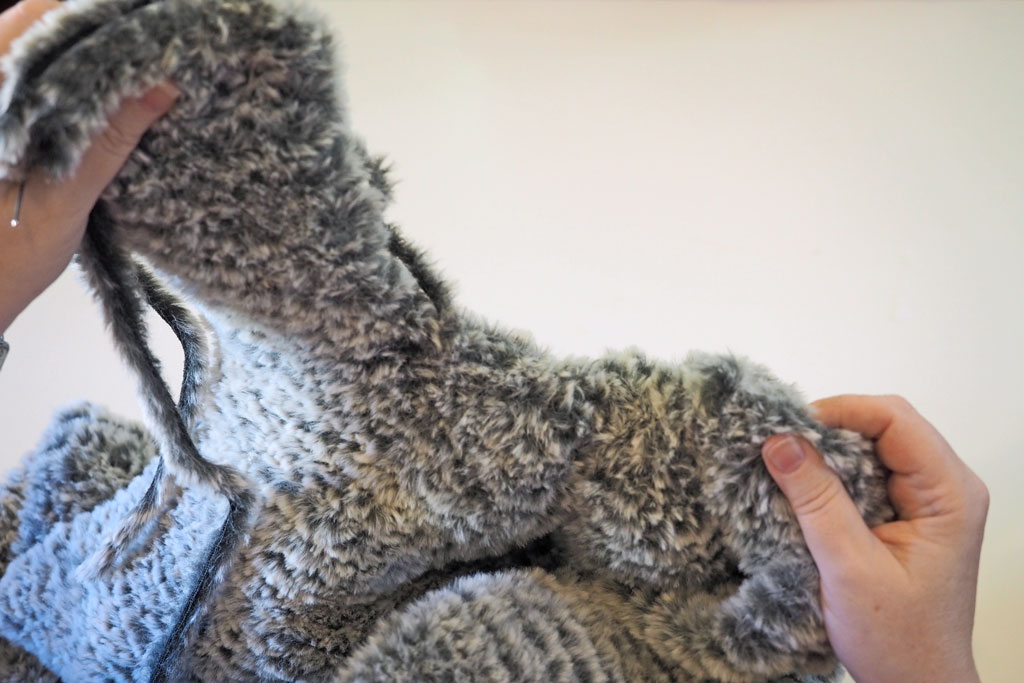
Check that the gathered edge equals the long edge of the tab by lining them up.
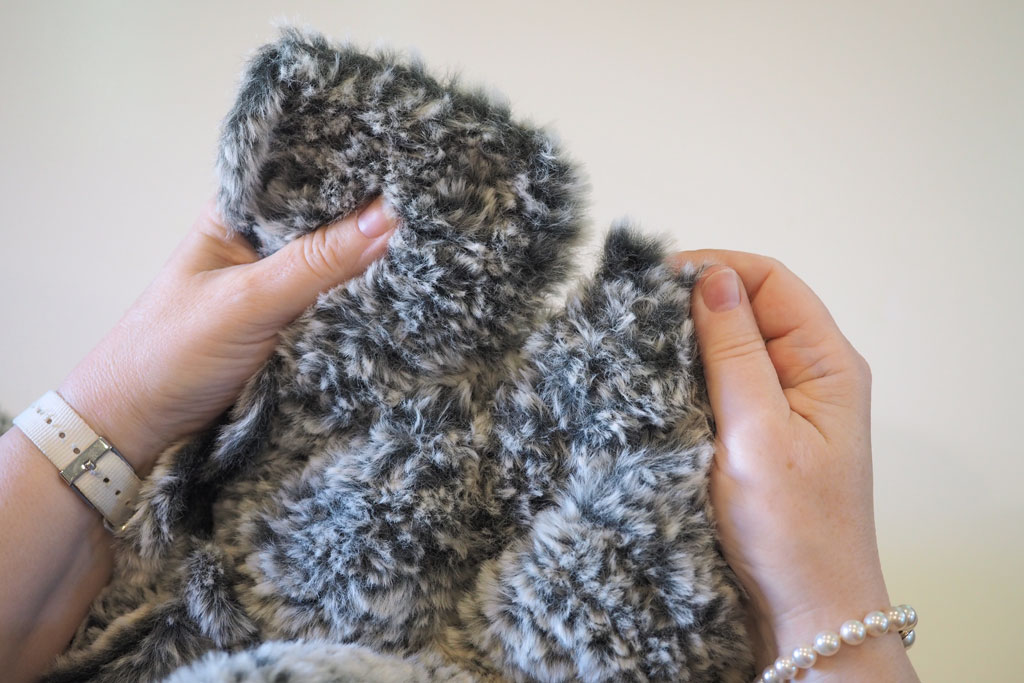
Once you have them aligned, don’t cut that sewing yarn! You’ll use it to sew down the tab facing. But first, pin the facing along the gathered edge, making sure the gathers aren’t all bunched in one place and ungathered in another. Fold the facing over the gathered edge so it covers the gathers on both sides, sandwiching them between the two halves of the facing. You can pin through all three layers.
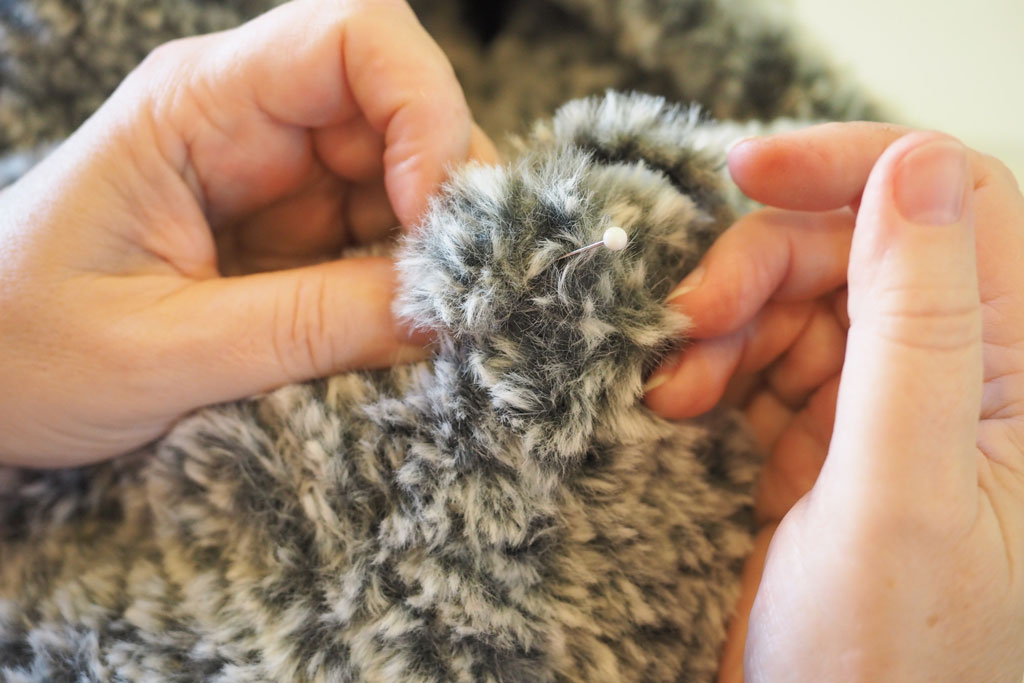
Once you have everything pinned, you can sew through two halves of the facing and the gathers in between – three layers total. Remember to keep your stitches on the smaller side, but really, they should not be visible through all this fur! When you have it all sewn down neatly, break your yarn and weave in the ends.
You will repeat the same exact steps for the right front side, but with one important difference: you need to leave a space for the button to slip through! Once you have the edge all gathered, pin it to the tab facing, but mark in the center edge where you want to leave a hole for the button. Make the hole about 1/2″ (1 cm) less than the diameter of the button so it fits snugly. The best thing to do is to break the yarn and restart on the other side of the button hole. Any loose loopy yarn will just snag on the button. You will leave the facing open on both sides where the button goes through.
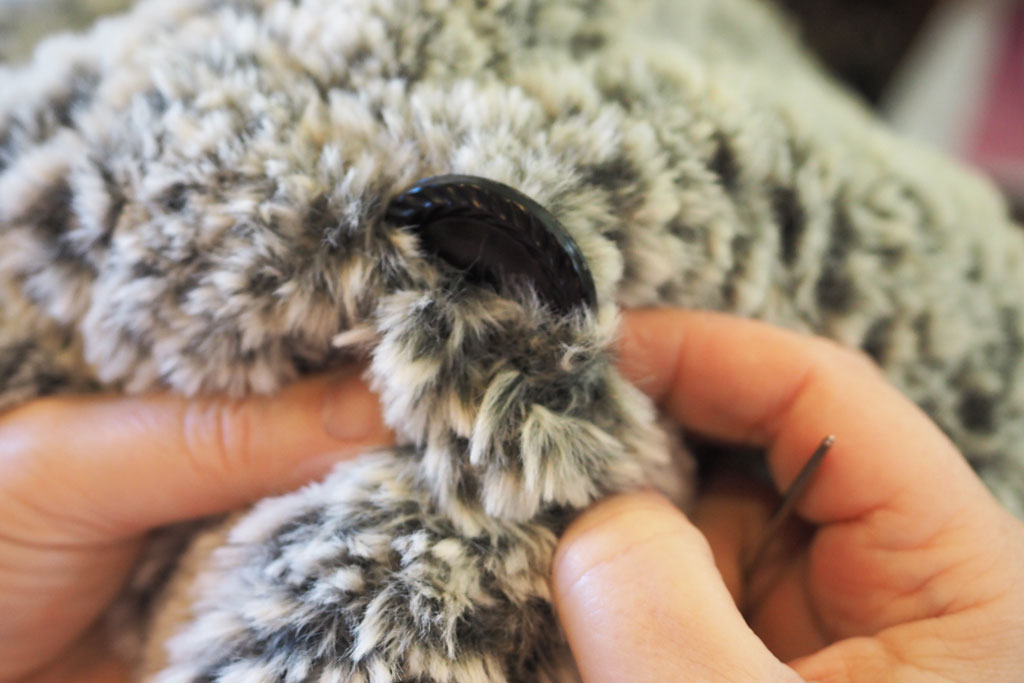
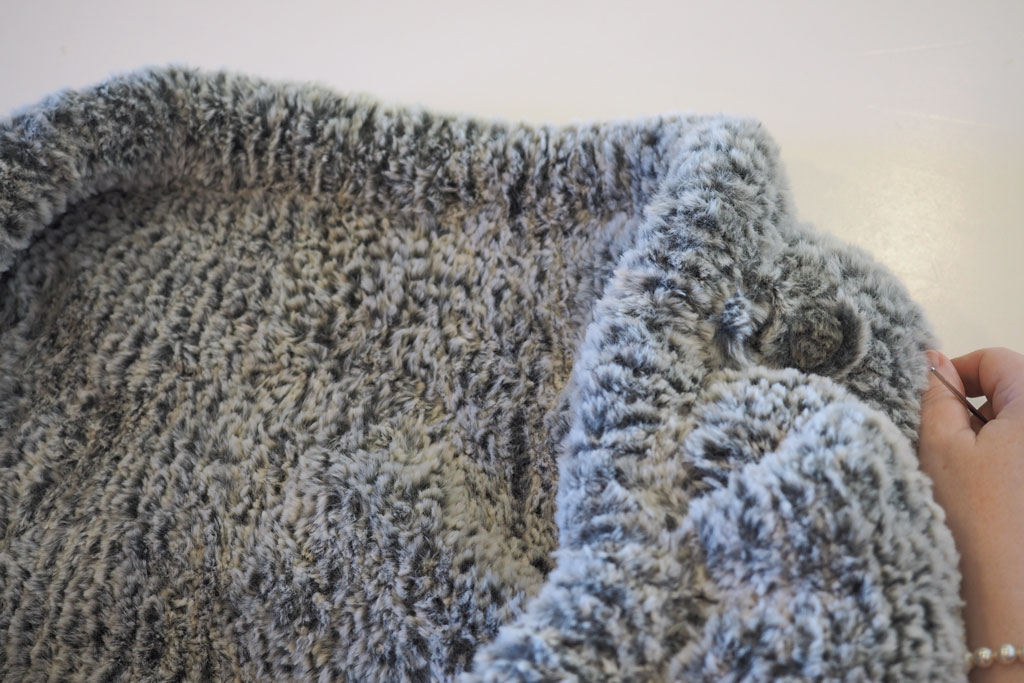
Now that both gathered edges are finished, we can move on to the upper edge. You’ll want to fold and sew it down so that it aligns with the folded over tab facing. You can handle this two ways. Either you can gather and finish off both front sides first, then pin and sew the upper edge, or you can finish the left front side, continue along that upper edge all the way to the right front side, and then finish off the front. Either way is fine!
Here is what the upper edge should look like, all sewn down neatly. You can’t see the stitching at all through that fur!
The final step is to align the button with the buttonhole and sew the button (with thread, not yarn) onto the left front side of the shrug, right in the center front.
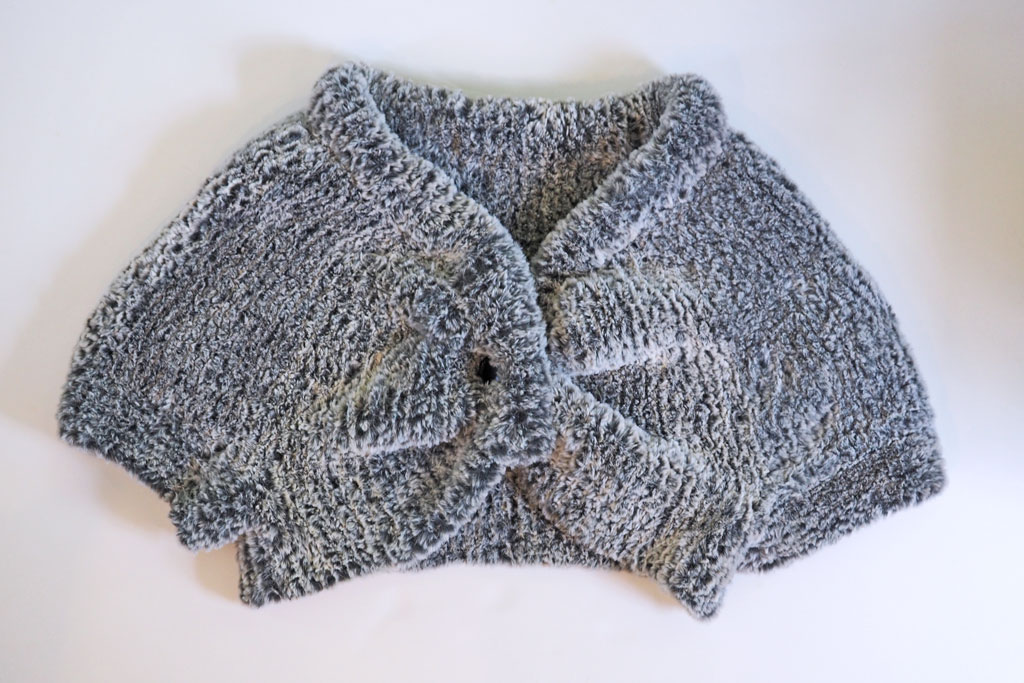
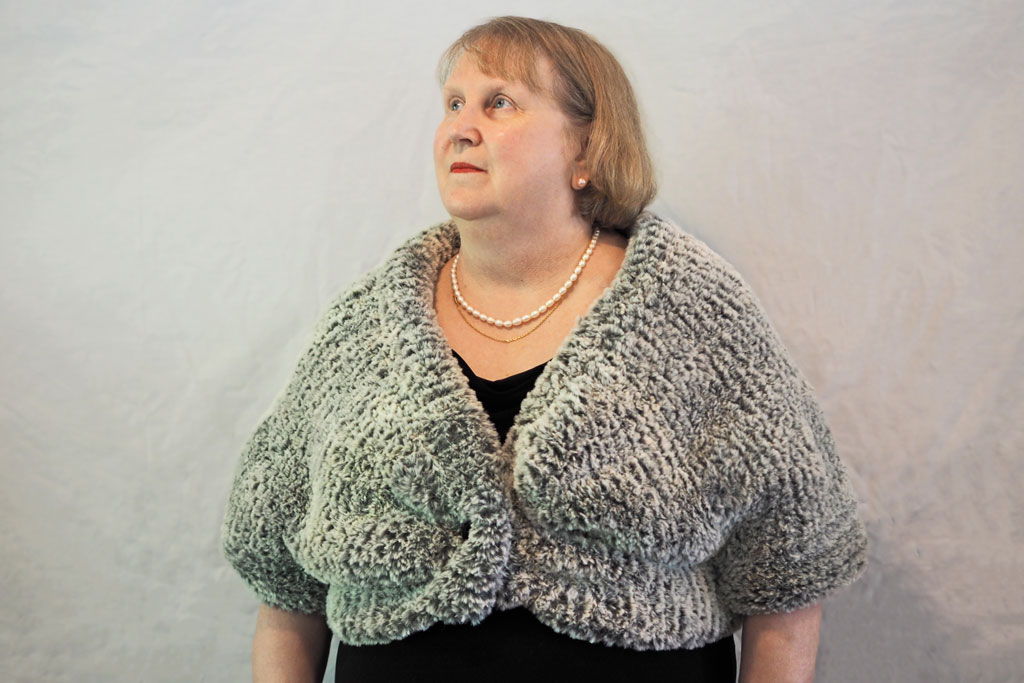
And you are done! Look how lovely your shrug is, all neatly finished and gathered in the front. You are ready for a night on the town!
(Ok, night on the town is rather unrealistic right now. I understand. But as my mom and I joked while doing her photo shoot, it works just fine for a dolled-up stroll to check the mail! Here she is, playing the Hollywood starlet with the shrug!
I hope you found this tutorial helpful. Please take a look in the next week or so for a post about my new Collie Cowl design!
Tell your mom “Hi” for me. The picture is great!
Thanks so much Elizabeth! I will definitely say hello from you!
So fun – your mom wears the shrug BEAUTIFULlly!
Thanks so much Ruth! We did have lots of fun!!